This page refers to an older version of the product.View the current version of the online Help.
Upload an existing server certificate
This topic describes how to upload an existing PFX / P12 certificate to a File Director server. Existing certificates may be made available from a previous File Director installation for example, or provided to you by your Compliance/Security department. The P12 file must contain the private key and the server certificate you wish to use, plus the appropriate chain and root certificates depending on whether you are using a public or private CA.
Typically, when you set up a new appliance, it will use a self-signed certificate only and a notification message will prompt you to upload a valid SSL certificate. Applying a valid certificate enables secure connections of Windows, Android and/or Apple clients with the File Director server.
The common name (CN) specifies the server identity used for the secure connection and is included in your certificate. Typically the CN comprises the host and domain name. However, when a certificate is used on an internal network the CN may comprise just the server name.
The CN must match the URL used when connecting to your secure site. In the case of single-name certificates this match must be exact. For example, a single-name certificate for the CN subdomain.fdadmin.com will result in a browser security warning if client access is requested to home.fdadmin.com or www.fdadmin.com. In the case of a wildcard certificate for the same CN (*.fdadmin.com), secure connections for both home.fdadmin.com or www.fdadmin.com would be enabled.
Prerequisites
- The common name (CN) specified within your certificate must match the URL for File Director.
- A single-name certificate or wildcard certificate can be used (see also SAN Certificates).
- The certificate has been exported in PFX or P12 format, and the file is accessible to you.
Note it is common practice to apply an encryption password when exporting certificates. If an encryption password is applied, you will be prompted to record its value. - The certificate must have a valid date.
Upload the certificate
- From the Admin console, select Configuration > SSL Certificate.
-
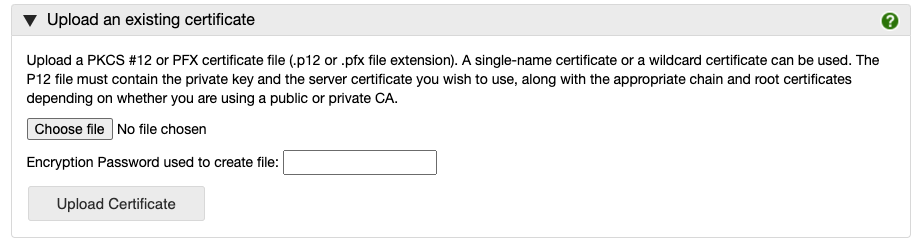
If required, click to expand the Upload an existing certificate section.

- Click Choose File and browse to the location of your certificate file.
- Select the file required and then click Open.
The selected file name is added to the dialog. - If the certificate was created using an encryption password, type it into the field provided.
- Click Upload Certificate.
The notification at the top of this dialog confirms that a valid SSL certificate is enrolled for the domain specified.