Escalate an Incident
Use the Incident Form in the CSM Desktop Client to escalate an Incident.
To escalate an Incident:
- In the
CSM Desktop Client, log a new Incident (New>Incident).
A new Incident record is created.
- Record the basic details:
- In the Requestor field, type the
name
of the Customer who initiated the contact, and then press
ENTER
or
TAB
to search for the Customer Record.
Note: If an exact match is found, the Requestor fields are auto-populated with the Customer’s name, avatar, e-mail, and phone. If multiple matches are found (ex: Multiple Customers named Steve), the Contact Manager opens so that you can select the appropriate Customer.
- Short Description: Type a concise description of the Incident.
- Description: Type a detailed description for the Incident.
- Call Source: Select a source for the initiation.
After all required fields are completed, the Incident automatically enters the Classify phase.
- In the Requestor field, type the
name
of the Customer who initiated the contact, and then press
ENTER
or
TAB
to search for the Customer Record.
- Classify the Incident:
- Service: Select the affected Service.
- Category: Select the affected Service category.
- Subcategory: Select the affected Service
subcategory.
The Ownership Team field auto-populates based on the defined Default Team.
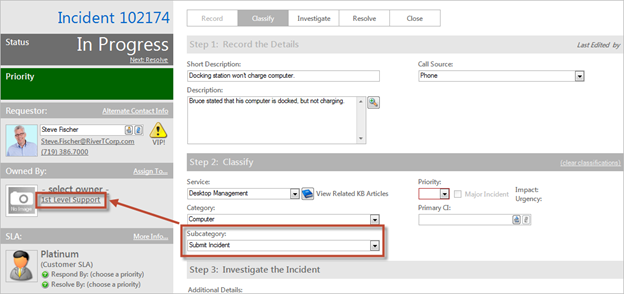
- Priority: Click the Priority drop-down to reveal the Priority Matrix (determined by invoked SLA), and then click a priority number.
- Major Incident: Select this check box if the Incident/Request is causing serious interruptions of business activities, and requires shorter timescales and greater urgency to resolve.
- Primary CI: Click the
CI Selector button
 to launch the CMDB window, and then select a
CI.
to launch the CMDB window, and then select a
CI.
- (Optional) Escalate the Incident to the second-level Team.
All required fields must be complete before you can escalate the Incident.
- Click the
Escalate to Level 2 and 3 button in the
Incident Actions section of the Quick Info Tile.
A window opens prompting you to define a reason for escalating the Incident.
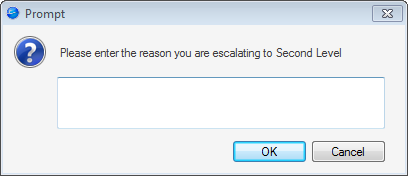
- Type the reason for escalating the Incident.
Select OK.
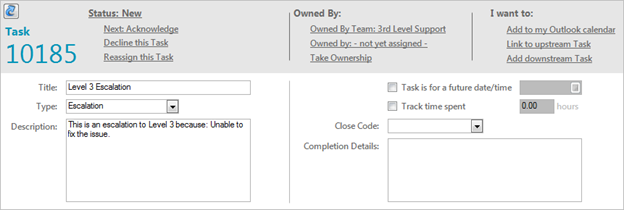
A Task Form opens in the Form Arrangement.
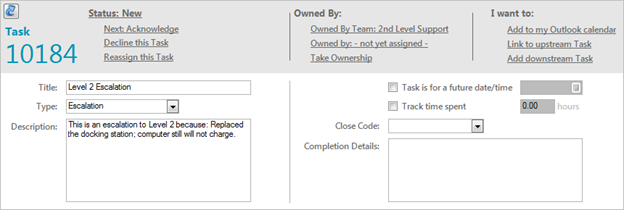
Note: The Title, Type, Description, and Owned By Team fields are auto-populated based on the Incident Subcategory Form.
- Complete the Task Form.
- Click the
Escalate to Level 2 and 3 button in the
Incident Actions section of the Quick Info Tile.
- (Optional) Escalate the Incident to the third-level Team.
- Click the
Escalate to Level 2 and 3 button in the
Incident Actions section of the Quick Info Tile.
A window opens prompting you to define a reason for escalating the Incident.
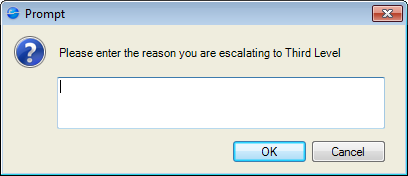
- Type the reason for escalating the Incident.
Select OK.
A Task Form opens in the Form Arrangement.
- Complete the Task Form.
- Click the
Escalate to Level 2 and 3 button in the
Incident Actions section of the Quick Info Tile.
- Complete the Incident logging process.