Configure CSM Remote Support Settings
Use the Chat and Remote Support Connector Settings window in CSM Administrator to configure how CSM accesses and initiates remote support systems, how CSM identifies Customers requesting remote support, and which Business Objects are linked to remote support sessions.
You can use the BeyondTrust Remote Support mApp Solution to easily configure a remote services integration.
For detailed information, see:
To configure CSM remote support settings:
- In
CSM Administrator window, select the
Settings category, and then the Edit Chat and Remote Support Connector Settings task.
The Chat and Remote Support Connector Settings window opens.
- Define General page settings for remote support:
- Enable Chat and Remote Control Services.
- Define Chat Service Credentials.
- Define Cherwell Credentials for Processing Chat Service Events.
- Define Chat Service Technician Queue options.
- Define Chat Service Support Issue Queue options.
- (Optional) Create a remote support session invitation e-mail template that CSM technicians can use to invite Customers to remote support sessions.
- Define Identify Customer page settings: Define how
CSM identifies Customers requesting a support session from the Portal.
- Define options for Self-Service Portal Customers Logged In.
Note: If no options are selected and the Customer is not prompted to select a support issue, no window opens for the Customer to provide information.
- Define options for Self-Service Portal Customers Not Logged In.
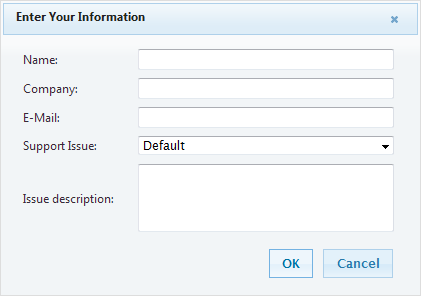
When any or all of these options are selected, a window opens to prompt the Customer to provide the specified information when a new remote support session is requested.
- Define options for Self-Service Portal Customers Logged In.
- Define Objects page settings: Define which Business Objects are linked to remote support sessions and create One-Step Actions for processing session information.
- Select Add, Edit (Add and Edit open the Chat Actions window), or Remove for existing Business Objects in the list, or Clear Default.
- From the Chat Actions Window:
- Specify the Chat Action Behavior (Create or Update):
Note: The CSM Desktop Client and Portal both support creating new Business Objects at the end of a remote support session. In the Desktop Client, if a Business Object is currently in focus, the new Business Object is created under the Customer that owns the current Business Object. If no Business Object is in focus, the new Business Object is created under the default Customer designated in the Chat and Remote Support Connector Settings. When a Customer launches a remote support session from the Portal, a new Business Object can be created under the currently logged-in Customer, the Customer identified by email address, or a default Customer if the Customer could not be identified. If no default Customer is configured and a Customer cannot be identified, a new Business Object might not be created.Note: The option to create a new Business Object to associate with the remote support session must also be selected in the New Chat Session command options in order for a new Business Object to be created at the end of a remote support session, and to have remote support session history attached to it.
- Select Add and select the Action from a list: Create New, Update, Add to a Queue, Run a One-Step Action.
- Specify the Chat Action Behavior (Create or Update):
- Specify the Actions that should be performed when the selected
Business Object type is created at the end of a remote support session: Select
Add,
Edit,
Copy, or
Delete.
Note: When a remote support session is not launched from CSM, CSM does not have any information about the type of Business Object to create after a session ends. By setting a Business Object as the default, CSM creates a new object of the specified type if no Business Object information is available when a remote support session has ended. If no default Business Object is selected and a remote support session is not initiated through CSM, the event is ignored and no action taken.
-
Select OK.