Using the Opportunity Wizard
Use the Opportunity![]() Involves a group working as a team with multiple organizations and contacts to successfully close a complex sale. Wizard to create a sales opportunity and configure the basic information.
Involves a group working as a team with multiple organizations and contacts to successfully close a complex sale. Wizard to create a sales opportunity and configure the basic information.
| 1. | Select Go To > Opportunities. |
| 2. | At the Opportunity Manager, right-click the upper pane and select New. |
| 3. | At the New Opportunity Prompt dialog box, select Yes to view the Opportunity Wizard: Welcome dialog box. |
If you click No, the New Opportunity dialog box opens.
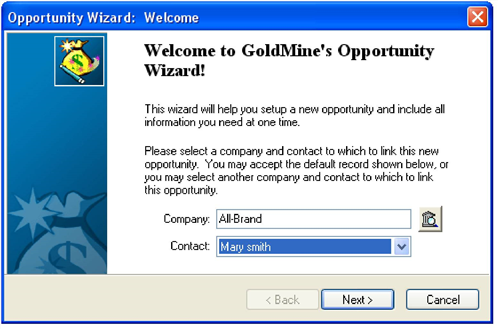
The Company field defaults to the active contact record. Click the Search button to launch the Contact Search Center and then select the new contact record.
| 4. | Contacts and additional contacts available in the Contacts drop-down list are associated with the selected company. Select the contact for the opportunity and click Next. |
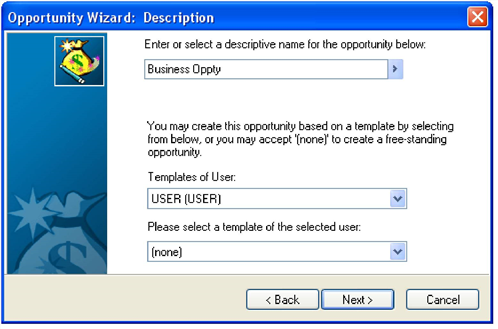
| 5. | At the Description dialog box, complete these fields: |
○ Enter or select a description for the opportunity below. Type or select a name from the F2 Lookup![]() Special type of browse window that can be customized to contain frequently used or code-specific entries. Security options can control F2 lookups to ensure user input and allow standardization of data. list.
Special type of browse window that can be customized to contain frequently used or code-specific entries. Security options can control F2 lookups to ensure user input and allow standardization of data. list.
○ Templates of User. Select the user or user group in the drop-down list.
○ Please select a template of the selected user. Select in the drop-down list. The templates displayed are owned by the user selected in the Templates of Users field.
Click Next.
| 6. | At the Overview dialog box, complete these fields: |
○ Manager. Select the owning user or user group in the drop-down list.
○ Code. Type or select a code from the F2 Lookup list.
○ Probability. Type or select the percent probability of success.
○ Stage. Type or select the stage the opportunity is beginning at. This field commonly defaults to 10 - Initial Contact.
○ Source. Type or select the source of the opportunity from the F2 Lookup list.
○ Start Date. Type or select the starting date from the F2 graphical calendar.
○ Close by. Type or select the ending date from the F2 graphical calendar.
Click Next.
| 7. | At the Influencers dialog box, click New, Edit or Delete and complete the appropriate window. |
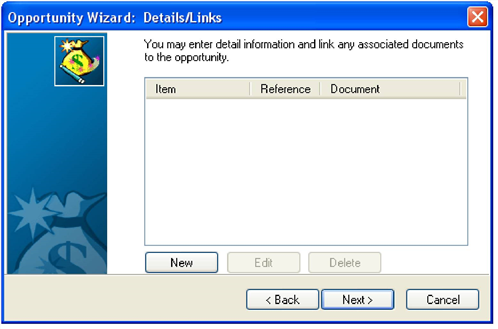
| 8. | Click Next. |
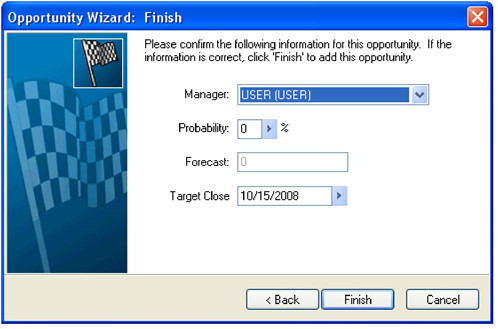
| 9. | At the Finish dialog box complete these fields: |
○ Manager. Select the user or user group in the drop-down list.
○ Probability.Type or select the percent probability of success from the F2 Lookup list.
○ Forecast.The field auto-populates based on data entered in the Forecasted Sales dialog box.
○ Close by. Select the closing date from the F2 graphical calendar.
| 10. | Click Finish. The opportunity is added to the upper pane of the Opportunity Manager. |
