Resolving a Case
After a case is resolved, it is removed from the list of active cases.
Use the following procedure to resolve a case.
|
1.
|
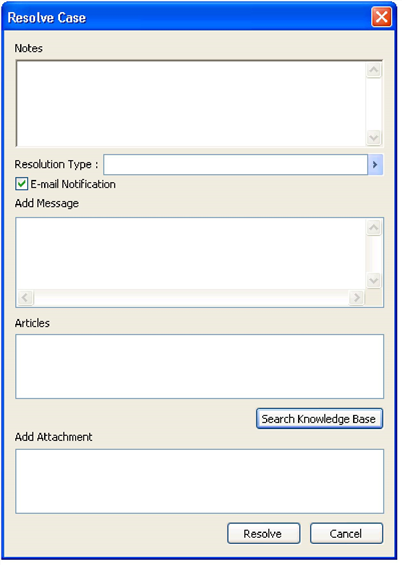
At the Service Center window, at the toolbar, click Resolve. |
The Resolve Case Dialog opens.
|
2.
|
In the Notes field, enter information about the resolution of the case. |
|
3.
|
To notify the selected Contact from the Case of the resolution via e-mail, check the E-mail Notification box and type your message into the Add Message box. The Create E-mail window appears. |
|
4.
|
Enter a Resolution Type, or select one from the lookup list. |
|
5.
|
To attach an article to the case, click the Search Knowledge Base button. Attached article are listed in the Articles section. |
|
6.
|
If you want to include any attachment, check the box next to the item in the Add section. |
NOTE: When resolving a case, the Service Center does not send the Knowledge Base article to the customer.
|
7.
|
When finished, click Resolve, or select Cancel to exit the dialog without resolving the case. |
NOTE: A History entry will be created for the Resolving action.