Creating Campaigns
You can use marketing campaigns to consolidate a variety of communication activities.
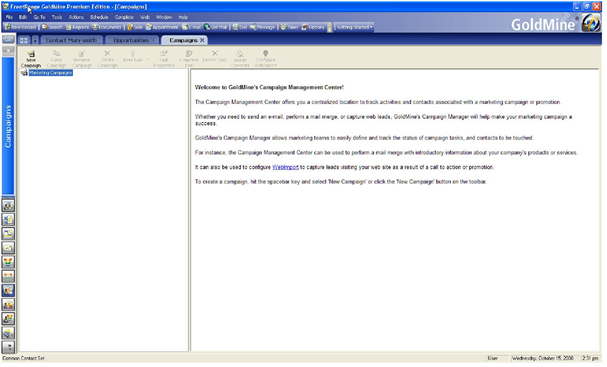
Use the following procedure to create a campaign; it displays in the Campaign Management Center navigation pane.
| 1. | Select Go To > Campaigns. |
| 2. | At the Campaign Management Center window, in the navigation pane, right-click and select New Campaign, or click New Campaign on the toolbar. |
The Campaign Creation Wizard opens.
| 3. | Click Next. |
| 4. | At the Select Contacts dialog box, select a filter or group from the drop-down list. |
○ To change the filters or groups to those of a different owner, select <Filters of:> or <Groups of:>.
The Select a User dialog box opens.
○ Select a user and then click OK.
Click Next.
| 5. | At the Assign tasks to this campaign dialog box, click New task. |
| 6. | Configure the following: |
○ Import Data. GoldMine provides several ways to import data. Select to open the Select Import Data Source dialog box.
○ Mail Merge. Merge contact information with templates (document, envelope, or label). Select to open the Mail Merge Properties dialog box.
○ E-mail Merge. Use templates to communicate a promotion to customers using queued Internet e-mail. Select to open the Mail Merge Properties dialog box appears.
○ Call. Schedule outgoing telephone calls to initiate a contact or follow-up. Select to open the Schedule a Call dialog box. Only the Detail tab is available.
○ Automated Processes. Use predefined or create new. Select to open the Select an Automated Processes dialog box.
You can add tasks as needed.
| 7. | Click Edit to modify a task. |
| 8. | Click Delete to delete a task from the campaign. |
| 9. | Click Next to move to the Summary of selections dialog box. |
| 10. | Review the information presented. If you need to modify the tasks, click Back. |
| 11. | Click Finish. |
