Installing the Application Server
The Application Server processes Ivanti Device and Application Control client activities and is the only application component that connects to the database. One or more Application Servers communicate device and application control information between the Ivanti Device and Application Control database and Ivanti Device and Application Control client(s).
Prerequisites:
Before you can successfully install the Application Server, you must:
- Verify that a valid Ivanti Device and Application Control license file is listed in c:\windows\system32, and its file name is endpoint.lic.
- You must have a valid license file that is issued specifically for version 4.5 or later. Confirm that you have the required license file available before you begin installation.
- License files issued before Ivanti Device and Application Control version 4.5 will not work with the Application Server and may cause your Application Servers to stop working.
- The license for Ivanti Device and Application Control 4.5 or later must be installed before you install or upgrade the Ivanti Device and Application Control database, and then the Application Server.
- Request a new license file using the Downloads tab on the Self-Service Portal.
- Verify that you satisfy the minimum hardware and software system requirements.
- When using TLS protocol confirm TCP ports 33115 and 65229 are open. When not using TLS protocol open TCP port 65129. Depending upon how firewalls are setup in your environment, these ports may be closed.
- Configure the TCP/IP protocol to use a fixed IP address for the computer that runs the Application Server.
- Configure the Application Server host computer to perform fully qualified domain name (FQDN) resolution for the Ivanti Device and Application Control clients that the server manages.
- Ensure that the Application Server host computer account is configured to read domain information using the Microsoft® Windows® Security Account Manager. See Security Account Manager (SAM) on the Microsoft documentation site for additional information about the Microsoft Windows Security Account Manager.
- Synchronize the Application Server's system clock with the Ivanti Device and Application Control database server's system clock using the Microsoft Windows time service. See Time Service on the Microsoft documentation site for details about using the Microsoft Windows time service.
Important note:
For installation or upgrade to the latest version of Ivanti Device and Application Control:
- Log in with administrative user access to the computer where you are installing the Application Server.
- Close all programs running on the computer.
- From the location where you saved the Ivanti Device and Application Control application software, run \server\sxs\Server.exe.
- Click OK.
The Installation Wizard Welcome page opens.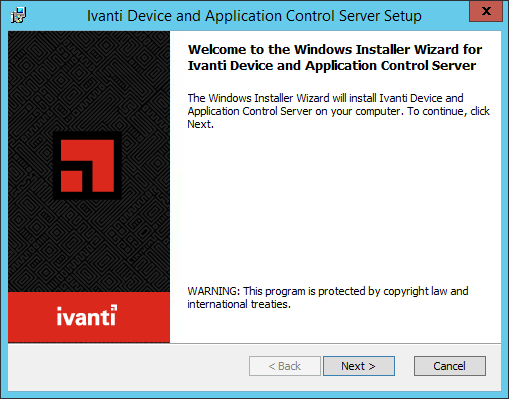
- Click Next.
The License Agreement page opens.
- Review the license agreement and, if you agree, select I accept the terms in the license agreement.
- Click Next.
The Setup dialog opens when the setup process detects an operating system that is subject to security changes concerning Remote Procedure Calls (RPC).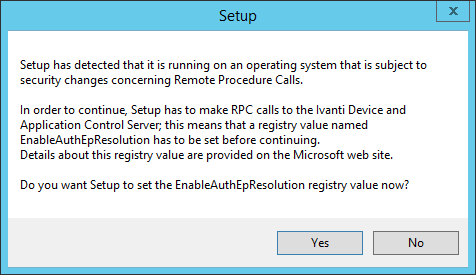
- Click Yes.
A confirmation dialog opens after the registry value is reset.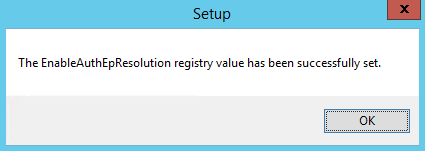
- Click OK.
The Destination Folder page opens.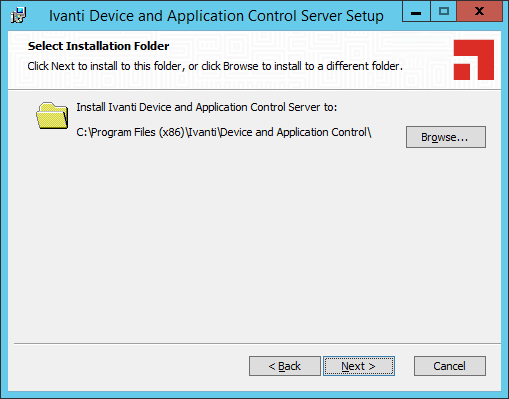
- You may choose an installation destination folder other than the Ivanti Device and Application Control default folder C:\Program Files\Ivanti\Device and Application Control\.
- Click Change.
The Change Current Destination Folder page opens.
- Select a folder from the Look in field.
- Click OK.
The Change Current Destination Folder closes, and the Destination Folder page changes to reflect the new location.
- Click Change.
- Click Next.
The Service Account page opens.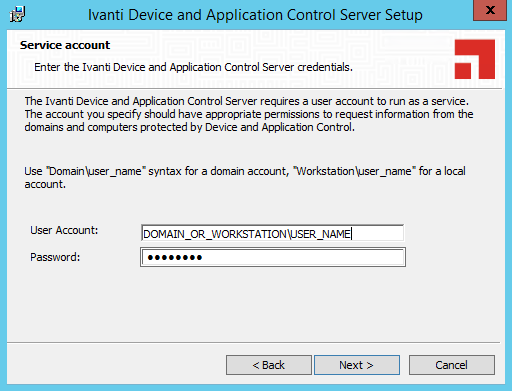
- Type the name of the user or domain in the User Account field for access to the Application Server.
Enter domain account information using the Domain\User format, and local account information using the Computer\User format. Ivanti Device and Application Control supports use of standard NetBIOS computer names up to fifteen (15) characters long. - In the Password field, type the user account access password.
- Click Next.
The Database Server page opens.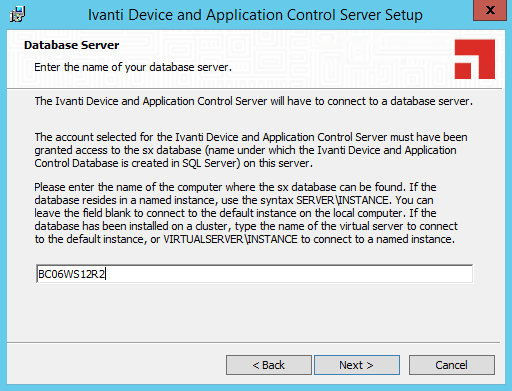
- Type the name of the database instance for the Application Server connection, using the servername\instancename format.
The default database instance is automatically populated, when installed on the same computer. Alternately, the instancename is not required if the database is installed in the default instance of Microsoft SQL Server. - Click Next.
The Datafile directory page opens.
- You may choose a folder other than the Ivanti Device and Application Control default folder, C:\DataFileDirectory\ , where Application Server log, shadow, and scan files are stored.
Tip: Use a permanent network share when you are installing more than one Application Server or a dedicated file server. To improve performance for a multi-server installation, assign a separate data file directory to each server to provide load balancing; although more than one server can access the same data file directory. Use a Universal\Uniform Name Convention path name; do not use a mapped drive name.
- Click Change.
The Select datafile directory page opens.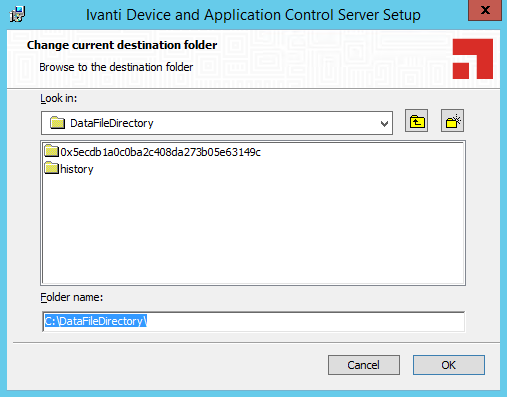
- Type the name of the datafile directory in the Folder name field.
- Click OK.
- Click Change.
- Click Next.
The Server communication protocol page opens.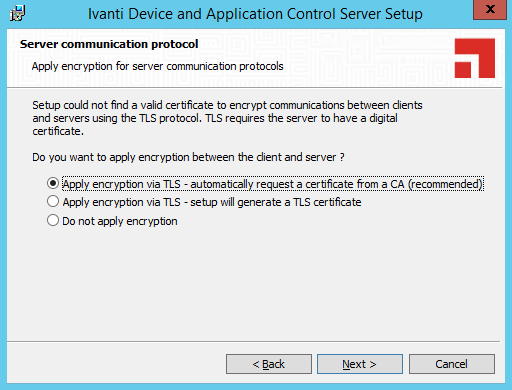
- Select an encryption option.
- Click Next.
The Server communication protocol page opens.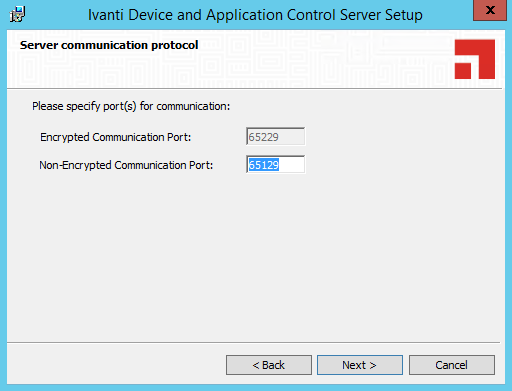
- Specify the communication port(s).
- Click Next.
The Syslog Server page opens.
- Type the name or the IP address of the SysLog server in the SysLog server address field.
- Select from the following options:
- Click Next.
The Ready to Install Program page opens.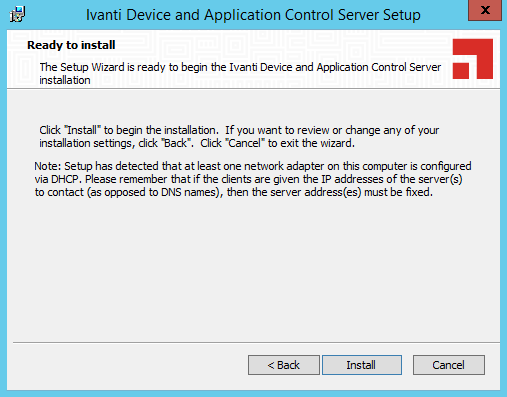
- Click Install.
A progress bar runs on the page, showing installation progress.
The Completed page opens. - Click Finish.
The Application Server files are installed, and the server establishes a connection to the Ivanti Device and Application Control database.
Important: For Active Directory environments, log in using the dedicated Application Server domain user rights service account. The Application Server installation process configures the Application Server service account for access to the database.
Tip: This is the user name that you created when you configured the domain service account for the Application Server.
Important: Do not select Apply encryption via TLS - setup will generate a TLS certificate as it is no longer supported.
Restriction: The port field(s) shown depend upon the encryption communication protocol that you selected previously.
Important: This step is optional. You do not have to specify a SysLog server.
|
Option |
Description |
|---|---|
|
Audit Logs |
Logs changes to policy administered through the Management Console. |
|
System Logs |
Logs system events. |
|
Agent Logs |
Logs events uploaded directly from the Ivanti Device and Application Control client. |