What are Denied Applications Policies?
A Denied Applications Policy blacklists any files, Applications, or Application Groups that you add to it. These applications won't execute in your environment. Apply the policy to all users or just to specific groups of users.
Denied Applications policies are useful not only for blocking suspicious files, but also for blocking unwanted software that interrupts productivity or increases network bandwidth consumption, including:
-
Hacking tools
-
Music streaming software
-
Insecure instant messaging applications
-
VoIP applications
-
Games
-
File sharing applications
You can install this unwanted software on a test endpoint, scan it, and organize it in the Application Library. Alternatively, if these applications are already in use in your environment, you can create a log query that includes these applications and deny them from there.
At this point, you should focus only on creating policies for denied applications; don't start creating policies for authorized applications yet. You'll focus on authorizing applications after locking down endpoints, which we discuss later in this document.
When to Apply a Denied Applications Policy
You can apply a Denied Applications policy at any time. However, if you choose to apply the policy prior to putting endpoints into Easy Auditor or Easy Lockdown, you can deny applications for any endpoint that has the Application Control module installed, regardless of user. This is because Application Control evaluates the Denied Applications policy before all other policies (including the endpoint whitelist), so a Denied Applications policy prevents anything from executing that could otherwise be authorized to execute via the whitelist or a Trusted Change policy. See Appendix 1: Decision Flow at the Endpoint for details.
Deny Applications for All Users
You can quickly deny applications for all users from within the Application Library.
-
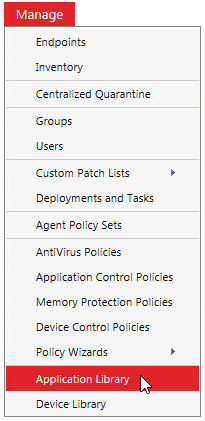
From the Endpoint Security Console, select Manage > Application Library.
-
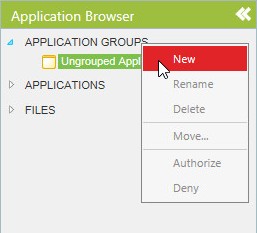
In the Application Browser panel on the left, right-click APPLICATION GROUPS and select New.
-
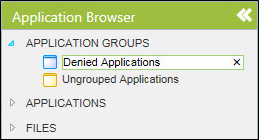
Name the group "Denied Applications" or something similar.
-
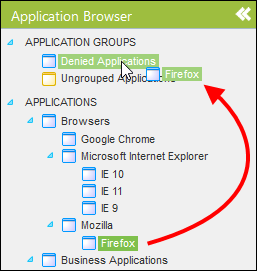
Identify the Applications that you want to deny for all users. Drag and drop the Applications into the Denied Applications group you created.
-
Right-click the Denied Applications group and select Deny to launch the Denied Applications wizard.
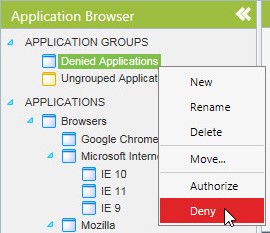
-
Complete the wizard to create the Denied Applications policy. Assign it to all users.
After you assign this group to all users, you can simply continue adding applications to this group and they are subsequently denied for all users.