Walkthrough of Endpoints and Groups
Let's dive into the REST API and see how you can use it to manage endpoints and groups in your environment.
To start this walk-through, you must have:
- Ivanti Endpoint Security (formerly HEAT EMSS) installed and at least one endpoint reporting to it.
- REST API host application installed and configured correctly.
- A web browser open.
- Swagger Interactive docs open.
- Postman App open.
The root URL for API calls is http://<localhost>:<port>/api/v2/ .
Your root URL will depend on the port you chose during installation and whether you are accessing the API remotely. In this walkthrough we'll use localhost and (default) port 43470.
When accessing the REST API remotely, ensure you have access to the port chosen during installation (default 43470). This may require allowing this port through the firewall of the machine the REST API is installed on and any other network firewalls or proxies.
The following endpoint can be used to obtain a JWT Token:
http://localhost:43470/api/v2/Authentication/Login
JSON Request Body
{
"Username": "<IES_username>",
"Password": "<IES_password>"
}
JSON Response
{
"Jwt": "<jwt>"
}
The JWT Expires after 15 minutes, a new JWT must be generated for further usage.
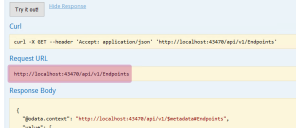
First let's test you have everything setup correctly by requesting a list of the endpoints in your environment. Enter this call into your browser:
http://localhost:43470/api/v2/Endpoints
The result is a JSON document containing information about the Endpoints.
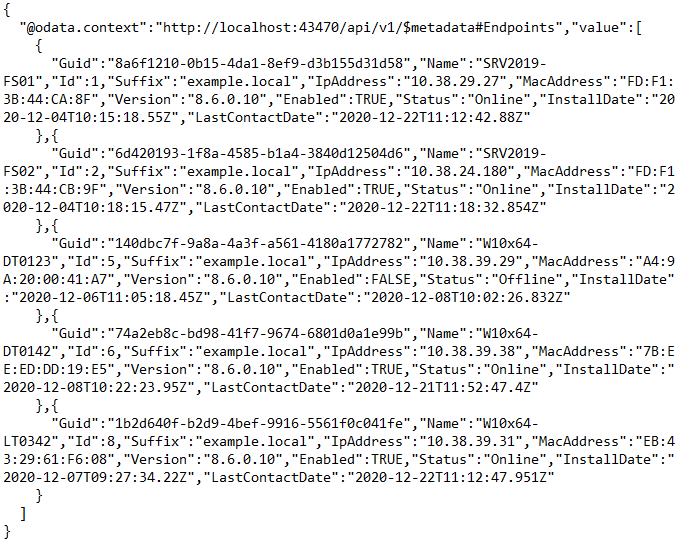
Depending on the browser you use, you may be prompted to download the file.

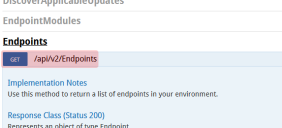
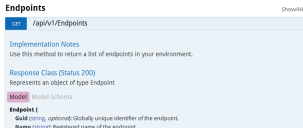
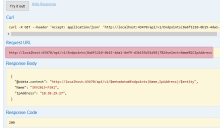
You can also get the above URL from the Swagger docs:
If you examine the list of endpoints from your previous request you'll see that they each have a GUID (Global Unique Identifier) property. This is the key for the Endpoint entity.

Many API operations use entity keys to identify individual entities. Keys are usually integers or unique identifiers (GUIDs).
Copy the GUID for one endpoint from the result of the previous call (without the quotes) and use it in the next call. We'll use the one highlighted above:
http://localhost:43470/api/v2/Endpoints(8a6f1210-0b15-4da1-8ef9-d3b155d31d58)
JSON-response, with line breaks inserted for clarity
{
"@odata.context": "http://localhost:43470/api/v2/$metadata#Endpoints/$entity",
"guid": "8a6f1210-0b15-4da1-8ef9-d3b155d31d58",
"Name": "SRV2019-FS01",
"Id": 1,
"Suffix": "example.local",
"IpAddress": "10.38.29.27",
"MacAddress": "FD:F1:3B:44:CA:8F",
"Version": "8.6.0.10",
"Enabled": true,
"Status": "Online",
"InstallDate": "2020-12-14T10:15:18.55Z",
"LastContactDate": "2020-12-22T11:12:42.88Z"
}
OData provides a rich query language for selecting and filtering entity collections using keywords such as select, filter, orderby, top and skip.
You can get more information about OData 4.0 in OData Getting Started and OData Version 4.0 Documentation. We recommend consulting the ODataVersion 3.0 Documentation, which is better documented at the moment.
If you apply a select query to your previous call you can limit the JSON response to only contain the endpoint's name and IP Address.
This is done by adding a question mark (?) , select query keyword ($select) and then a comma separated list of the properties (Name,IpAddress):
http://localhost:43470/api/v2/Endpoints(8a6f1210-0b15-4da1-8ef9-d3b155d31d58)?$select=Name,IpAddress
JSON-response, with line breaks inserted for clarity:
{
"@odata.context": "http://localhost:43470/api/v2/$metadata#Endpoints (Name,IpAddress)/$entity",
"Name": "SRV2019-FS01",
"IpAddress": "10.38.29.27"
}
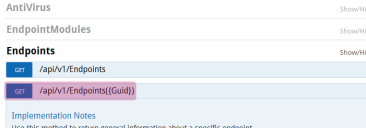
Again the Swagger docs can help you configure the URL:
A call to retrieve the Groups entity collection returns all of the groups in the IvantiEndpoint Security database, including the system and parent groups:
http://localhost:43470/api/v2/Groups
If you apply a filter query to your previous call you can limit the JSON-response to only see groups created by a User. This is done by adding a question mark (?), followed by the filter query keyword ($filter=) and then a filter predicate (Type eq 'User'):
http://localhost:43470/api/v2/Groups?$filter=Type eq 'User'
The first “User” group listed in the JSON result is the parent group for all custom groups. This usually has an Id of 4. If you have not created any custom groups you will only see this group.
JSON-response, with line breaks inserted for clarity:
{
"Id": 4,
"ParentId": 1,
"Name": "Custom Groups",
"Type": "User",
"Path": "OU=Custom Groups,OU=My Groups",
"Description": "System created parent group to all custom groups",
"CreatedBy": null,
"CreatedDate": "0001-01-01T00:00:00Z",
"ModifiedBy": null,
"ModifiedDate": "0001-01-01T00:00:00Z",
"ChildGroupCount": 0,
"AssignedDeviceCount": 0,
"AssignedSourceGroupDeviceCount": 0,
"DerivedDeviceCount": 0,
"InheritPolicy": false,
"InheritMandatoryBaseline": false,
"InheritDeployment": false,
"MandatoryBaselineEnabled": false,
"DeploymentEnabled": true,
"PolicyEnabled": false,
"QChain": 0
}
You make a new custom group by creating a request that will POST data to the API in the form of JSON. This cannot be done by entering a URL in a browser. It can be achieved using the Swagger doc, but using a tool with the ability to create URL requests with specific headers and message bodies is recommended.
The Postman extension for Google Chrome is specifically made for this task and is easy to use.
Use the JSON-response from the Groups request as a guide to create a new object.
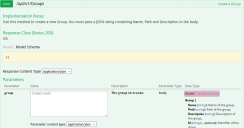
Have a look at the parameters in the Swagger docs. Click Model to review the descriptions of the properties that can be specified in the groups parameter.
You must specify the name, description and where the Group sits in the custom group hierarchy. This is the same information as is required during normal Group creation in the Endpoint Security Web User Interface.
The rest of the properties are marked as optional.
To make the request using Postman, set the following in the Postman app:
- Select the Request Type POST.
- Enter the URL: http://localhost:43470/api/v2/Groups
- On the Body tab (a), select raw (b) and JSON (c).
- Enter the body:
{
"Name": "REST group",
"Path": ,
"Description": "My new group likes REST APIs"}
The result of steps 1 through 4 should look like this:
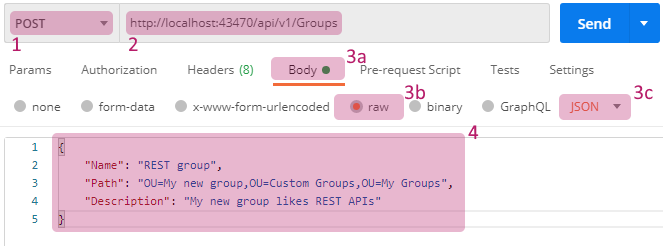
-
Click Send.
A response status of 201 Created to will indicate success.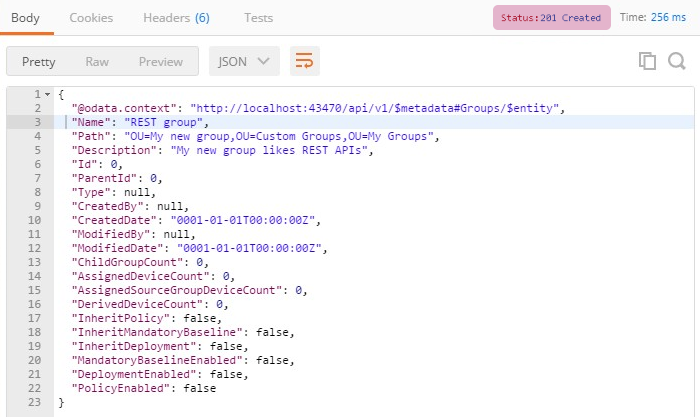
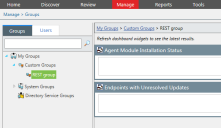
You can now navigate to the IvantiEndpoint SecurityGroups page to confirm your group was created:
You can add one or more endpoints to your new custom group. This is another POST request.
If you have a look at the Swagger docs you will see that the call takes the form:
POST http://localhost:43470/api/v2/Groups({id})/Endpoints ({endpointGuid})
You can obtain the necessary group id and endpoint guid using previously discussed API calls.
Here’s something you can try to prove the usefulness of the Groups API.
Try setting up various custom groups that suit the topology of your endpoint network (e.g. “Finance”, “IT” and “Sales”) and assign them policies in the Endpoint Security Console for the modules they are installed with.
Now these policies will be applied to the endpoint automatically after the API call is made to add it to the correct group.
