Exporting Patches Using the Export Wizard
The Export Wizard exports custom patches from the Ivanti Endpoint Security server to a specified folder. By exporting patches, you can import them into other Endpoint Security servers without having to recreate the patch.
Prerequisites:
Ensure that the selected archive folder has sufficient free space for the exported patches. Your %TEMP% folder must also have several hundred megabytes free to successfully export large patches.
- Select File > Export Wizard.
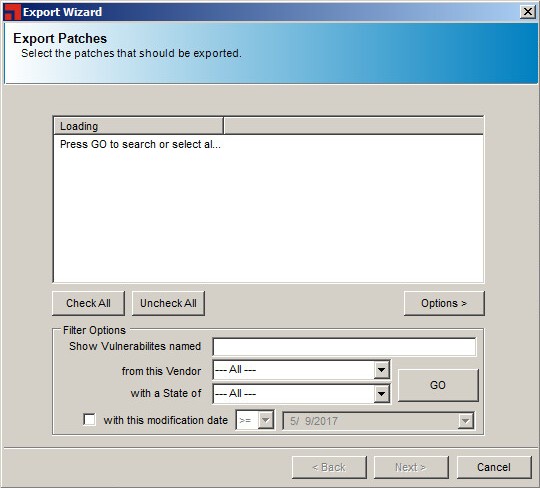
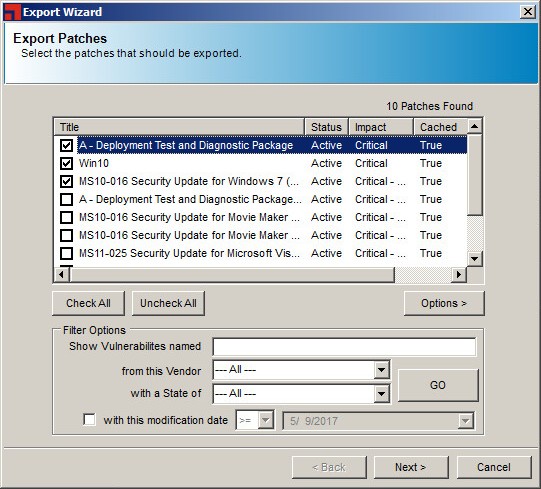
The Export Patches page opens.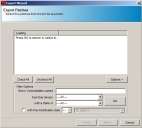
- [Optional] Set filter options to find the patches you want to export. Configure one or more of the filters.
- To filter by name, type a patch name in the Show Vulnerabilities named field.
- To filter by vendor, make a selection from the from this Vendor drop-down.
- To filter by patch state, make a selection from the with a State of drop-down.
- To filter by date, select with this modification date check box, and then choose date options.
Tip: You can use the underscore character ( _ ) as a wildcard.
- Click GO.
The list is displayed in the Export Patches window.
- Select the patches you want to export.
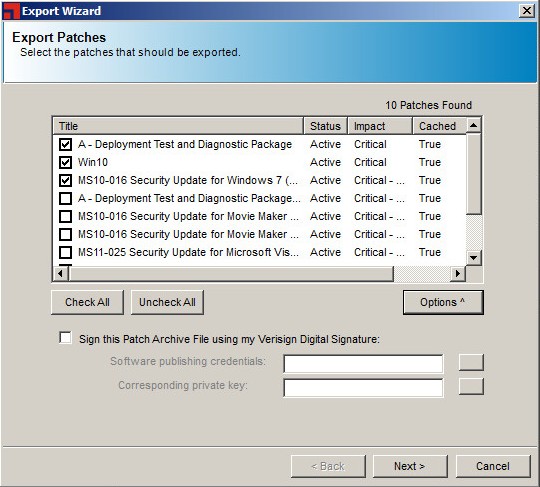
- If you want to sign the patches you're exporting with a digital signature, toggle Options. If you don't want to sign them, skip to step 14.
The Filter Options area closes and is replaced by a Digital Signature area.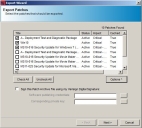
- [Optional] To include a digital signature, select the Sign this Patch Archive File using My Verisign Digital Signature check box.
The Software publishing credentials and the Corresponding private key fields become active. - In the Software publishing credentials field, click Search.
A Locate Software Publishing Credential page opens. - Locate the Verisign certificate you want to use.
The certificate will be in the form of a .spc file. - Click Open.
The Software publishing credentials field displays the .spc file. - In the Corresponding private key field, click Search.
The Locate Private Key page opens. - Locate the Verisign private key you want to use.
The key will be in the form of a .pvk file. - Click Open.
The Corresponding private key field displays the .pvk file. - Verify the patch information is correct.
- Click Next.
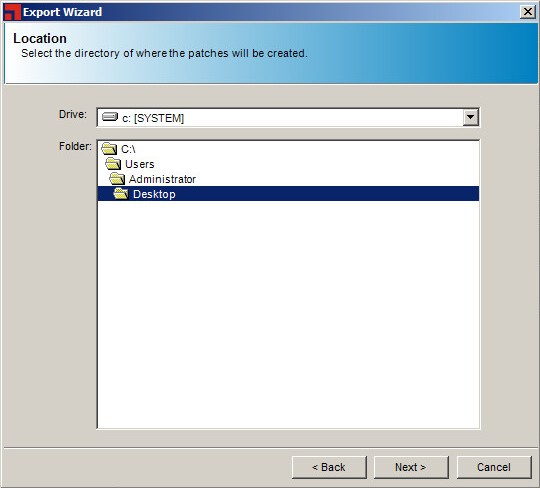
The Location page opens.
- Select the folder where the patches will be exported.
- Click Next.
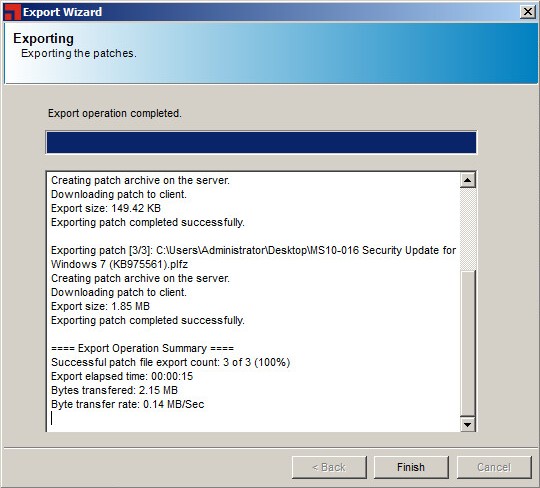
The Exporting page opens.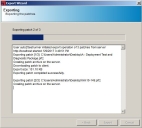
- Click Export.
The Export operation completed bar displays the progress of the export process.
- Click Finish.
The Exporting page closes.
If you want to sign a patch with your Verisign digital signature, you must make sure the internet connection is working. This functionality will not work in an AirGap environment because the timestamp part of the signature requires an internet connection.
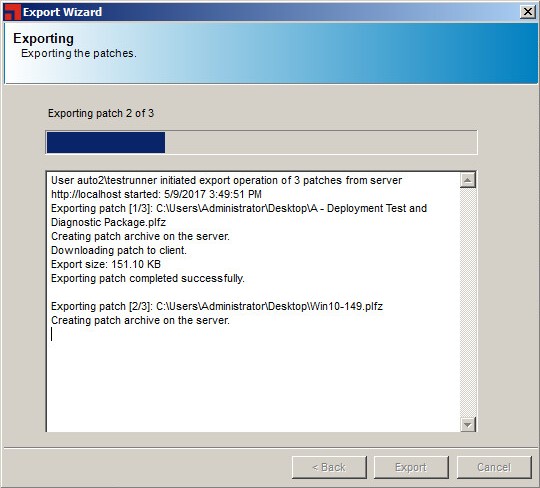
The patches are exported to the selected folder. The .plfz file generated will have a maximum filename length of 120 characters.