The Policy Wizard
The Policy Wizard allows you to create new policy patches that can enforce local Windows security policies on managed devices within your network.
The Policy Wizard allows you to choose the type of policy you want to create:
- The Select individual policies option allows you to choose predefined standard Windows local policy items. For further information, refer to Selecting Standard Windows Local Policy Items.
- The Security template file option allows you to specify your own local security template file defined within the Microsoft Security Template add-on for Microsoft Management Console (MMC). For further information, refer to Creating a Policy Patch Using a Security Template File.
For additional information on the Microsoft Security Template add-on, refer to Microsoft docs: Security Templates (https://docs.microsoft.com/en-us/previous-versions/windows/embedded/bb521615(v=winembedded.51)).
Once created, the policy patch can be deployed to some or all of the workstations within the network to enforce the default local policy settings. The patch can also be used within a mandatory baseline to enforce compliance to local security policy settings automatically for all devices within that group.
If the administrator chooses a domain or active directory managed environment, the policy settings may be overridden by domain policies for users who are logging in with their domain credentials.
Selecting Standard Windows Local Policy Items
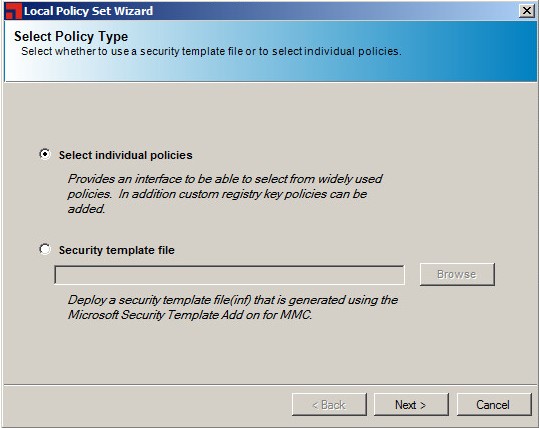
The Policy Wizard allows you to choose the type of policy you want to create. Choose the Select individual policies option to specify a predefined standard Windows local policy item.
- Select Tools > Policy Wizard.
The Select Policy Type page of the Local Policy Set Wizard window opens.
- Ensure the Select individual policies option is selected.
- Click Next.
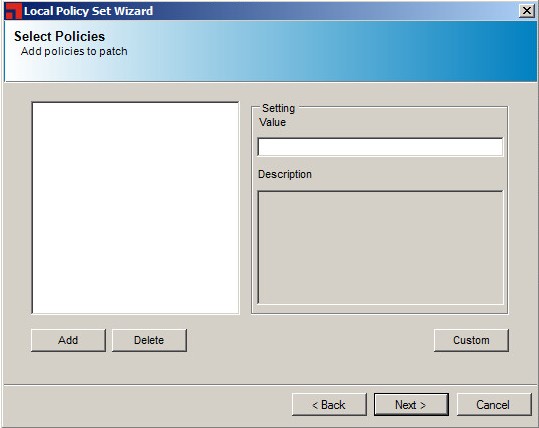
The Select Policies page opens.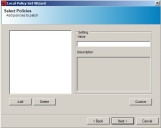
- Click Add.
The Add Policy page opens to a list of predefined standard Windows local policy items.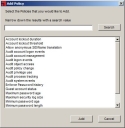
- Find the standard Windows local policy item you want.
- Type a policy name in the Narrow down the results with a search value field.
- Click Search.
The list displays based on your search value.
- Select the policy you want from the available list.
- Click Add.
The Add Policy window closes. - Set the value for each policy.
- Select the policy.
- Edit the existing value or select a new value from the Value drop-down list.
Tip: The control type is dependent on the selected policy.
- [Optional] Click Custom to enter a new registry value for this policy.
- Select a key from the Root Key drop-down list.
- Type the sub key in the Sub Key field.
- Type a name in the Value Name field.
- Type a value in the Value field.
- Click Add.
The Add Custom Policy dialog closes and the value displays in the Add Policy window.
- Click Next.
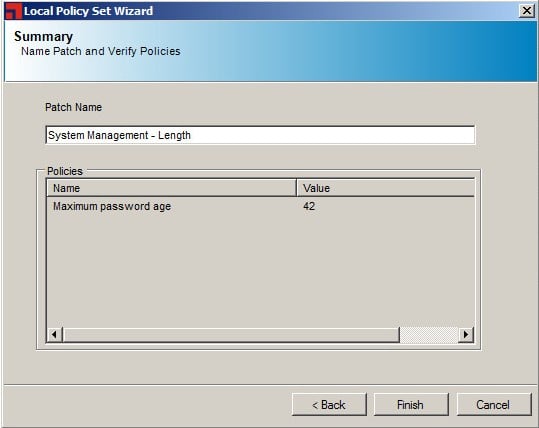
The Summary page opens.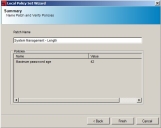
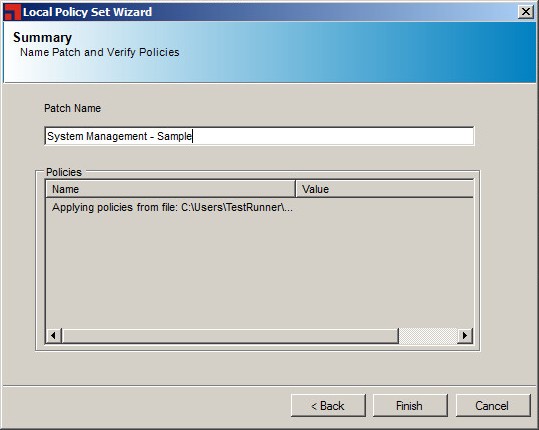
- Type a unique name for the patch in the Patch Name field.
The default name is System Management -. - Click Finish.
The Summary page closes and the Patch Properties page displays. - [Optional] The Patch Properties page displays properties associated with the selected patch.
Review and edit the patch properties as needed. - Select File > Save.
The patch is stored within the Ivanti Endpoint Security server.
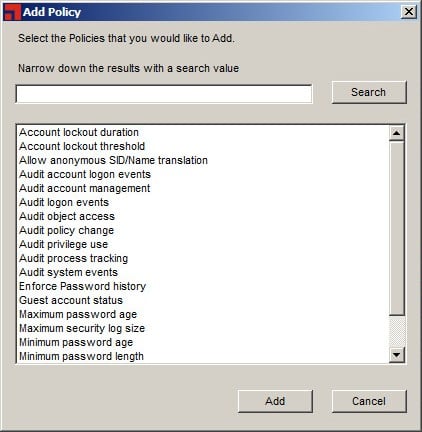
You may select multiple, non-concurrent policies by using CTRL+Click on the available list.
The policy value is defined.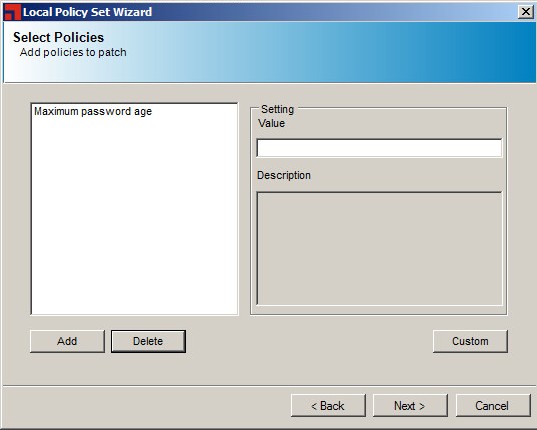
If an invalid value is entered in the value field for a policy, an error message appears. You cannot proceed until you have entered valid values in the Value field.
For information on Patch Properties, refer to The Patch Properties Page.
The new policy patch is created.
Creating a Policy Patch Using a Security Template File
The Policy Wizard allows you to choose the type of policy you want to create. Choose the Security template file option to specify your own local security template file defined within the Microsoft Security Template add-on for Microsoft Management Console (MMC).
- Select Tools > Policy Wizard.
The Select Policy Type page of the Local Policy Set Wizard window opens. - Select the Security template file option.
The Browse button becomes active. - Click Browse.
The Open File window opens. - Navigate to the desired security template file.
- Click Open.
The Open window closes and the template file is added to the Select Policy Type page.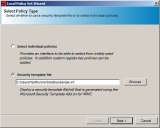
- Click Next.
The Summary page opens.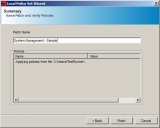
- Type a unique name for the patch in the Patch Name field.
The default name is System Management -. - Click Finish.
The Summary page closes and the Patch Properties page displays. - [Optional] The Patch Properties page displays properties associated with the selected patch. Review and edit the patch properties as needed.
- Select File > Save.
The patch is stored within the Ivanti Endpoint Security server.

For information on Patch Properties, refer to The Patch Properties Page.
The new policy patch is created.