Installing the Agent by Command Line for Linux, UNIX, or Mac
Complete the agent install using a command line.
Prerequisites:
- Review Linux, UNIX, or Mac Endpoint Requirements.
- Complete Downloading the Installer.
Complete the following steps to install the agent using a command line.
- Browse to the location that you downloaded UnixPatchAgent.tar.
- Extract UnixPatchAgent.tar to any location.
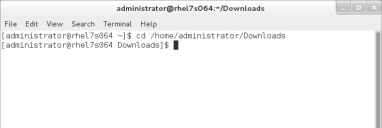
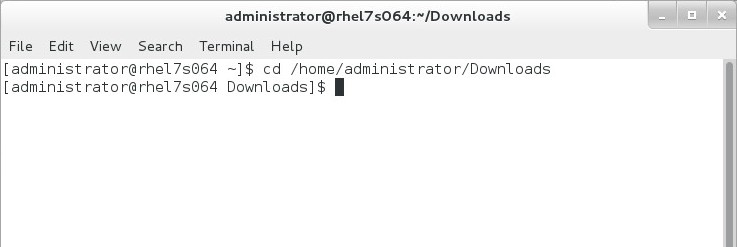
- Open Terminal and change the directory to the location of the extracted UnixPatchAgent, which you should have downloaded from the Ivanti Endpoint Security Server.
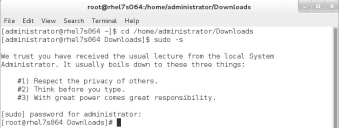
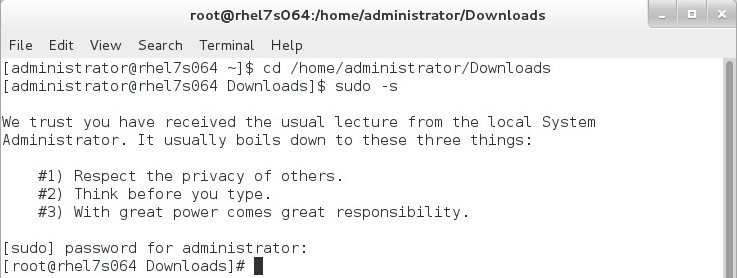
- Elevate your command line privileges to superuser.
- Begin installation by typing ./install and press ENTER.
- When prompted, define a Patch Agent install location.
- Press ENTER to accept the default location.
- Type your own location and press ENTER to choose a custom path.
- Enter your Ivanti Endpoint Security Server URL.
- To use a server name, type http(s)://servername and press ENTER.
- To use an IP address, type http(s)://IP address (http://10.10.10.10 for example) and press ENTER.
- Type your Ivanti Endpoint Security serial number and press ENTER.
Tip: You can view the serial number from the Home page of the Ivanti Endpoint Security Web console.
- If your enterprise uses FastPath servers (also known as caching proxies) to speed up content deployment, enter FastPath server information.
If you don't use FastPath servers, press ENTER to default to N, and continue to the next step.
This prompt isn't used to define a firewall proxy.- Type y and press ENTER.
- Enter your proxy server URL and press ENTER.
- To use a server name, type http(s)://servername and press ENTER.
- To use an IP address, type http(s)://IP address (http://10.10.10.10 for example) and press ENTER.
Note: A Squid proxy server will only properly resolve using a fully qualified domain name.
Refer to Ivanti Community article An Endpoint Shows Offline When Using a Squid Proxy Server for additional information on a Squid proxy server configuration.
- If your proxy requires authentication, enter a username and password that authenticate with the proxy. If the proxy doesn't require authentication, just press ENTER to continue.
- If you want the endpoint to add itself to existing Ivanti Endpoint Security groups during registration, complete the following substeps. If not, simply press ENTER and continue to the next step.
- Type y and press ENTER.
- Type the groups that you want the endpoint to register with, using the syntax rules that follow. Press ENTER when you're done.
Example: GroupName1|GroupName2|GroupName3
Syntax rules:
- Separate each group using a pipe ( | ). If only adding the endpoint to a single group, omit the pipe.
If you want to add the group to multiple groups, and those groups share the same short name, used the group distinguished name instead.
Tip: You can view group names and distinguished group names within the Group Membership view in the Ivanti Endpoint Security console.
- If you want to define a nice value for the UnixPatchAgent.tar, type a value (-20 through 20) and press ENTER. If you don't want to define a nice value, just leave the prompt empty and press ENTER.
The agent is installed. When the process is complete, you can close terminal.