Adding a Signature to a Patch
You can add a signature to a patch after creating the patch properties. For every signature, you can have one package and multiple fingerprints and pre-requisites.
Prerequisites:
Specify the patch properties in the Patch Properties page. For more information about creating patch properties, refer to Creating and Editing Patch Properties.
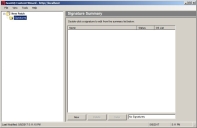
- Expand the patch properties to Signatures in the left pane.
Example: New Patch > Signatures.
- Click New.
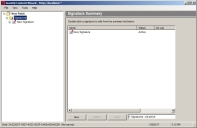
The Signature Summary page contains a new signature named New Signature.
- Select New Signature within the pane.
- Click View.
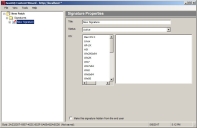
- Type a name in the Title field.
- Select the applicable patch status using the Status drop-down list. The following list items are available:
- Active
- Beta
- Pending
- Select the applicable operating systems in the OS field.
The versions of the selected operating system display in the list details field. - Select the version of the operating system for the signature in the list details field.
- [Optional] Check or clear the Make this signature hidden from the end user check box to hide the signature from the end user.
The signature for the patch is created.
Tip: Within the pane window you may double-click on a signature to open the Signature Properties page.
The Signature Properties page opens.
Tip: Double-clicking an operating system name in the OS field selects all the versions of that operating system within the details list.
Ivanti Content Wizard supports the creation of multiple signatures for each patch.
After Completing This Task:
After creating a signature, you have to add at least one fingerprint to it. For more information on fingerprints, refer to Working with Fingerprints.
