Working with Memory Injection Policies
Memory Injection Policies protect against external code executing within an authorized process. These policies can be used in the same way as other Application Control policies.
With Memory Injection Policies, it is important to remember that some files may legitimately execute external code within an authorized process. If such files generate a false positive you can disable or unassign the relevant policy, edit it to change the Enforcement option or create a policy exception for the file, then enable or reassign the policy to maintain protection against memory injection attacks.
Creating a Memory Injection Policy
A Memory Injection policy protects an endpoint’s running processes from malicious attack. It is created using the Memory Injection Policy wizard.
- Select Manage > Memory Protection Policies.
The Application Control Policies page opens at the Memory Protection tab. - Click Create.
The Memory Injection Policy wizard opens - Type a Policy Name for the new Memory Injection policy.
- Select an Enforcement option.
-
Select a Logging option. The logging option available depends on the Enforcement option selected in the previous step.
-
Select an option under Activation.
-
Click Next.
- [Optional] Create one or more policy exceptions to prevent file processes from being stopped.
- Enter the path or filename.
- Ensure paths end with a backslash (\), otherwise they will be interpreted as filenames.
- A path's files and folders are excluded recursively.
- Paths and filenames are not case-sensitive.
- To exclude a specific file, use the fully qualified path e.g. C:\folder\subfolder\file.exe.
- Select the exception option.
- Click Add.
The file name is displayed in the exception list. - [Optional] Repeat the previous steps to add all required paths or files.
Log memory injection events, but do not stop process from running If a memory injection event occurs, it will be logged but the process will not be stopped. Note that logging must be turned on.
Exclude from policy
The file is not monitored for memory injection.
- Enter the path or filename.
- Click Next.
- Build a list of targets (groups or endpoints) for the policy, using any of the following methods:
- Select a group or groups from the Groups list.
- Click Add >.
- Select an endpoint or endpoints from the Endpoints list.
- Click Add >.
- Select a group or groups from the Assigned list.
- Click < Remove.
- Select an endpoint or endpoints from the Assigned list.
- Click < Remove.
- Click Finish.
The Memory Injection policy is created and assigned to the selected groups or endpoints. The new policy is displayed on the Memory Protection tab.
Even though Memory Protection Policies is a separate menu item from Application Control Policies, the feature is part of Application Control.
Give the policy a descriptive name. For example, if this policy relates to a group of endpoints used by Product Managers you could name it Product Management - Memory Policy.
|
Enforce - Stop a process when memory injection is detected |
This will stop any process on any assigned endpoint when memory injection is detected, unless the relevant file or application is specified as an exception. |
|
Audit only - Do not stop a process when memory injection is discovered |
This will not stop a process when memory injection is discovered, but it will log the event. You can analyze the logs to determine what files or applications legitimately use memory injection, and you can then specify them as exceptions. |
| Enforce option selected |
The Logging check box is selected by default but can be deselected if logging is not required. |
| Audit only option selected |
The Logging check box is selected and disabled, which means that logging is mandatory. |
|
Option |
Description |
|---|---|
|
Enable |
The policy will be enabled once it is created, as long as you assign it to a group or endpoint. |
|
Disable |
The policy will be disabled once created, even if it is assigned to a group or endpoint. You can enable it at a later time. |
If you click Finish at this point, the policy will be created but not assigned to any endpoints. You can assign the policy to endpoints at a later time.
The Memory Injection Policy Wizard opens to the Policy Exceptions page.
If you click Finish at this point, the policy will be created but not assigned to any endpoints. You can assign the policy to endpoints at a later time.
The Memory Injection Policy Wizard opens to the Assign the Memory Injection Policy to groups and/or endpoints page.
|
Method |
Steps |
|---|---|
|
To add groups of endpoints: |
|
|
To add individual endpoints: |
|
|
To remove groups of endpoints: |
|
|
To remove individual endpoints: |
|
Use the double-arrows (![]()
![]() ) to switch between groups and endpoints.
) to switch between groups and endpoints.
The selected groups and/or endpoints are displayed in the Assigned list.
Assigning a Memory Injection Policy
You can select a Memory Injection policy and assign it to endpoints and/or groups of endpoints.
- Select Manage > Memory Protection Policies.
- Select a Memory Injection policy.
The selected policy is highlighted. - Click Assign.
The Memory Injection Policy dialog is displayed. - Build a list of targets (groups or endpoints) for the policy, using any of the following methods:
- Select a group or groups from the Groups list.
- Click Add >.
- Select an endpoint or endpoints from the Endpoints list.
- Click Add >.
- Select a group or groups from the Assigned list.
- Click < Remove.
- Select an endpoint or endpoints from the Assigned list.
- Click < Remove.
- Click OK.
The Memory Injection policy is assigned to endpoints and/or groups of endpoints.
|
Method |
Steps |
|---|---|
|
To add groups of endpoints: |
|
|
To add individual endpoints: |
|
|
To remove groups of endpoints: |
|
|
To remove individual endpoints: |
|
Use the double-arrows (![]()
![]() ) to switch between groups and endpoints.
) to switch between groups and endpoints.
The selected groups and/or endpoints are displayed in the Assigned list.
Assigning a Memory Injection Policy to a Group
You can assign a Memory Injection policy to a selected group of endpoints using the Assign Policy dialog.
The Assign Policy dialog is also used to assign a Memory Injection policy to a selected endpoint. See Assigning a Memory Injection Policy to an Endpoint if you are assigning the policy to an endpoint.
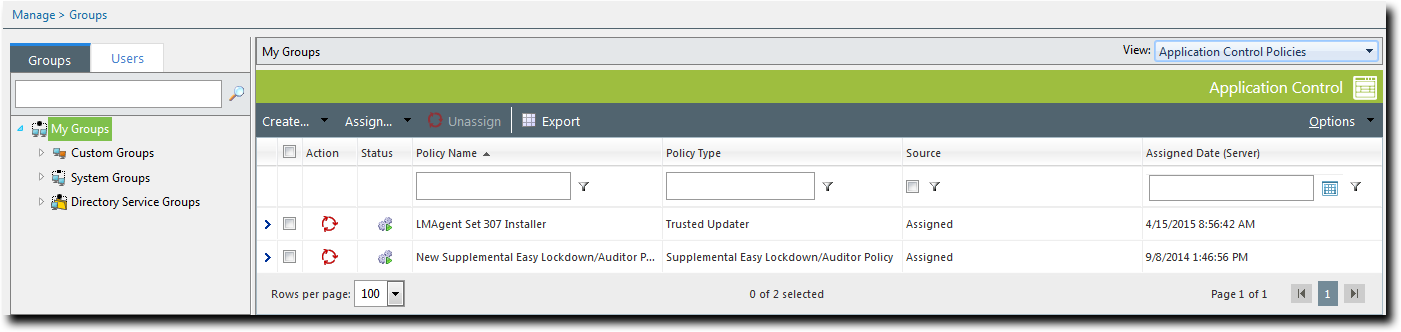
- Select Manage > Groups.
The Groups page is displayed. - Select a group from the Browser tree.
- From the View list, select Application Control Policies.
The Application Control policies for the selected group are displayed.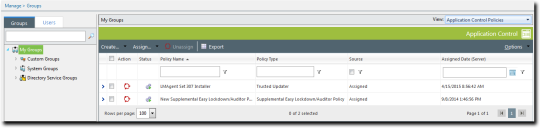
- From the toolbar, select Assign > Memory Injection Policies.
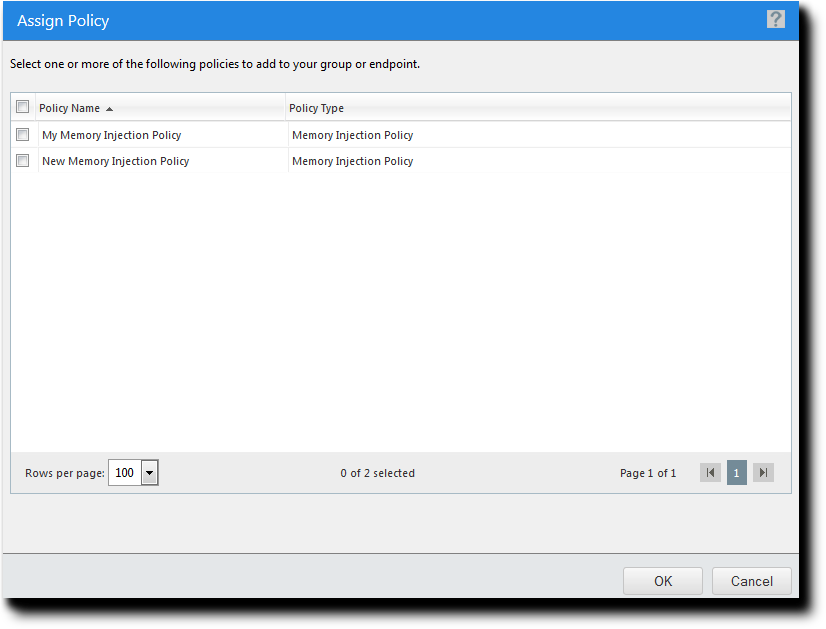
The Assign Policy dialog is displayed, listing existing Memory Injection policies.
- Select one or more Memory Injection policies.
- Click OK.
One or more Memory Injection policies are assigned to the group.
Inherited policies can not be selected. In addition, the Source column reads Inherited.
If multiple Memory Injection polices are assigned to a group, policy settings may conflict. Go to Multiple Policy Resultant Value Rules to see how these conflicts are resolved.
Assigning a Memory Injection Policy to an Endpoint
You can assign a Memory Injection policy to a selected endpoint.
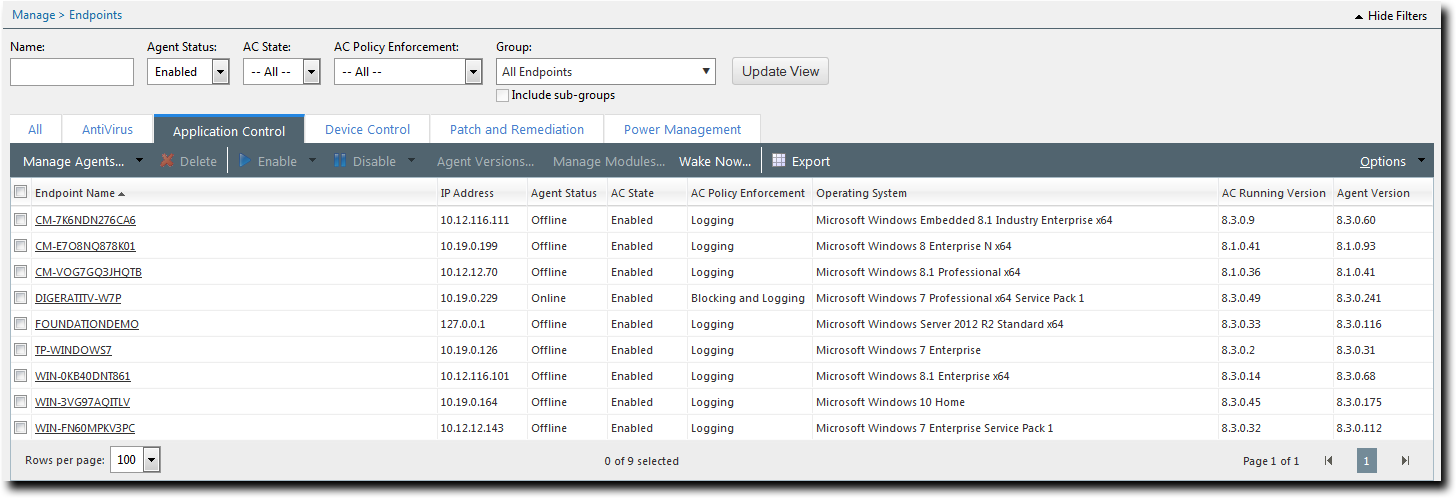
- Select Manage > Endpoints.
The Endpoints page opens to the All tab. - In the Endpoint Name column, click an endpoint link.
Detailed information for the selected endpoint is displayed. - Select the Application Control Policies tab.
A list of Application Control policies assigned to the endpoint is displayed.
- From the toolbar, select Assign > Memory Injection Policies.
The Assign Policy dialog is displayed, listing existing Memory Injection policies. - Select one or more Memory Injection policies.
- Click OK.
One or more Memory Injection policies are assigned to the endpoint.
If multiple Memory Injection polices are assigned to an endpoint, policy settings may conflict. Go to Multiple Policy Resultant Value Rules to see how these conflicts are resolved.
Unassigning a Memory Injection Policy
You can unassign a Memory Injection policy, removing the association between it and any endpoints. Policies that are no longer assigned to an endpoint remain in the system as unassigned policies, which you can re-assign to endpoints at a later time.
- Select Manage > Memory Protection Policies.
- Select one or more Memory Injection policies.
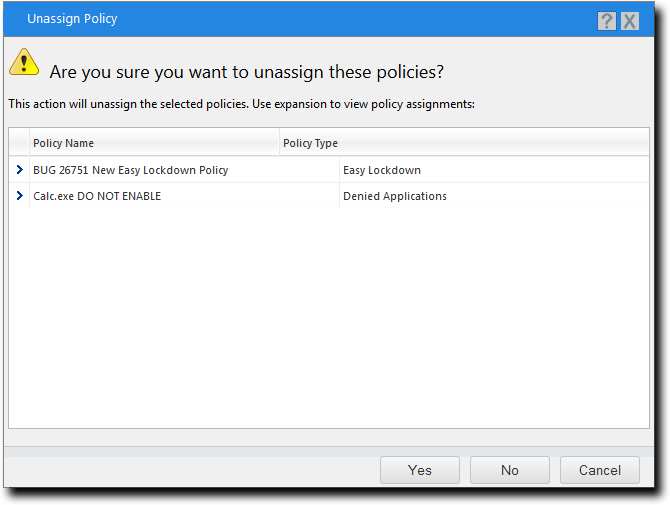
The selected policies are highlighted. - Click Unassign.
One of two confirmation dialogs is displayed, depending on whether you selected a single policy or multiple policies.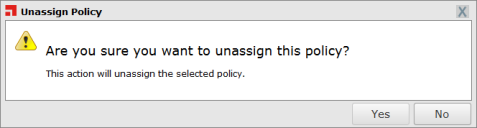
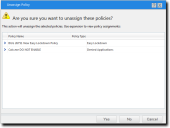
- Click Yes.
One or more Memory Injection policies are unassigned.

Editing a Memory Injection Policy
You can edit a Memory Injection policy and, for example, change its Enforcement option or the endpoints to which the policy is assigned.
- Select Manage > Memory Protection Policies.
- Select the Memory Injection policy to be edited.
- Click Edit.
The Memory Injection Policy Wizard opens. - [Optional] Edit the Policy Name.
- [Optional] Select an Enforcement option.
- [Optional] Select a Logging option. The logging option available depends on the Enforcement option selected in the previous step.
- Select an option under Activation.
-
Click Next.
- [Optional] Create one or more policy exceptions to prevent file processes from being stopped.
- Enter the path or filename.
- Select the exception option.
- Click Add.
The file name is displayed in the exception list. - [Optional] Repeat the previous steps to add all required paths or files.
Log memory injection events, but do not stop process from running If a memory injection event occurs, it will be logged but the process will not be stopped. Note that logging must be turned on.
Exclude from policy
The file is not monitored for memory injection.
- [Optional] Remove a policy exception.
- Select a policy exception from the exception list.
- Click Remove.
- [Optional] Edit a policy exception.
- Select a policy exception from the exception list.
- Click Edit.
The form is loaded with the path/file name and the Exception option of the selected policy exception. - Change the path/file name or the Exception option.
- Click Next.
The Memory Injection Policy Wizard opens to the Assign the Memory Injection Policy to groups and/or endpoints page. - Build a list of targets (groups or endpoints) for the policy, using any of the following methods:
- Select a group or groups from the Groups list.
- Click Add >.
- Select an endpoint or endpoints from the Endpoints list.
- Click Add >.
- Select a group or groups from the Assigned list.
- Click < Remove.
- Select an endpoint or endpoints from the Assigned list.
- Click < Remove.
- Click Finish.
The Memory Injection policy is edited.
You can only edit one policy at a time.
The selected policy is highlighted.
|
Enforce - Stop a process when memory injection is detected |
This will stop any process on any assigned endpoint when memory injection is detected, unless the relevant file or application is specified as an exception. |
|
Audit only - Do not stop a process when memory injection is discovered |
This will not stop a process when memory injection is discovered, but it will log the event. You can analyze the logs to determine what files or applications legitimately use memory injection, and you can then specify them as exceptions. |
| Enforce option selected |
The Logging check box is selected by default but can be deselected if logging is not required. |
| Audit only option selected |
The Logging check box is selected and disabled, which means that logging is mandatory. |
|
Option |
Description |
|---|---|
|
Enable |
The policy will be enabled once it is created, as long as you assign it to a group or endpoint. |
|
Disable |
The policy will be disabled once created, even if it is assigned to a group or endpoint. You can enable it at a later time. |
If you click Finish at this point, the policy will be created but not assigned to any endpoints. You can assign the policy to endpoints at a later time.
The Memory Injection Policy Wizard opens to the Policy Exceptions page.
|
Method |
Steps |
|---|---|
|
To add groups of endpoints: |
|
|
To add individual endpoints: |
|
|
To remove groups of endpoints: |
|
|
To remove individual endpoints: |
|
Use the double-arrows (![]()
![]() ) to switch between groups and endpoints.
) to switch between groups and endpoints.
The selected groups and/or endpoints are displayed in the Assigned list.
Disabling a Memory Injection Policy
You can disable Memory Injection policies without deleting them. The details of the policies are retained and you can enable the policies at a later time.
- Select Manage > Memory Protection Policies.
- Select the enabled Memory Injection policies that you want to disable.
The selected policies are highlighted. - Click Disable.
The selected Memory Injection policies are disabled.
Enabling a Memory Injection Policy
You can enable Memory Injection policies that are currently disabled.
- Select Manage > Memory Protection Policies.
- Select the disabled Memory Injection policy or policies that you want to enable.
The selected policies are highlighted. - Click Enable.
The selected Memory Injection policies are enabled.
Deleting a Memory Injection Policy
You can delete a Memory Injection policy, as long as it is not assigned to any endpoint.
- Select Manage > Memory Protection Policies.
- Select the Memory Injection policy you want to delete, ensuring it is not assigned to an endpoint (Assigned column value of Not Assigned).
The selected policy is highlighted. - Click Delete.
A confirmation dialog is displayed. - Click Yes.
The Memory Injection policy is deleted.
If the policy is currently in use, a message is displayed telling you that the policy can not be deleted until it has been unassigned.
Exporting Memory Injection Policies
You can export a list of policies to a CSV (Comma Separated Value) file. To export data, refer to Exporting Data.
The list of policies is saved as a CSV file with the following columns:
|
Name |
Description |
|---|---|
|
Status |
Enabled or Disabled |
|
Policy Name |
The name of the policy |
|
Assigned |
Assigned/Not Assigned (if assigned, export includes the groups and endpoints that the policy is assigned to) |
|
Policy Type |
The type of policy (Easy Lockdown, Trusted Updater, and so on) |
|
Last Updated Date (Server) |
The date and time (on the server) that the policy was last changed |