Working with Results
To perform tasks associated with job results, click a toolbar button. To perform some tasks, selecting one or multiple jobs from the Results page may be necessary.
The Results page features links to the Details page for endpoints that have agents installed. View endpoint Details pages when you want to view agent-collected data about an endpoint. Links are not available for endpoints without agents installed.
You can also access endpoint details from the Endpoints page.
- Depending on the job results you want to view, select one of the following menu items:
- Review > Asset Discovery Job Results
- Review > Agent Management Job Results
- Ensure the Active or the Completed tab is selected.
- Click the desired job name link.
The Results page for the selected job opens. - Click the desired NetBIOS link.
NetBIOS links are only available for endpoints with agents installed.
The Details page for the selected endpoint opens.
Within Ivanti Endpoint Security, there are multiple methods of installing agents on endpoints using agent management jobs. To create an Agent Management Job that installs agents from the Results page, select Manage Agents > Install Agents from the toolbar.
For additional information, refer to Installing Agents by Agent Management Job.
Within Ivanti Endpoint Security, there are multiple methods of uninstalling agents on endpoints using agent management jobs. To create an Agent Management Job that uninstalls agents from the Results page, select Manage Agents > Uninstall Agents from the toolbar.
For additional information, refer to Uninstalling Agents by Agent Management Job.
From the Results page, you can download an agent installer to the endpoint that you are using.
To download an agent installer from the Results page, select Manage Agents > Download Agent Installer from the toolbar. For additional information, refer to Downloading the Agent Installer.
When a job does not have the scan options selected necessary to identify an endpoint's operating system, Ivanti Endpoint Security identifies the endpoint's operating system as generic or unknown. When this event occurs, you can correct an endpoint's operating system scan result manually.
Change the operating system result of an endpoint from the Results page.
- Select one of the following items from the navigation menu.
- Review > Asset Discovery Job Results
- Review > Agent Management Job Results
- Ensure the Completed tab is selected.
- Click the desired job name link.
The Results page for the selected job opens. - Select the operating system result(s) you want to change.
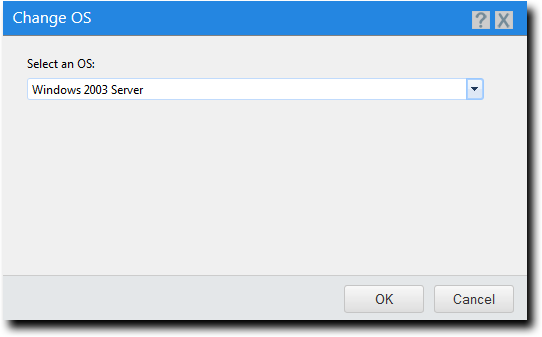
- Click Change OS.
The Change OS dialog opens.
- Select the desired operating system from the list.
- Click OK.
The selected operating system result is changed.
While viewing results for a selected Discovery Scan Job or Agent Management Job, you can delete the entry for any endpoint scanned during the job. Delete entries when you no longer need them; for example, when an endpoint is removed from the network.
Delete endpoint entries from a job's Results page.
- Select one of the following items from the navigation menu.
- Review > Asset Discovery Job Results
- Review > Agent Management Job Results
- Select the Completed tab.
- Click a job name link.
The job’s Results page opens. - Select the check box(es) associated with the results you want to delete.
- Click Delete.
A dialog displays, asking you to acknowledge the deletion. - Click OK.
The selected discovery scan results are deleted from the list.
To export the list of endpoints that are listed on the Results page to a comma separated value (.csv) file, click the toolbar Export button. Exporting data lets you work with that data in other programs for reporting and analysis purposes.
For additional information, refer to Exporting Data.