Service Manager powered by HEAT
Working with Teams and Groups
•Creating a Group in Your Social Board
About Teams and Groups
You can share conversations on the Social Board with specific teams and groups.
•In the Social Board, a team is defined by an administrator. Anyone can create a group.
•Messages sent to a team go to everyone on the team. All team responses can be viewed by other team members.
•Messages posted to a group can be viewed by everyone in the group. Anyone with access to the Social Board can join a group that you have created. You cannot choose which members can belong to your group.
Creating a Group in Your Social Board
1.Log into the
2.Open the Social Board workspace.
3.Click Groups activity > Manage Groups.... The Manage Groups window appears.
Manage Groups Window
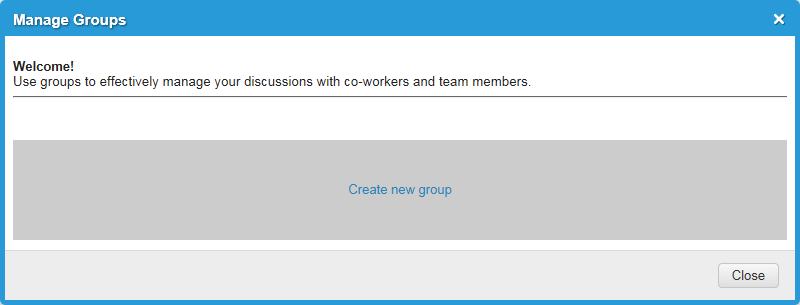
4.Click Create new group. The Create new group window appears.
5.Enter information into the fields.
| Field | Description |
|---|---|
| Name | A unique name for the group. This is how the group is identified by others. |
| Owner | Automatically taken from your login role and name. |
| Description | Optional. A description of this group. |
6.Click Save to save the group.
7.Click Close to close the Create new group window.
Joining a Group
You can join any group that you can see.
1.Log into the
2.Open the Social Board workspace.
3.Click Groups activity > Manage Groups.... The Manage Groups window appears.
Manage Groups Window
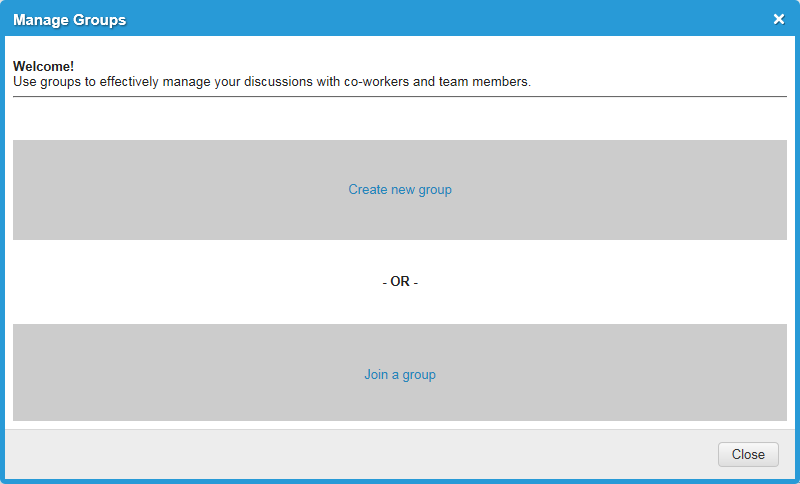
4.If you have never joined a group, two buttons appear. Click Join a group. If you have already joined a group, skip this step.
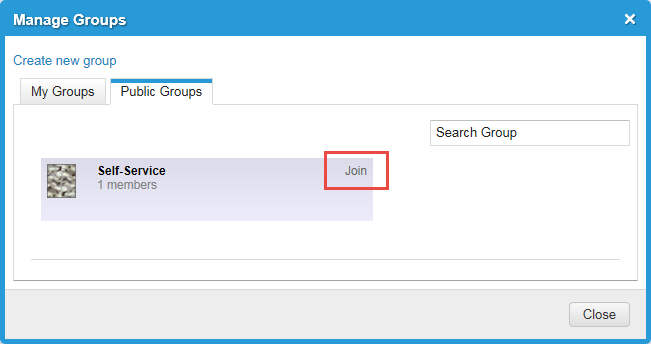
5.From the Public Groups tab, within the group box, click Join.
Join a Group
6.Click Close.
Leaving a Group
You cannot delete a group, but you can leave a group. However, you cannot leave a group that you created.
1.Log into the
2.Open the Social Board workspace.
3.Click Groups activity > Manage Groups.... The Manage Groups window appears with your current groups.
Manage Groups Window
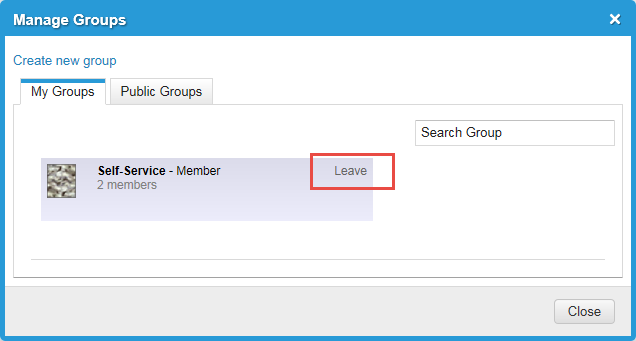
4.Within the group to leave, click Leave. The Leave Group confirmation box appears.
5.Click Yes to leave the group.
The group no longer appears on the My Groups tab.
Was this article useful?
The topic was:
Inaccurate
Incomplete
Not what I expected
Other
Copyright © 2017, Ivanti. All rights reserved.