Creating a Webhook
Important: Limited Support for Actions At present webhooks only supports the Insert Object Action, either as a simple Action or through a composite Action. Support for more Actions will be added in future releases. See Workaround: Updating an Incident using Webhooks for an interim workaround for updating records.
To Create a Webhook:
1. In the Settings menu, click Webhooks Manager in the Build section.
The Webhooks Manager opens.
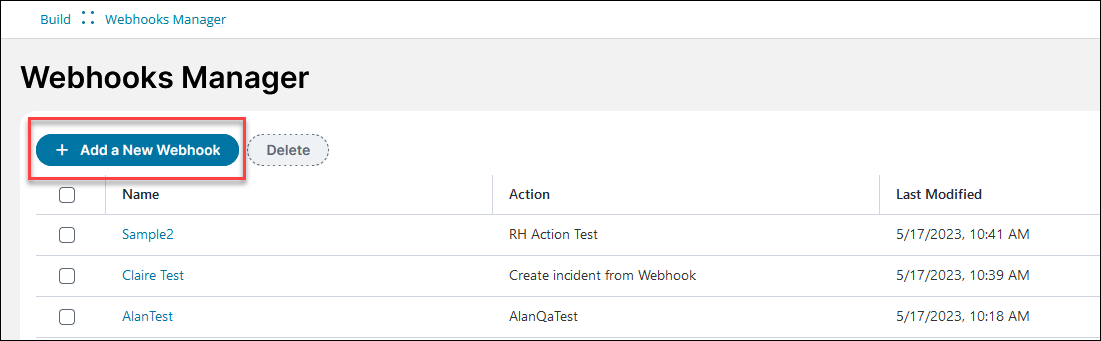
2.Click Add a New Webhook.
3.Enter information into the fields:
![]()
| Field | Description |
Maximum Characters |
|---|---|---|
| Name | Enter a unique descriptive name for your webhook. For example, IncidentSendEmail. |
100 |
| Description | Describe what your webhook does. For example, sends an email to the general company technical support email address when a new incident is created. |
256 |
| Endpoint Extension |
The extension that is appended to the end of your URL used to execute this specific webhook. For example, IncidentSendEmail. Note: The endpoint extension is case-sensitive. |
Alphanumeric only |
| Full Endpoint |
This full endpoint automatically updates to add your endpoint extension onto the end. If you click Copy, the full endpoint is copied into your clipboard so that you can paste it into a tool such as Postman so you can to test your request. |
2000 characters including the endpoint extension |
| Select Business Object |
Select one of the business objects in your ITSM installation. They are shown in the format: BusinessObjectDisplayName (BusinessObject Name) Tip: You can also begin typing the name of your business object into this field and matches appear. |
Not applicable.
|
| Select Action |
When you select a business object, the list automatically displays associated Actions. Select the Action with the Update Variables and Stored Actions block you created for this webhook. They are shown in the format: ActionName (ActionType) Tip: Although using an Action with the Update Variables and Stored Actions block is probably what you'll want to do most of the time, you could also select other actions you've created, for example, a simple Insert a record action that doesn't read data from the webhook. |
Not applicable. |
4.Click Save.
A confirmation message appears saying Webhook successfully created if the save was successful. Your webhook appears in the list and is enabled by default.
5.When the chosen trigger occurs, for example, pipeline failing in Azure DevOps, or record created in CSM, the webhook runs in the background and carries out its task.