SSL Configuration
This section explains how to configure Secure Sockets Layer (SSL) on Internet Information Services (IIS) for first-time users.
The configuration of SSL for a site includes the following steps:
•Create an SSL binding on a site.
•Verify the SSL binding by making a request to the site.
•Configure SSL options in IIS by making SSL a requirement for the site.
Prerequisites
•Install Microsoft IIS in your virtual machine or computer.
•Obtain appropriate certificate for SSL encryption and for authenticating the identity of the server.
Create an SSL binding
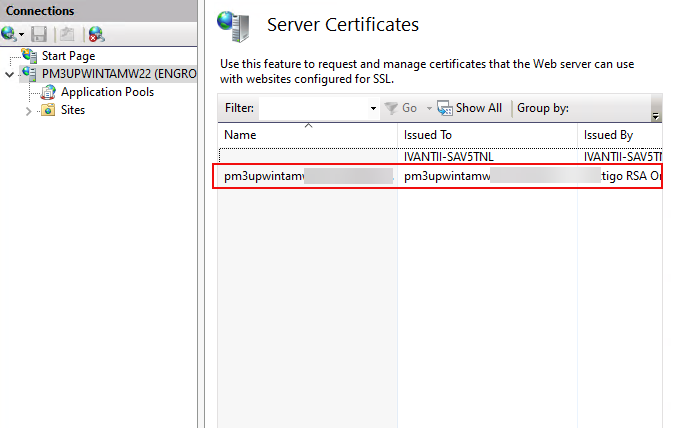
1.Open Internet Information Services (IIS) Manager, and open Server Certificates.
2.Click Import, and upload the certificate.
After the certificate is imported, it appears on the Server Certificates page.
3.In the Connections pane, go to Sites > Default Web Site.
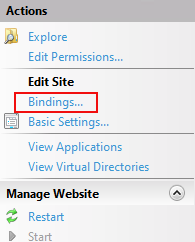
4.In the Actions pane, click Bindings to create SSL binding. The Site Bindings window opens.
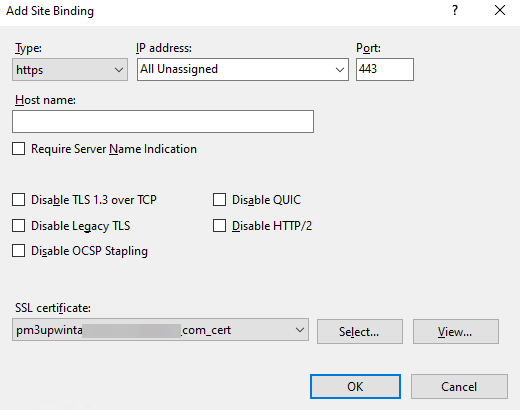
5.Click Add, and enter the required information:
|
Field |
Description |
|---|---|
| Type | Select https from the dropdown menu. |
| IP address | Select All Unassigned from the dropdown menu. |
| Port | Enter 443. |
| Host name | Enter the host name of your virtual machine or computer. |
| SSL certificate | From the dropdown menu, select the certificate that you uploaded in Server Certificates. |
6.Click OK.
IIS creates a new SSL binding for your site.
Next, you can verify whether the SSL binding works.
Verify the SSL binding
1.In the Connections pane, go to> Sites > Default Web Site.
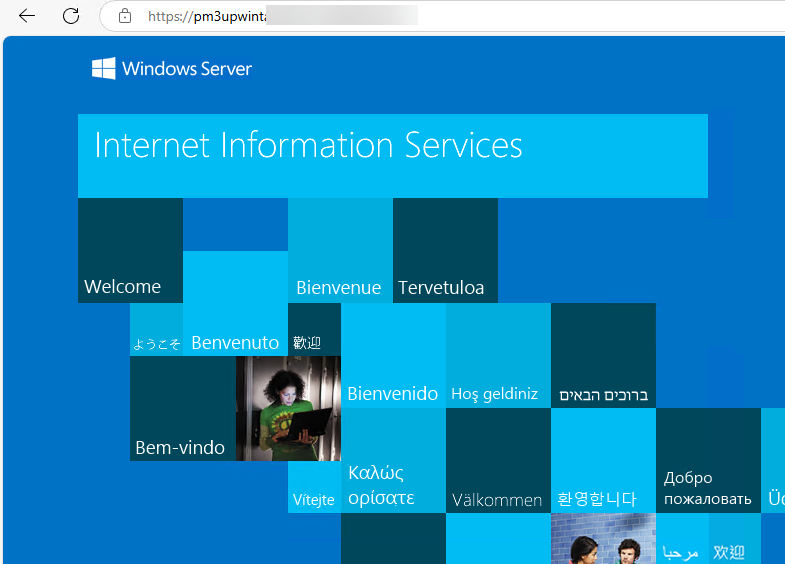
2.In the Actions pane, under Browser Website, click the site you configured.
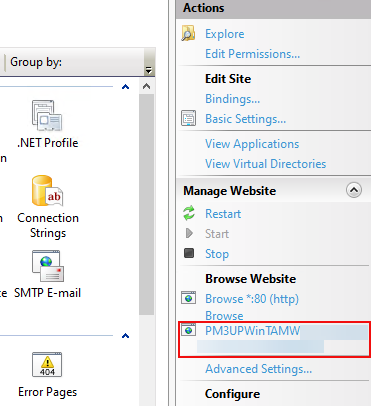
The site opens in your default browser. If SSL is configured correctly, the URL begins with https, indicating a secured connection.
Configure SSL options in IIS
1.Go to Connections pane > Sites > Default Web Site.
2.On the Default Web Site Home page, open SSL Settings.
3.Select the Require SSL checkbox.
4.Select the Accept button for Client certificates.
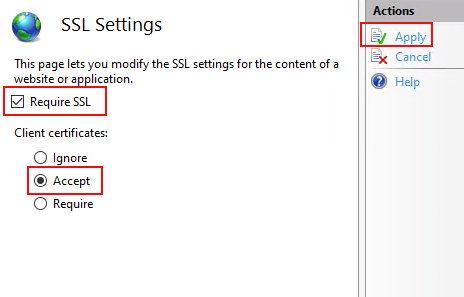
5.Click Apply.
Once you enable this setting, your host device is secured and you can access the application securely with https.
Manage trusted root certificates for a local computer
To prevent security warnings in the browser, you need to add the certificate to the Trusted Root Certification Authorities store on your local computer so that the browser recognizes it as a trusted source.
To add the certificate to the Trusted Root Certification Authorities, follow these steps:
1.Click Start and search for mmc.
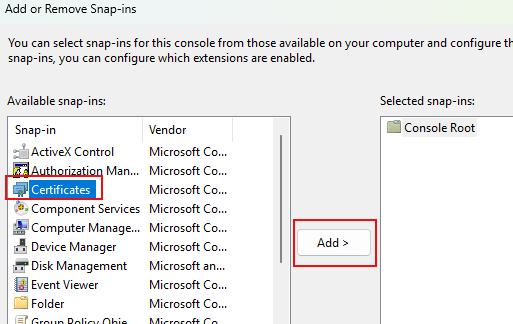
2.On the File menu, click Add/Remove Snap-ins.
3.Under Available snap-ins, select Certificates and click Add.
4.Select Computer account, and click Next.
5.Click Finish, and then click OK.
6.In the console tree, go to Certificates (Local Computer) > Trusted Root Certification Authorities.
7.Right-click Certificates, and go to All Tasks > Import.
8.Click Next, and upload the same certificate you used for SSL binding.
The local computer now trusts your certificate, and any connections or applications that rely on this certificate will recognize it as secure and valid.
If you want to configure both your Neurons for ITSM application database and configuration database to use SSL, refer to Optional SSL Configuration.