Filters
The Filters tab lets you apply the filters you created on the Web Statistics > Settings > Filters tab, modify the filters for this view part, or create a custom filter.
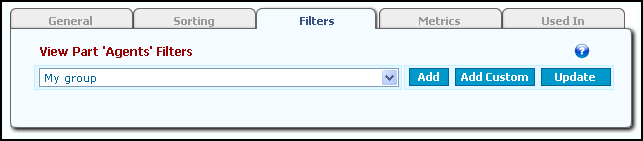
To Apply a Filter:
- Select a filter from the drop-down list.
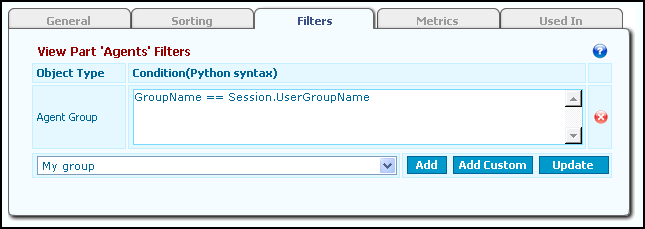
- Click the Add button. The filter displays in the table.
- Click the Update and Commit Changes buttons to enact the changes.
To Modify a Filter for the View Part:
- Add the filter to the view part.
- Once the filter displays in the table, you can edit the information in the Condition(Python syntax) field.
- Click the Update and Commit Changes buttons to enact the changes.
To Add a Custom Filter:
- Click Add Custom. The Add Custom Filter window opens.
- Select an Object Type and type the filter condition information in the Expression field.
- Click the Add button. The custom filter displays in the table.
- Click the Update and Commit Changes buttons to enact the changes.
To Remove a Filter from a View Part:
- Click the red x icon next to the view part.
- Click OK to confirm the deletion.
- Click the Update and Commit Changes buttons to enact the change.