New Installation of the DSM Suite
When the DSM modules are installed, the components are copied to the Central Depot. Then, the Central Management Point is set up with the basic DSM server components. Therefore, the installation must be executed directly on the Central Management Point!
Starting the New Installation
Start the installation directly on the Server (Business Logic Server) of the future Central Management Point. Then follow the wizard's instructions.
- For installation you must log onto the server directly or use a console session. An installation using a normal Remote Desktop Connection is not possible.
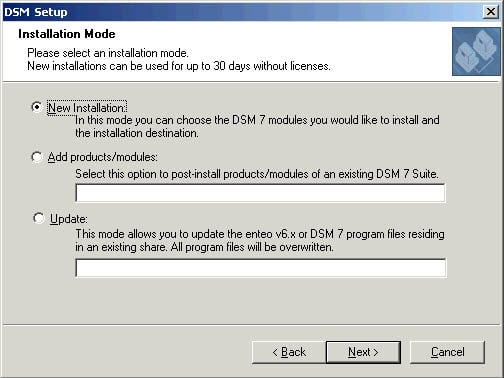
- Select 'New installation'.
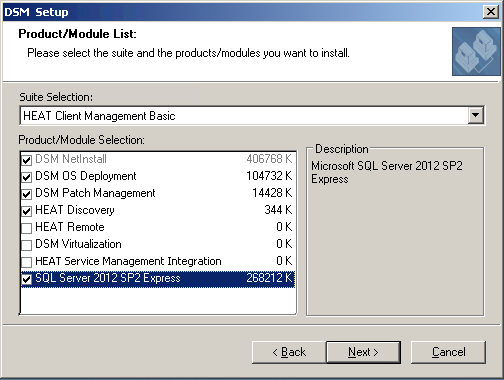
- Select the suite or the modules you want to install.
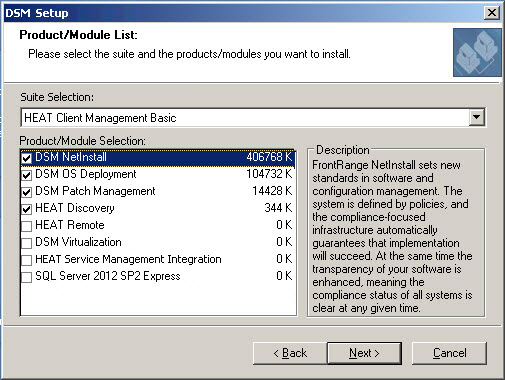
- Select the option SQL Server 2012 SP2 Expressif you want to use SQL Server 2012 SP2 Express for the database system.
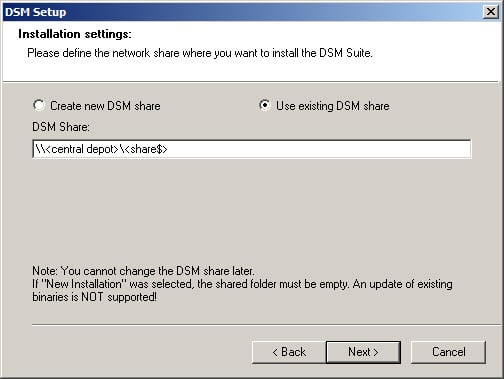
- Enter the computer with the already prepared DSM share on the central depot...
...or create a new DSM share: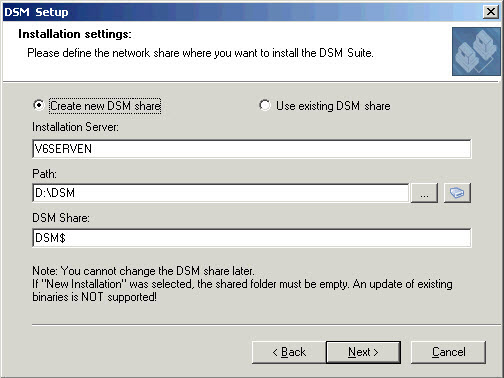
Do not install the central depot in %PROGRAMFILES(x86)%\NetInst (usually: C:\Program Files (x86)\NetInst). This directory is reserved for the DSM Client components.
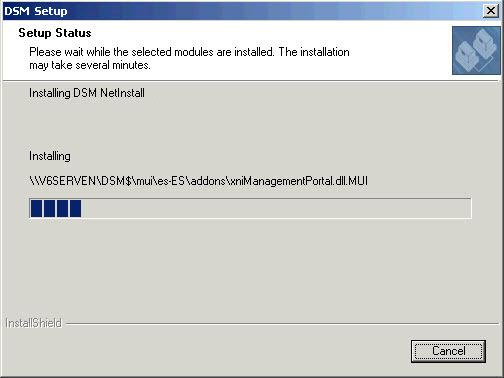
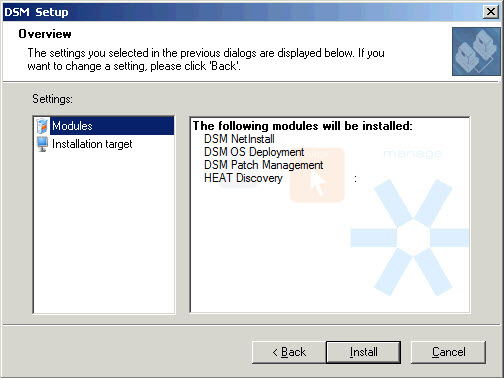
- Check the selected settings and then start the installation by clicking Install.
Unlike the other DSM modules, DSM Remote is not configured automatically. If you want to use this module, please find more information on how to activate DSM Remote in the DSM Remote Online Documentation by selecting Tasks > Configuration > Configuration of the Remote Client > Automatically Configure the Remote Client. When you are finished with the intial configuration, you will find the DSM Remote Online Documentation in the DSM Management console's menu bar: Help > DSM Remote.
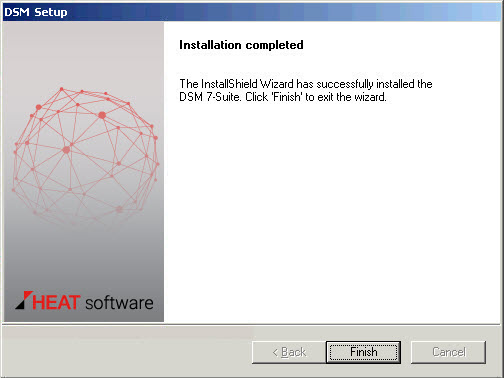
- When the DSM program files have been copied on the central depot, the DSM Management Console (DSMC) is opened automatically. The initial configuration is set up for a minimal DSM infrastructure (see the following chapter).
