Entering the DSM Accounts
On the following wizard pages, enter the accounts DSM needs for its tasks.
Entering the Accounts for the DSM Clients
First, enter the accounts the DSM Client components need on all managed computers.
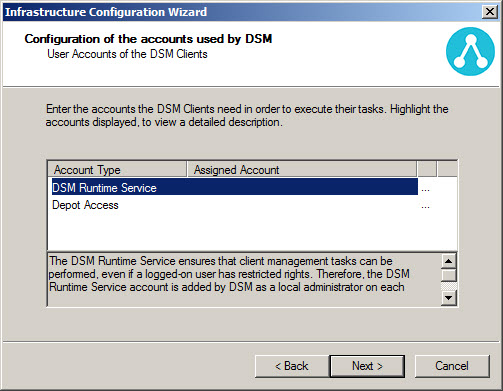
Generally, you can use a dedicated account or existing accounts.
The wizard contains information on the individual accounts.
See also: Creating User Accounts for DSM and Share and File System Permissions
Entering the Accounts for the Management Points (Server)
Then, enter the accounts the DSM Server components need on the Management Points. DSM provides special protection for the passwords of these accounts.
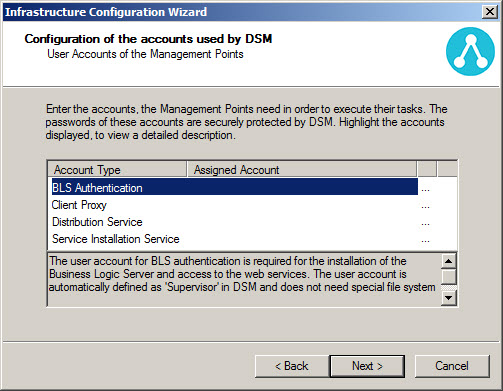
The wizard contains information on the individual accounts.
See also: Creating User Accounts for DSM and Share and File System Permissions
Entering the Account for the Supervisor

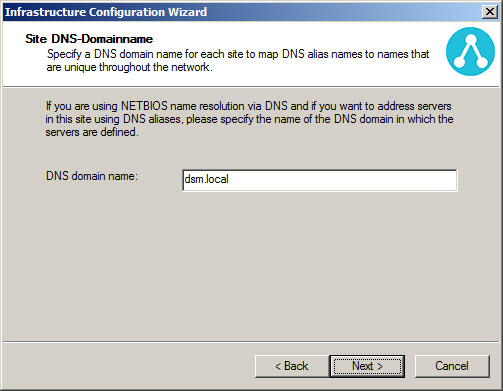
Specifying a DNS Domain
Recommendation: Address the servers via DNS aliases. Leave the field blank if you are not using DNS.
Defining a Site
Define the characteristics - address type and value range - which will provide the basis for assigning managed computers to this site. Click New... to set the address range(s).

You can set the address range with different criteria (Edit). Recommendation: Use an IP address range for the site definition. (You may change the site definition later.) Your workstation must be located in the specified value range. (This condition is only valid for the first site which you are just creating.)
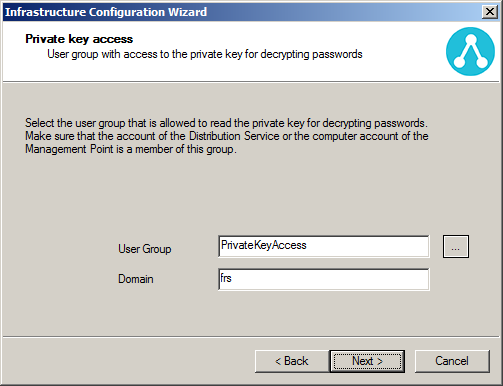
Entering a User Group for Accessing the Private Key
Enter the user group that has access to the private key which is used to decrypt the passwords of the Management Point accounts. DSM automatically protects the location of the private key against misuse.
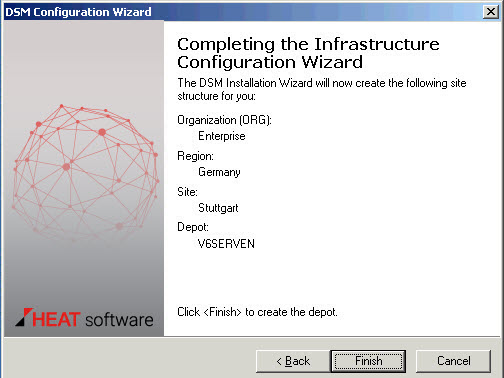
Your specifications are summarized in the final screen, as in our example:
Below is the site structure you just created:
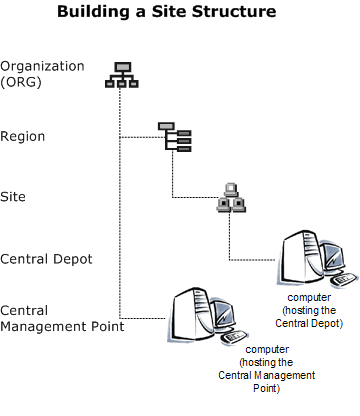
The central depot on which you installed the DSM Suite automatically becomes the master depot in this site.