Defining the Timeframe
DSM timeframes consist of two definitions that belong together. One definition determines the weekdays and the times when the timeframe is active. The second definition determines the actual calendar days of a year when the first definition applies (based on the weekdays and times).
In other words: The default behavior is defined for the weekdays and the exceptions are defined with the calendar days (for example to activate the timeframe every second week).
To define the timeframe, please proceed as follows
- Open the Timeframe dialog (for example while you are defining the Maintenance Timeframe on the Configuration tab).
The dialog opens in the 24x7 tab.
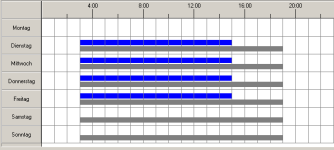
In this dialog you can specify the weekdays and the times when the timeframe is active or not active.
Also, you can specify whether the end user may or may not change the settings. - Specify weekly definition (24x7):
Use the mouse to select the days and hours you want to activate or deactivate, then click the respective buttons.
You can also specify some days or hours that may be user-defined.Active times appear blue and deactivated times have no color. User-defined times appear gray.
If the maintenance timeframe is active, the Installer is generally allowed to do maintenance, for example install packages. If the maintenance timeframe is inactive, the Installer can only execute installations by actually ignoring the maintenance timeframe (if the appropriate policy property is specified).
It is up to the end user to decide when they want the user-defined timeframes to be active or not. - Go to the 365 tab.
The 365 tab opens.
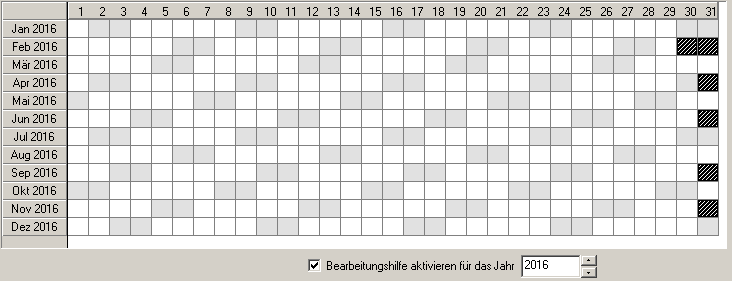
On this tab you can specify the calendar days of the year when the weekly definition is applied. If you activate all calendar days (default setting), the weekly definition is always applied. If you only activate some calendar days, the weekly definition is only applied to these days. - Specify yearly definition (365):
Click the calendar days you want to activate or deactivate.Active times appear blue and deactivated times have no color.
The definition always applies to a perpetual calendar which is independent of the current year!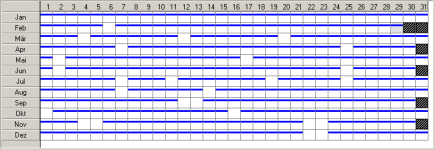
Use the option Display supporting information... to show the weekends of a specific year if you want to define a timeframe that depends on the weekdays.
Also, you can use any of the provided options to select or deselect recurring days. First, select the respective calendar days or select a starting day and then click Select to apply the restriction you want (for example 0 days after the first Saturday of a month or every second Tuesday). After that you can activate or deactivate the selected days.
Display of the weekends in 2016: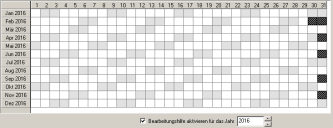
Note that whatever you specify on the 365 tab generally applies to all years; also note that only the calendar days are stored without referring to the actual week days (e.g. May 5, May 15, May 29 etc.). This means that you cannot specify different definitions for individual years.
The display of the weekdays in this view is only supportive information - Save the timeframe you defined by clicking OK.
The timeframe is stored independent of the year.