Editing Shortcuts
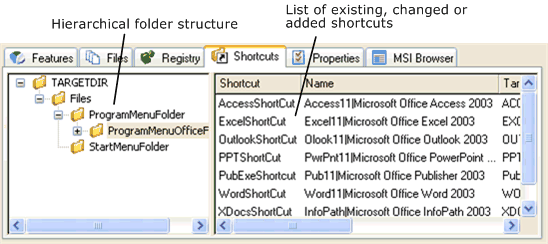
The Shortcuts tab of the MSI Transform Editor displays the shortcuts installed on the managed computer.

The dialog initially only displays the folders already containing shortcuts. The context menu command MSI System Folders enables you to show more folders.
- You can move existing MSI shortcuts (drag & drop) or delete them. If needed, you can add folders.
- You can also create new shortcuts in the MSI-based software. These shortcuts, however, do not support the MSI functions App Repair or Install On First Use. You can also create new shortcuts inside new folders. New shortcuts can only be renamed or deleted .
To create a new shortcut:
- Select
the desired folder.
The context menu command MSI System Folders > ... enables you to show more folders.
To create a new subfolder, select New > New Folder from the context menu. - Select New > New Shortcut from the context menu.
- In
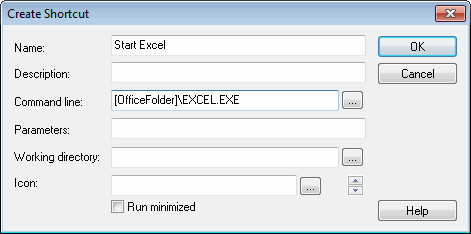
the dialog, select the required command line. The easiest way to find
this is by using the Browse button.
The dialog initially only displays the folders that the MSI-based software specifies as being installed on the managed computer. Clicking displays all MSI folders. Select the folder or file you wish to create the shortcut to.
Click Open. - You
must specify the shortcut Name.
The remaining dialog fields are optional.
You can use MSI properties and MSI system folders in path specifications, but you must put the names in square brackets. Note that once you’ve closed the dialog you cannot edit the specified values.
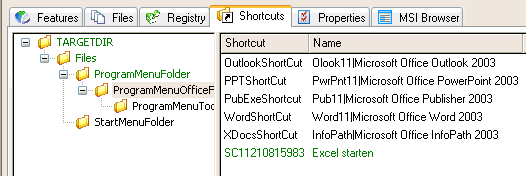
The new shortcut is shown:
