Using Patch for Configuration Manager and WSUS to Create a Code Signing Certificate
Your user account must be a member of the WSUS Administrators group in order to create a code signing certificate through the Patch for Configuration Manager interface.
To create a self-signed code signing certificate using WSUS:
- Within the Configuration Manager Software Library workspace, expand the Software Updates > Ivanti Patch folder and click on Updates.
- On the Configuration Manager Home tab, click Settings.
- On the Patch for Configuration Manager Settings dialog, select the WSUS Server tab.
- Click Create a self-signed certificate.
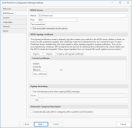
If a certificate already exists a Warning dialog is displayed.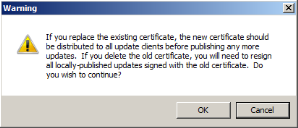
- Read the information and then click OK.
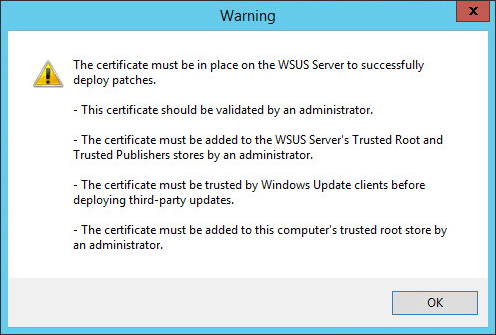
The dialog shows the requirements that must be met before using the certificate.
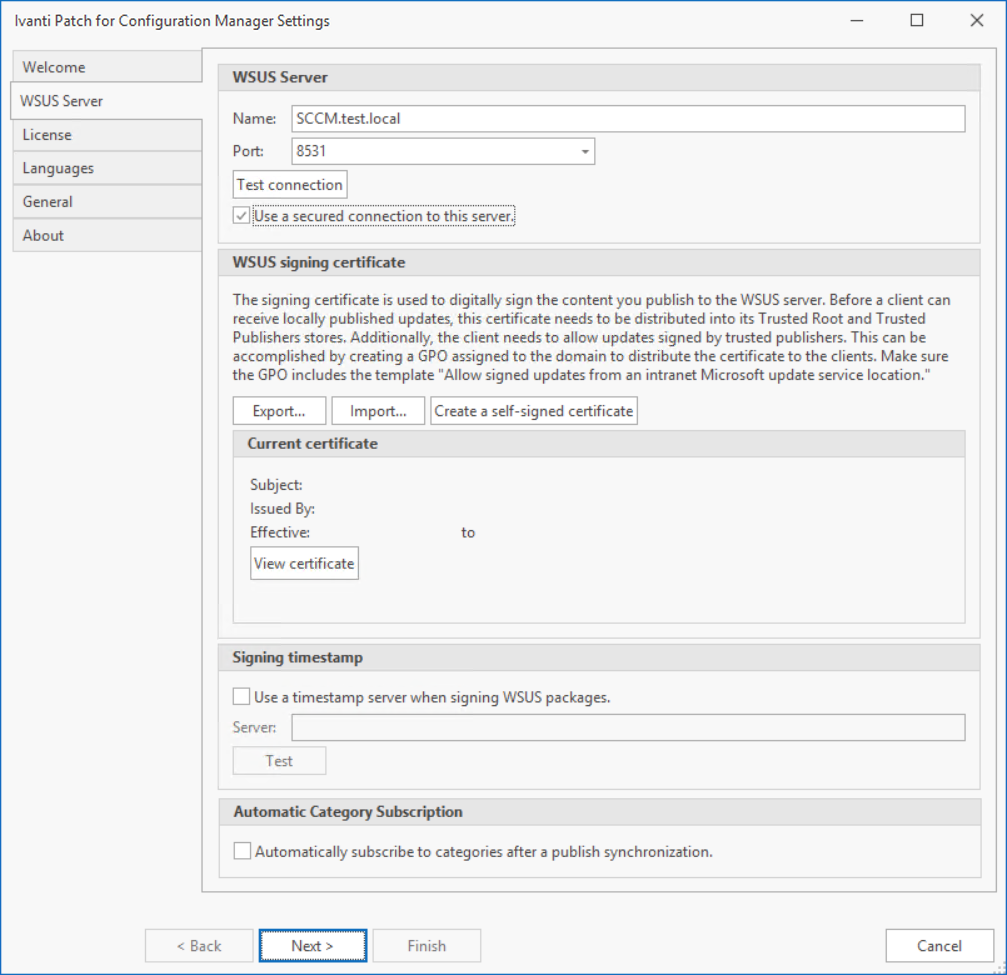
Verify that the Use Secure Sockets Layer (SSL) to connect to this server check box is enabled. A secure connection to the WSUS server is typically required when creating a self-signed certificate.

Do not proceed unless you are certain you need a different certificate. The warning message explains what you will need to do if you are replacing or deleting an existing certificate.
If you click OK, a second Warning dialog is displayed.
The new certificate is created on the WSUS server and is registered with WSUS. Details of the certificate are displayed in the Current Certificate area.

If you are running Configuration Manager with Run as Administrator privileges, the certificate is also automatically installed for you in the following certificate stores on the local Configuration Manager console:
- Trusted Root Certification Authorities
- Trusted Publishers
If the automatic installation fails you will have to manually distribute the certificate to the stores.