WSUS Server Tab
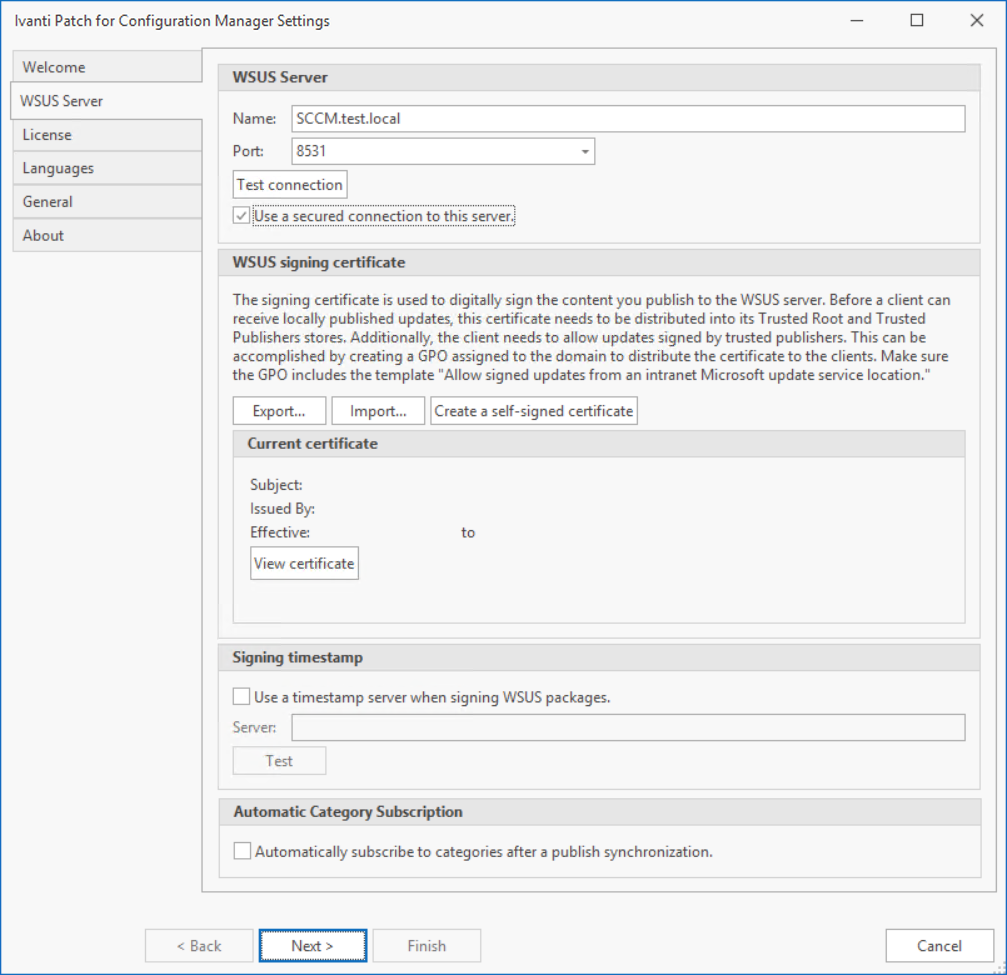
The WSUS Server tab is used to configure how the plug-in will communicate with your WSUS Server. It is also used to define the certificate that will be used to digitally sign the content that is published to the WSUS server.
WSUS Server Information
- Name: Confirm the name or IP address of your WSUS Server. This information will normally be detected and automatically populated.
- Port: Confirm the port number used when making a connection to your WSUS Server. The default value for unsecured connections is either 80 or 8530. For secured connections you will typically use either 443 or 8531.
- Test connection: If you want to test your ability to access the WSUS Server, click Test connection.
- Use a secured connection to this server: If your WSUS Server has been configured to use a secure connection, enable this check box. A secure connection is mandatory if you need to import a signing certificate. See Importing a Certificate for more information.
Code Signing Certificate Information
A code signing certificate is required in order to publish updates to the WSUS server. If you already have a signing certificate in place it will be shown in the Current Certificate area.
You can perform the following certificate tasks:
- Export: Exports the current certificate from within Patch for Configuration Manager. For security, the certificate is exported without the private key. After exporting the certificate you will distribute it to your clients and to your infrastructure machines (e.g. other machines that run the Patch for Configuration Manager plug-in, downstream WSUS servers, and Windows Update clients). This is necessary in order for the machines to receive locally published updates.
- Import: Imports a code signing certificate that was created by a Certificate Authority (CA). A secure connection is required in order to import a certificate.
- Create a self-signed certificate: Creates a code signing certificate for your enterprise. This process uses the services of WSUS to create the certificate.
- Use a timestamp server when signing WSUS packages: Indicates if you want to apply a timestamp to your WSUS packages during the publication process. Use the Server box to specify the URI path to your preferred timestamp server.
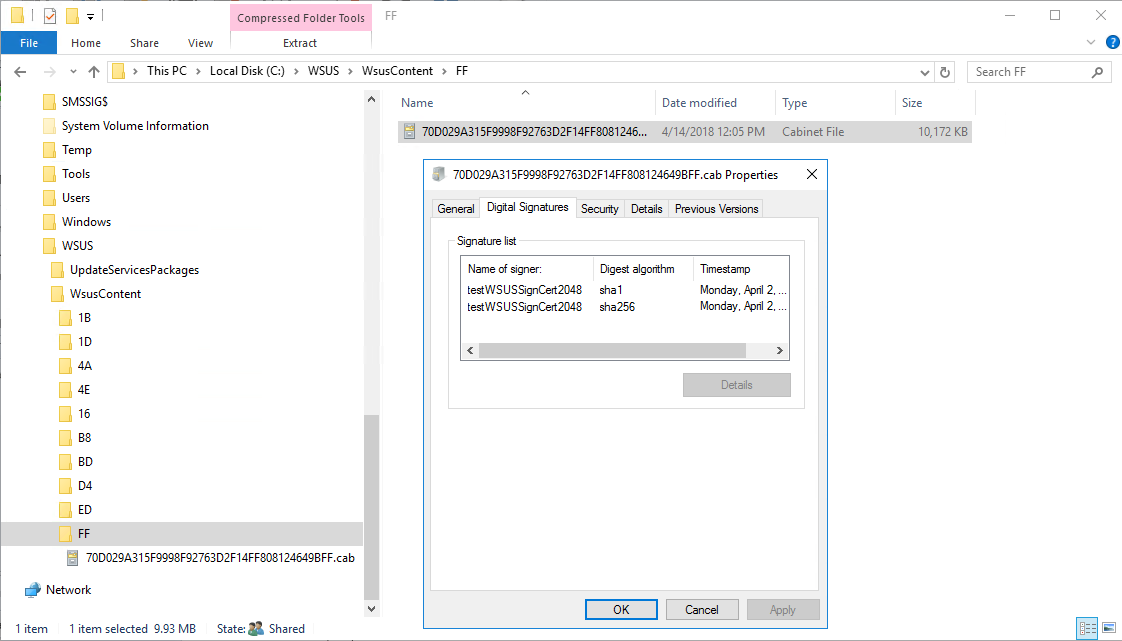
- Go to your WSUS Server.
- Locate the .cab file associated with a published update.
The location of the .cab file can be found in the Published Third-Party Updates workspace. Select the desired published update and then in the bottom pane look for the Content location label. - Right-click the .cab file, select Properties and the timestamp will be found on the Digital Signatures tab.
For detailed information on exporting, importing, creating and renewing certificates, see Certificate Overview and the other certificate topics.
One benefit of providing a timestamp is that you will not need to re-sign update packages when a WSUS signing certificate expires. This is because the timestamp allows the signature to be verified even after the signing certificate has expired. The process for re-signing updates and redistributing them to your distribution points can be a tricky and time-consuming effort, so applying a timestamp can help you avoid a lot of pain.
To verify that the timestamp process is working properly, click Test. If you are an advanced user and you want to see the actual timestamp after it is applied, do the following:
For example:
Automatic Category Subscription
The normal process is to automatically subscribe to a WSUS category after publishing an update only if the update is in a Software Update Group and requires a synchronization. If you always want to subscribe the published packages regardless of whether the update is in a Software Update Group and/or requires a synchronization, then enable the Automatically subscribe to categories after a publish synchronization check box.