Automated Workflows: Overview
Summary: How to create and maintain a workflow that automatically maps any finding that matches specific filters
To create a workflow, you ordinarily select findings to associate to a workflow from the Host Findings or Application Findings pages. The Ivanti Neurons platform also allows you to associate a Risk Acceptance or False Positive workflow with a filter. As the system ingests new findings, it will automatically map any findings that match the filter to a workflow.
Using this feature, you can automatically assign findings to workflows that meet specific criteria. For example, say that you know that your scanner will find future instances of a particular plugin on similar assets. However, your team considers this plugin a false positive. As scanning continues on your network, the system will continue to populate these false positives as new open findings for the next several weeks. You would rather close them with an automated workflow.
The system will also map existing findings to an automated workflow based on any filter criteria: the value for a scanner-specific field, a tag name, a custom attribute, etc. Consequently, automated workflows can target either new ingested findings or existing findings.
Overview
Automated workflows have the same properties as corresponding manual workflows of the same types. To understand how an automated workflow operates, you need three additional pieces of information:
- Filters: The filters determine which findings that the system will automatically map to the workflow.
- Scope Override Authorization: All automated workflows have a Scope Override Authorization of "Automated". Only the system can add findings to the workflow.
- Automation Stop Date: The system will continue to map findings until the automation stop date unless the workflow meets some additional criteria (see Stopping and Restarting Automation below).
Once you request the workflow, the system will start to map the findings to the workflow. The system will update the workflow after ingestion of new matching findings.
The system also regularly schedules workflow automation jobs every 24 hours. If an existing finding changes state and now matches the workflow filters, the system will add the finding to the workflow within the next 24 hours.
Creating an Automated Workflow
In this example, assume that you want to do a Risk Acceptance of Info findings on a small group of assets called "Test Environment".
Go to the Host Findings page. Apply the appropriate filters to identify all Info findings in the group Test Environment. Uncheck any selected findings.
Then go to the Workflow menu and select Create an Automated Workflow from Filter.

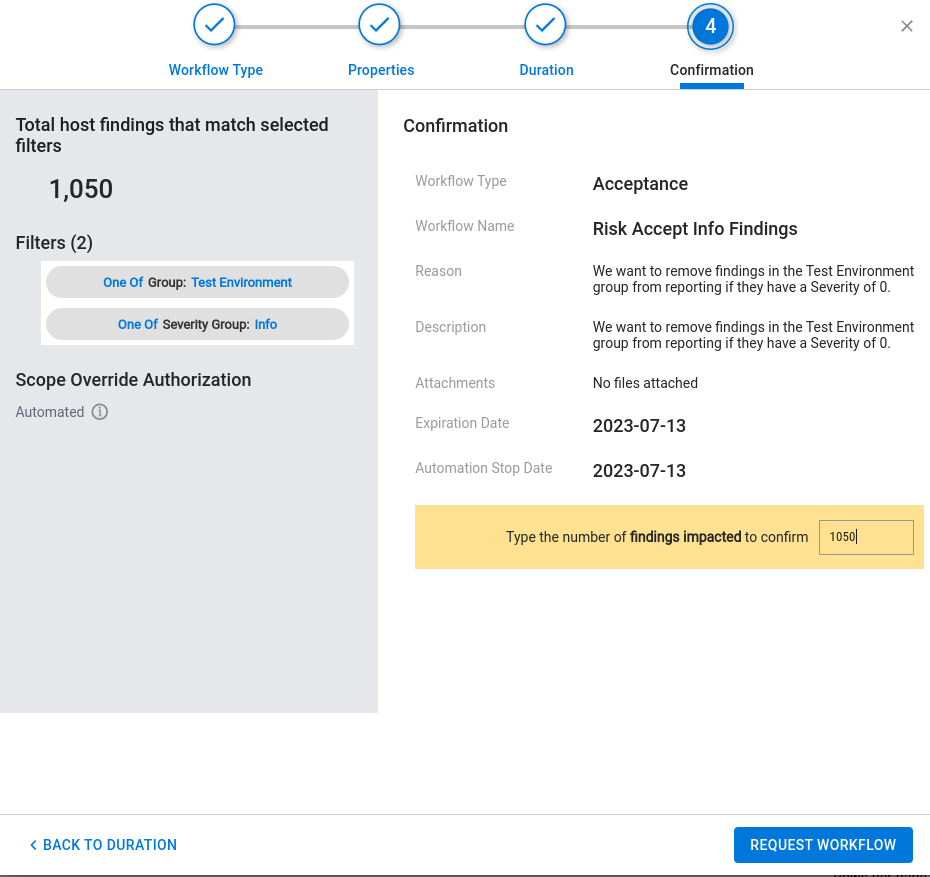
In the first step, choose to create a Risk Acceptance workflow. You should review the total number of findings that currently match the filters on the left. Once you create the workflow, you (and any other user) will have no way to change the workflow filters.

In step 2, provide a Name, Reason, and Description for this workflow.

In step 3, choose the expiration date and the automation stop date for the workflow. The automation stop date can be up to 180 days in the future or match the expiration date, whichever comes first.

In the last step, you can review your workflow request before submitting. You must enter the number of findings associated with the filters (the findings impacted) before you can submit.
Updating an Automated Workflow
While the workflow remains in a Requested or Reworked state, you can modify any of its properties other than the filters or the workflow type.
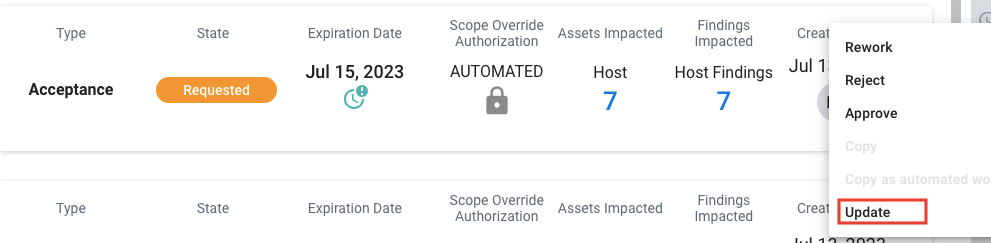
To update an automated workflow, go to the Workflows page. Select Update from the Options menu on the workflow card to update it.
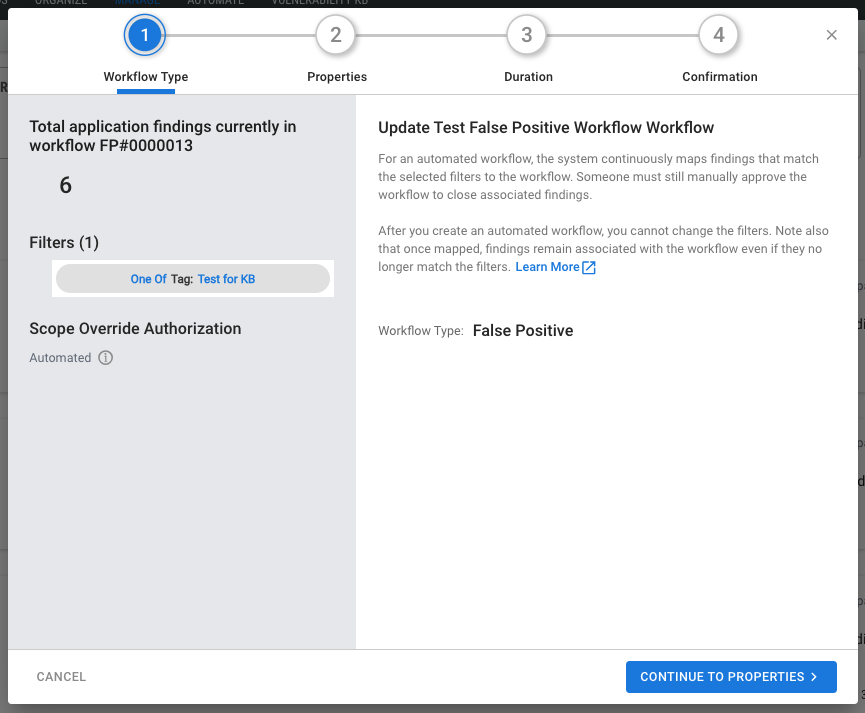
On the first page, you can review the workflow type, the number of findings currently associated with the workflow, and the filters.
To update workflow properties such as the name, description, or attachments, go to step 2.

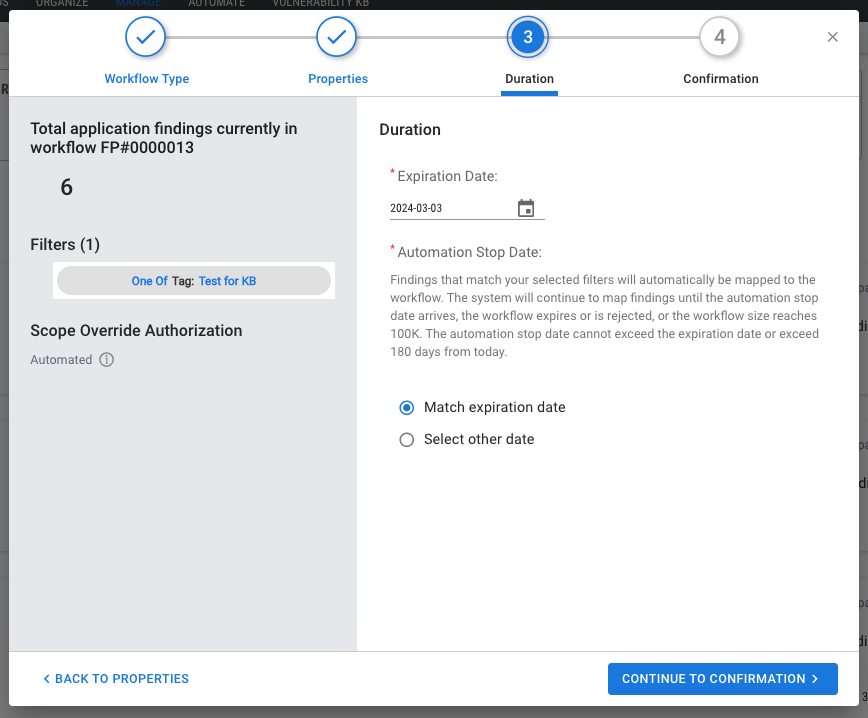
On step 3, you can change the expiration date or the automation stop date.
On step 4, review your changes. To submit, enter the number of findings associated with the workflow (shown at the upper left) in the yellow box at the bottom.

Stopping and Restarting Automation on Approved Workflows
The system automatically stops mapping findings on the automation stop date for any workflow in the Requested, Reworked, or Approved states. It also stops if the workflow is rejected, expires, or becomes too large. The system can add up to 100,000 findings to an automated workflow.
For workflows in the Requested or Reworked states, you must set a valid automation stop date before you can update the workflow. Once someone approves the workflow, you can manually stop automation without re-opening any of the findings already associated with it.
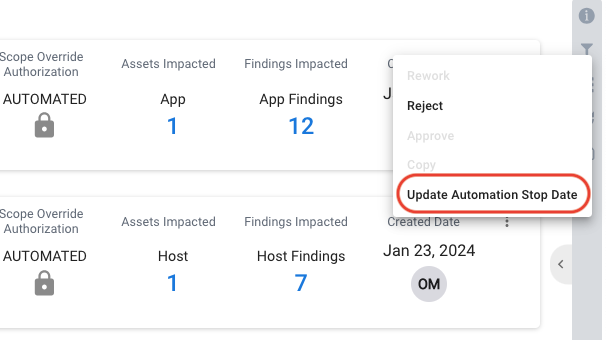
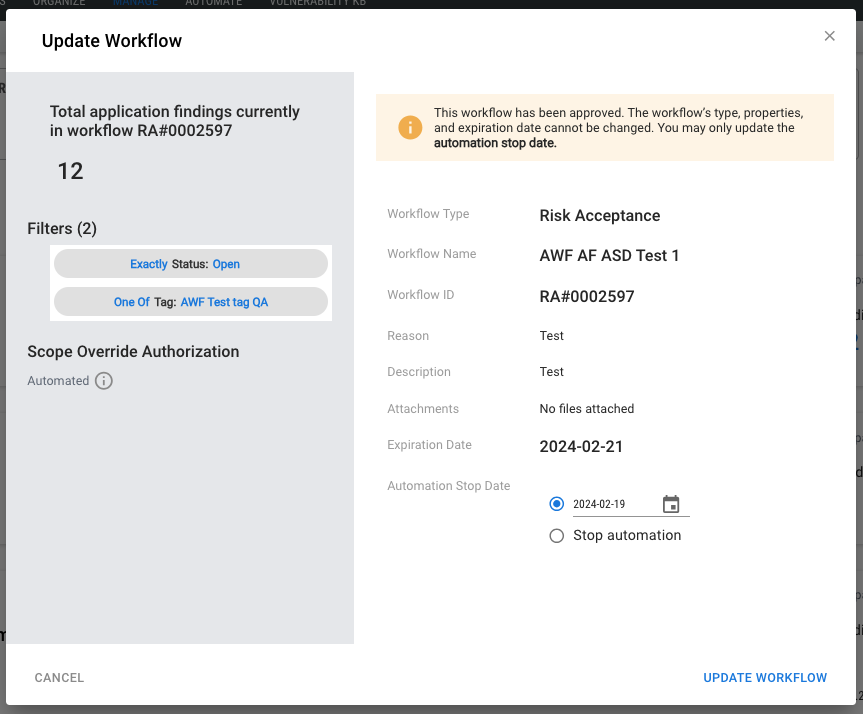
For an approved workflow, the Workflows page explicitly lets you modify the automation stop date. Open up the Options menu on the workflow card. Then click Update Automation Stop Date to open up the dialogue.
Once you open up this dialogue, you can either change the automation stop date or stop automation. If you stop automation, the system sets the workflow to yesterday’s date.
Resolving Issues with Creating an Automated Workflow
The system may prevent you from creating an automated workflow for a couple of reasons:
- Your filters matches more than 100,000 findings. Close the dialogue to modify your filters.
- You already have a workflow of the same type with the same filters. No two workflows of the same type can have the same filters unless one of them is in the Expired or Rejected state. The error message will tell you the name of the conflicting workflow. If you must create a workflow with duplicate filters, reject the existing workflow.

FAQ
Is it possible to remove findings from an automated workflow?
The system can only add findings to a workflow. Once this mapping happens, the findings remain in the workflow regardless of whether they continue to match the workflow filters.
Can workflows of different types share the same filters?
Yes.
Can workflows targeting different types of findings (Host or Application Findings) share the same filters?
Yes.