Creating a Connector
Summary: How to configure a connector in Ivanti Neurons RBVM/ASPM/VULN KB.
The API Connectors page allows for connectors to be set up to automatically ingest scan files. This eliminates the need for manual scan file uploads in many instances.
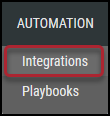
Navigate to the Automation > Integrations page.
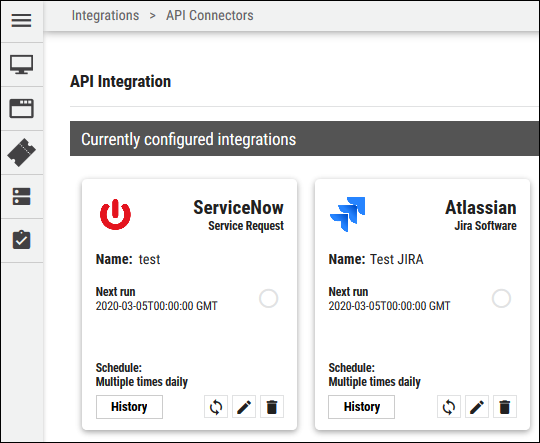
The top of the Integrations page shows the currently configured connectors (if set up).
The Add a New Integration section contains all types of integrations currently supported by the Ivanti Neurons RBVM/ASPM/VULN KB platform, sorted by integration type (i.e., network, application, ticketing system, asset management, and compliance).
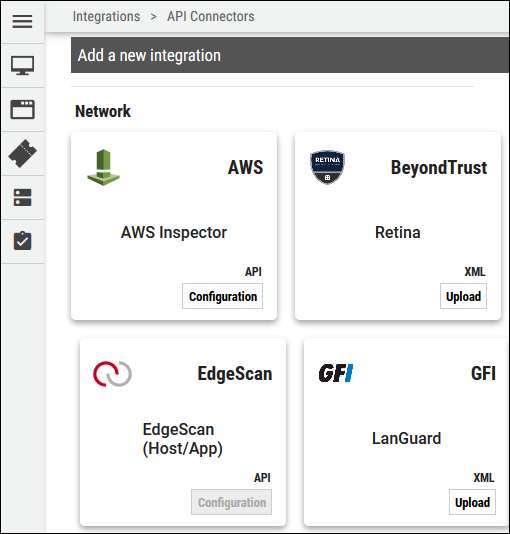
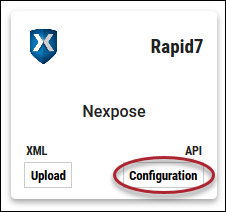
To configure a connector, click the Configuration button on the connector to create.
You are now prompted to specify the connector URL and credentials for the new connector.

The following field entries are generally required to configure the connector:
-
Connector Name: Name for the connector.
-
Network: Name of the network in which connector data will be ingested.
-
Username: Username used to access the connected system.
-
URL: The URL to access the specific instance of the connected system.
-
Password: Password used to access the connected system.
Based on the individual connector type, you may be prompted to specify other information, such as version numbers, applications, and assessments to update with the connector.
Fill out the information in the Connection section and click Test Credentials to validate the information entered is correct.
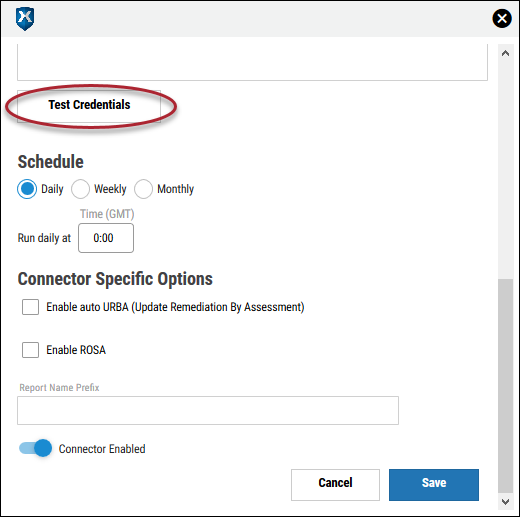
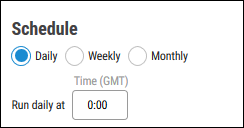
The Schedule section allows you to specify the specific interval or the exact time and date when the connector uploads data to the Neurons RBVM/ASPM/VULN KB platform.
The Connector Specific Options section allows the user to Enable auto URBA (Update Remediation by Assessment) and Enable ROSA. Choosing to enable URBA ensures the most recent scan file pulled from the connector is compared to existing data in Neurons RBVM/ASPM/VULN KB after it uploads. Doing this automatically closes or reopens findings based on the new scan file pulled from the connector.
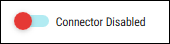
To enable the connector to start running on its schedule, ensure the Connector Enabled slider is blue. If you need to pause the connector or stop it from running in the future, click the slider to disable the connector.
After completing the form, click the Save button. After this is finished, the connector will reach out to your scan file at the designated time, look for any new scan files and pull it into Neurons RBVM/ASPM/VULN KB.