Creating a Custom Attribute
Summary: How to create a new custom attribute
To create a custom attribute, you must have the IAM privilege Client Settings Control.
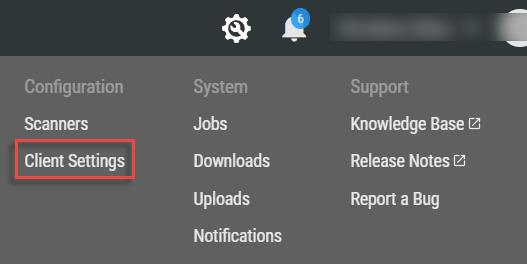
To create a custom attribute, you need to navigate to the Client Settings page. The Client Settings are accessible from the right top of the Navigation Bar. Go to Configuration > Client Settings.
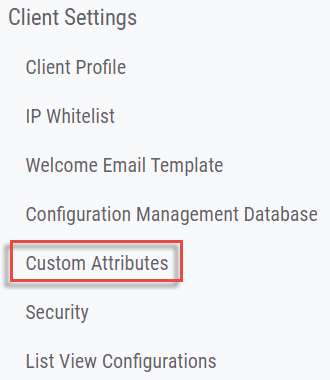
When viewing Client Settings, use the navigation options on the left-hand side of the screen to select Custom Attributes.
In the Custom Attributes configuration dialogue, you must determine whether you want to your custom attribute to live on the Hosts, Host Findings, Applications, Application Findings, or Groups list views.
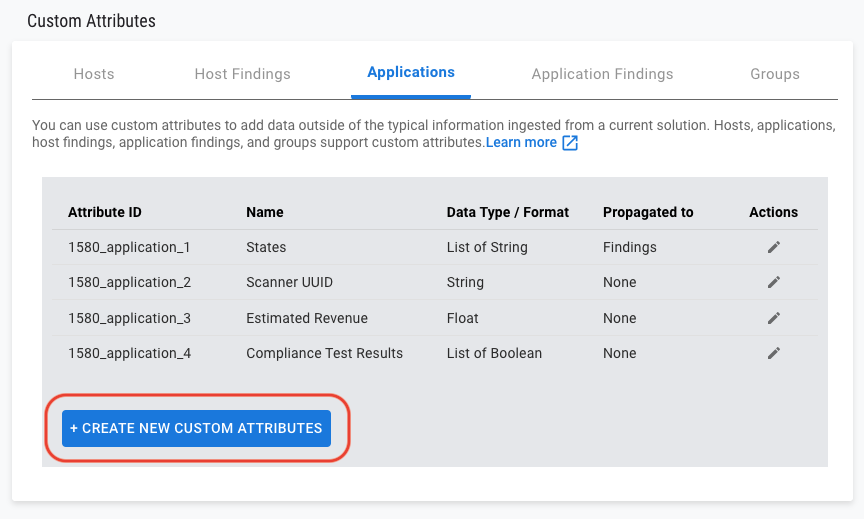
This dialogue shows the following details about each existing custom attribute:
- Attribute ID: The system’s unique identifier for the attribute. You will be using this ID if you want to modify this custom attribute through the API.
- Name: The user-provided name for the attribute. This is the name that appears most places within the UI.
- Data Type/Format: The attribute data type. If applicable, this column also includes the user-configured input format.
- Propagated To: The list views that will show propagated data for this custom attribute. In the example shown here, the Applications custom attribute “States” will propagate down to Application Findings.
On you are on the correct tab, select +Create New Custom Attribute. This button opens up a pop up that lets you browse through the available data types and configuration options.
You must provide a name and a data type for the new custom attribute. If the attribute type supports a custom input format, you must also define that format before submitting.
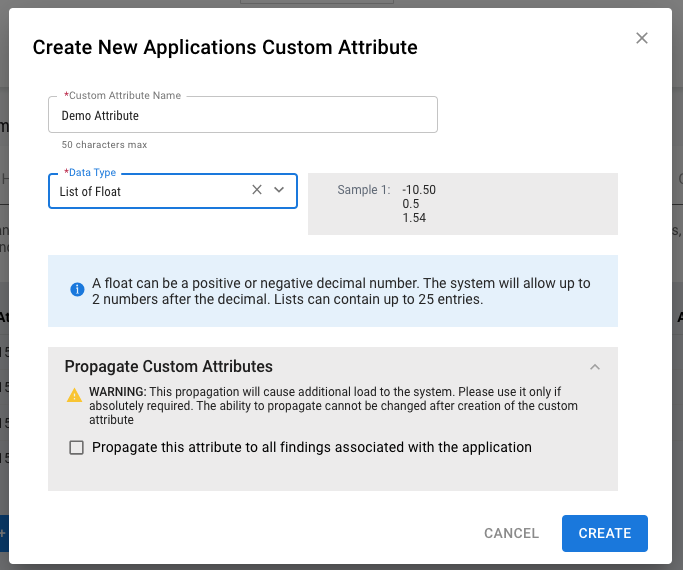
For asset and group attributes, you also have the choice of whether to propagate down the values. Use this feature if you think that your organization can obtain additional useful insights from correlating higher-level properties to individual assets or findings. Be aware that propagation can take a substantial amount of time and generate many additional jobs for each impacted asset and finding.
For asset attributes, you can only propagate to findings. For group attributes, you can propagate to assets in the group, findings in the group, or both.
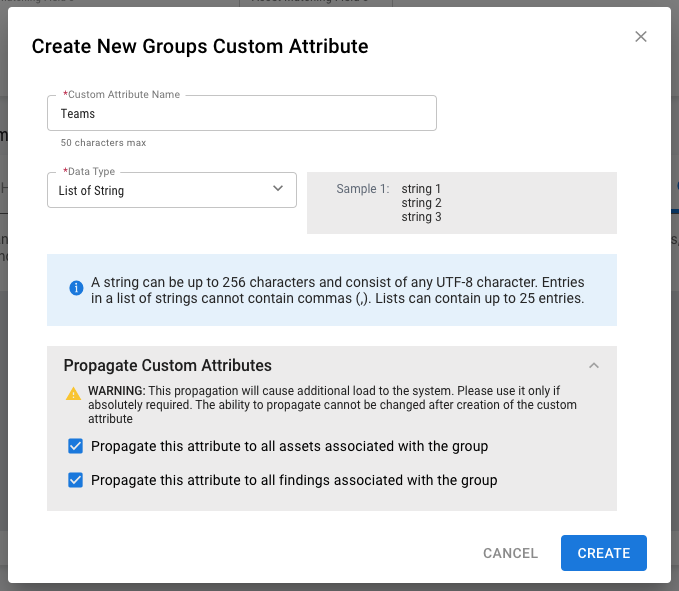
You cannot change the data type, input format, or propagation configurations for a custom attribute after creating it. Double check your choices before clicking CREATE to submit the new attribute.
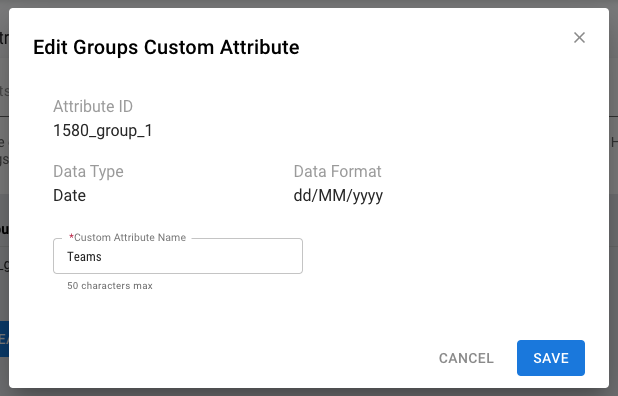
Editing Attribute Names
To change the user-defined name for an attribute, click the “pencil” icon under the Actions column.

By clicking this icon, you open up the pop up for editing a custom attribute.
Considerations
Before finalizing a custom attribute, think about the following:
- Can you use a list type to take the place of multiple attributes? You could potentially use this feature to avoid maxing out the number of custom attributes on a given list view. A list can contain up to 25 individual entries.
- Can you visually distinguish between attributes that you plan to propagate from attributes that already exist on the list views that will receive the propagated data? Choosing unique names for propagated attributes will help you and other users when you try to filter on data, add columns, or do a Group By.