Generic Upload Guide
Summary: How to upload generic scan files into Ivanti Neurons.
Generic Upload Overview – CSV
The Ivanti Neurons platform’s Generic Upload functionality allows users to upload assets and findings information from any CSV-format source they have into the platform using the Generic Upload Mapping tool. This utility provides the flexibility to bring in data from an unsupported scanner, a homegrown CMDB for assets, or even penetration test data from a red team or third-party penetration test on your assets.
Generic Upload Process: Network
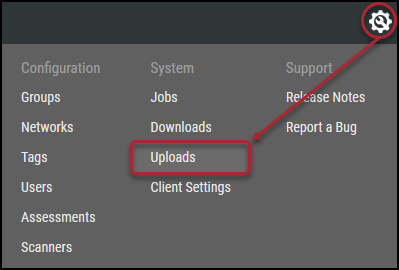
Once you have exported the chosen source’s CSV data, log in to your Ivanti Neurons platform. Navigate to the Settings ( ) > Uploads page by clicking the gear in the top-right corner of the screen.
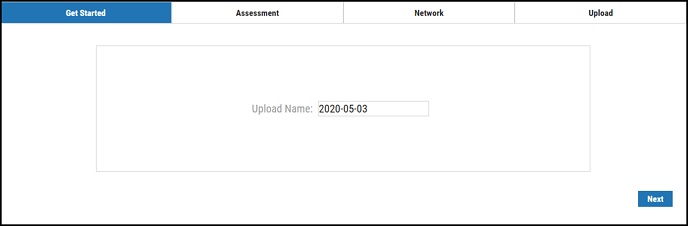
In the Upload Wizard, enter the Upload Name and click Next.
Select an assessment to associate with this scan. You can either select an available assessment or create a new one. To create a new assessment, click the Create Assessment button. Fill out the fields in the Add a New Assessment window and click Submit. You can now select your new assessment from the list.
Select an assessment from the list to associate with this scan (you can use the search field to find an assessment) and click Next.

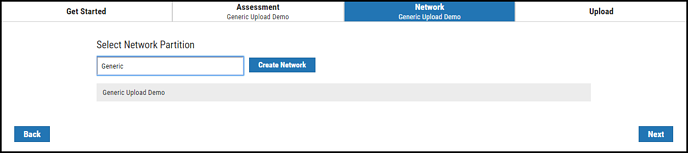
Select a network for this scan. You can either select an available network or create a new one. To create a new network, click the Create Network button. Fill out the fields in the Add a New Network window and click Submit. You can now select your new network from the list.
Select a network from the list (you can use the search field to find a network) and click Next.
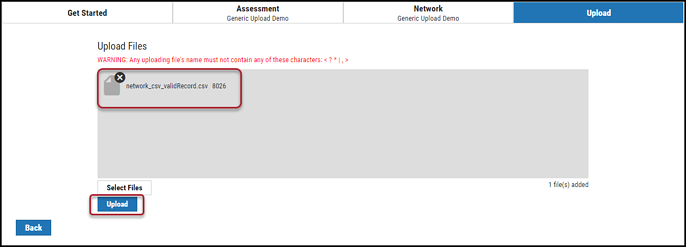
On the Upload Files page, there are two ways to add scan files. You can either drag and drop the file in the gray Drag files here or click the Select Files button and search for the scan file on your computer. Once the file has been added, click Upload.
Once the upload finishes, you must map the CSV file to the minimum required fields in Ivanti Neurons. This status is indicated in the State column as Requires Manual Mapping, as shown here.

To start the mapping process, click Requires Manual Mapping.

Field Mapping
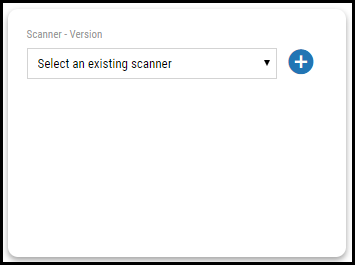
Accessing the Generic Upload Wizard for the first time presents the user with a brief tutorial on its features. The first step is to define the scanner type needed for the Scanner card. Depending on the data type, you can select either Host or Application. To create the scanner for the data set, click the Plus (+) button on the card.
A scanner is a data source used to attribute assets and findings within the platform. For example, you may have a scanner for your homegrown configuration management database (CMDB) for hosts, one for the homegrown CMDB for applications, one for a red team penetration test for your hosts, and one for a scanner that is not currently supported. All these are identified by their scanner and their plugin, which we will cover later.
Clicking the Plus (+) button opens the Create Scanner window. Enter the scanner name, select the scanner type (host or application), add the scanner’s version, and enter a description. Note that each scanner has a different set of required fields that are defined later in this document.
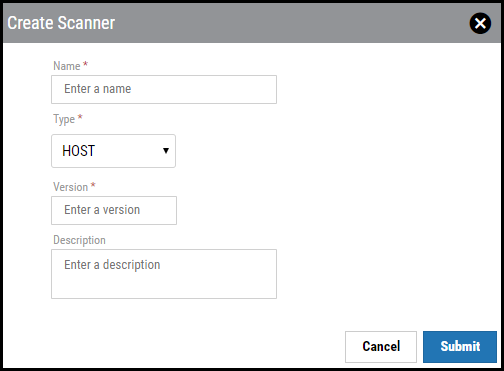
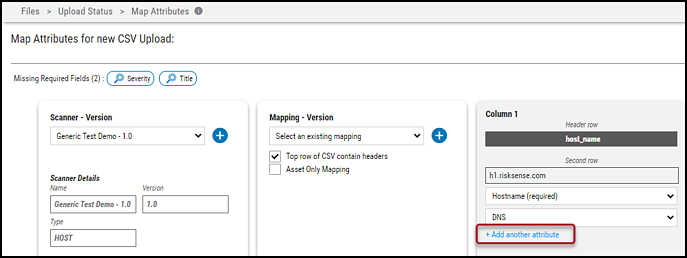
After completing the required fields, click Submit. In the Scanner – Version box, the new scanner details appear. In the Mapping - Version card, the user can find any previously created mappings and check the Top row of the CSV contains headers box, if needed. If the ingested data set contains a header, ensure that this box is checked. Additionally, the interface provides the user with breadcrumbs for the remaining required fields.
The required fields are important here; as mentioned earlier, the plugin is the unique identifier within your scanner that identifies a particular finding. With this, you can upload future data, and the platform with intuitively know whether things are closed by their presence in the newer file.
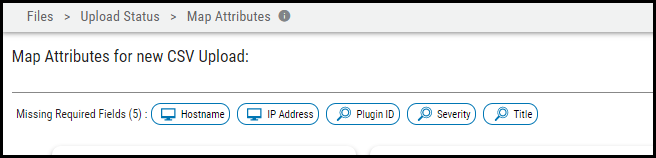
Each required field is removed from the breadcrumb list as it is assigned.

Other than the required fields, Ivanti Neurons also provides highly recommended fields that are important to map for better data representation. Leaving these recommended fields blank will not throw any errors.
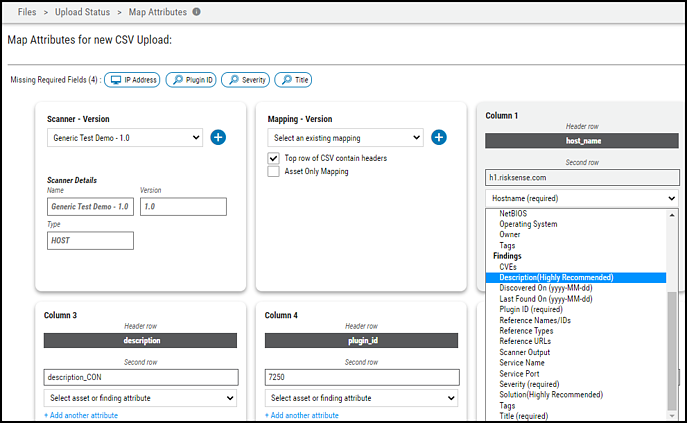
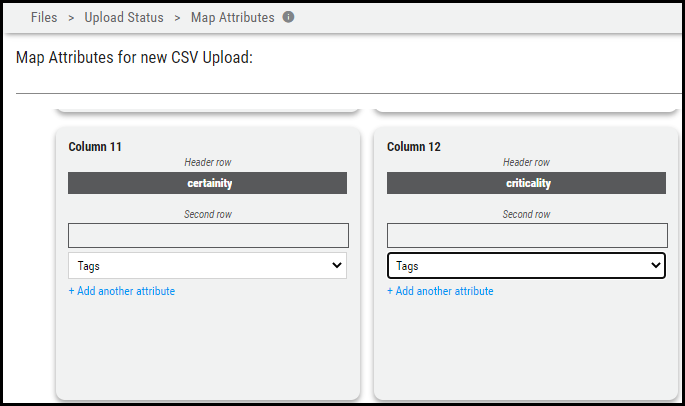
Ivanti Neurons fields allows users to map a field from the CSV to more than one field in Ivanti Neurons. Click Add another attribute in each pane to map the same CSV field to more than one field in Ivanti Neurons.
The maximum number of Ivanti Neurons fields that can be mapped to the same CSV field is three.
Since there are more chances for Tags and Output (applicable only for application scanners) to have multiple values, they are handled differently. Ivanti Neurons allows the mapping of multiple CSV fields to the Tags and Output fields. All other fields remain the same. In other words, Ivanti Neurons cannot map multiple CSV fields to the same fields in Ivanti Neurons other than the Tags and Output fields.
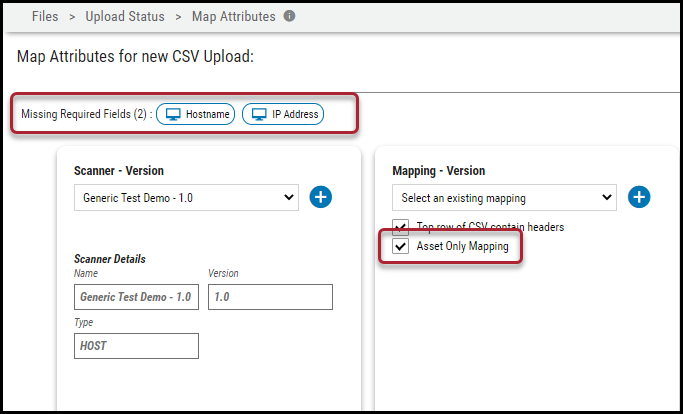
Ivanti Neurons supports the Asset Only Mapping option as well. For example, if the CSV file only has host-related information and a user wishes to ingest only Host/Application data.
In the Mapping - Version pane, have the user enable the Asset Only Mapping option. Once this is ticked, the required fields change.
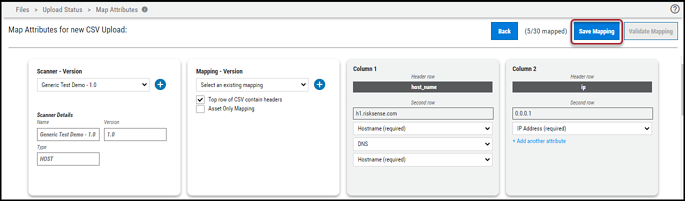
Once you have mapped all the required fields successfully, click the Save Mapping button to save this mapping.
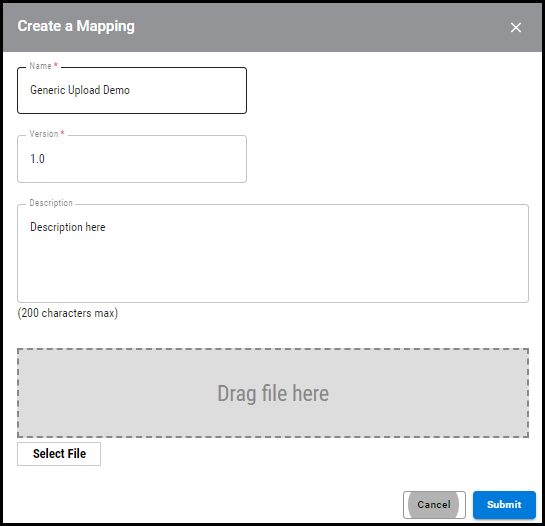
In the Create a Mapping window, fill out the name, version, and description fields. Once complete, click Submit.
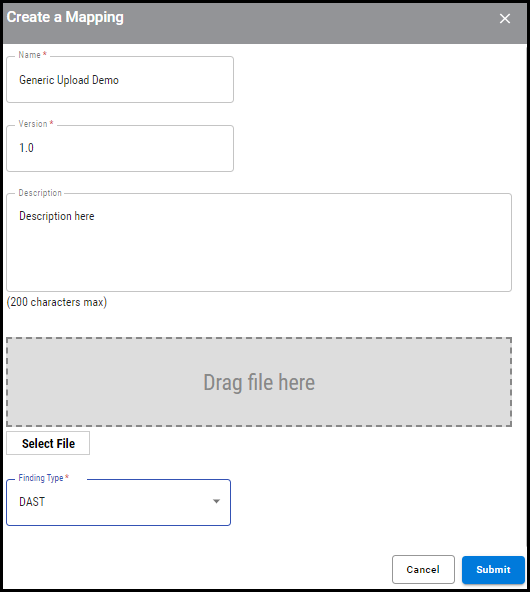
For application scanners, the Create a Mapping window includes the Findings Type dropdown as a required field. User can choose the findings to be categorized as SAST, DAST, OSS, CONTAINER, and OTHERS. If no value is selected, by default Ivanti Neurons will mark all application findings as DAST.
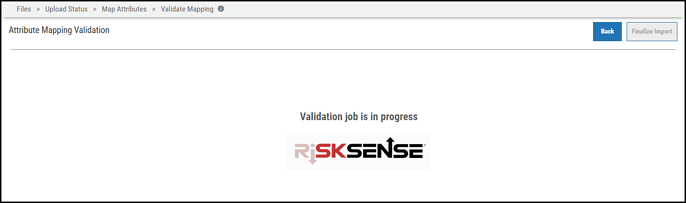
After saving the mapping, the platform must validate the data set. During the validation process, the system looks at the file’s first 5,000 lines. Click the Validate Mapping button to proceed.

You will see the following screen during the validation process.
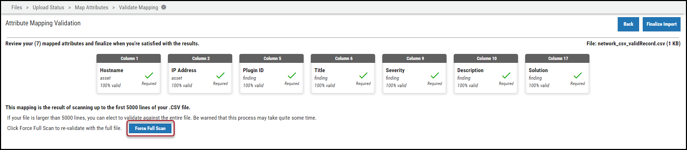
Once validation is complete, the platform provides the validation results. Depending on the system’s ability to validate data, the platform presents varying percentages on the amount of data that can be validated. In this example, all the fields are 100% valid. The user can also force the system to revalidate the complete file by clicking the Force Full Scan button.
Once validation is complete, click the Finalize Import button. The Save Mapping to File dialog box appears.
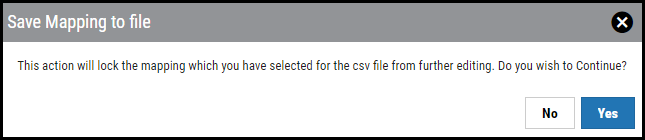
Clicking Yes returns the user to the Upload Wizard. In the Upload Wizard, we can confirm the mapping was saved, the scanner was created, and the file is ready to process. To process the scan file, click the Start button.

When uploading the next set of data to the platform, it will automatically fingerprint to the scanner created earlier.
Appendix A: CSV Data Structure
Below is a sample of accepted field headers for both network and application CSV ingestion. In the Detailed View section, the required fields are noted as a baseline for the data to be ingested into the platform. When generating the CSV file, it does not need to be in this exact format nor does it need to have the same headers. When mapping the file, it is necessary to map the data to the fields. Detailed mapping is provided below.
Network
host_name,ip,fqdn,os,plugin_id,title,service_name,service_port,severity,description,cves,tags,reference_name,reference_url,date_found,finding_tags,Soln
Detailed Field View
Assets (Host)
CPEs
Certainty
Criticality
DNS
Device Class
Discovered On (yyyy-MM-dd)
FQDN
Hostname (required)
IP Address (required)
Last Found On (yyyy-MM-dd)
NetBIOS
Operating System
Owner
Tags
Findings (Host)
CVEs
Description (Highly Recommended)
Discovered On (yyyy-MM-dd)
Last Found On (yyyy-MM-dd)
Plugin ID (required)
Reference Names/IDs
Reference Types
Reference URLs
Scanner Output
Service Name
Service Port
Severity (required)
Solution (Highly Recommended)
Tags
Title (required)
Application
Address,name1,Location,Description,Plugin ID,Severity,Solution,Title,Discovered On,Last Found On,Hostname,IP Address,Criticality,Owner,Tags,Title__findings,Discovered On_find,Last Found On_find,Plugin ID_find,Output,Full Request,Request Parameter,Request Method,Request URL,Full Response,Payload,CWE,Tags_finds,Reference Types,Reference URLs,Reference Names/IDs
Detailed Field View
Assets (Application)
Base URL (required)
Criticality
Discovered On (yyyy-MM-dd)
Hostname
IP Address
Last Found On (yyyy-MM-dd)
Name (required)
Owner
Tags
Findings (Application)
Application URL (required)
CWE
Description (Highly Recommended)
Discovered On (yyyy-MM-dd)
Full Request (Base64 Encoded)
Full Response (Base64 Encoded)
Last Found On (yyyy-MM-dd)
Output
Payload
Plugin ID (required)
Reference Names/IDs
Reference Types
Reference URLs
Request Method
Request Parameter
Request URL
Severity (required)
Solution (Highly Recommended)
Tags
Title (required)