Ivanti Neurons for ITSM Connector Guide
Summary: How to set up and use the Ivanti Neurons ITSM connector in Ivanti Neurons RBVM/ASPM/VULN KB.
Overview
The Ivanti Neurons for RBVM, ASOC and VULN KB platform provides a connector that integrates with Ivanti’s ITSM Incident, Problem, and Change for ticket creation from the RBVM or ASOC modules in the platform. Ivanti Neurons users can create tickets for a specific project when configuring the connector. The ITSM user credentials used in the connector configuration should have create, read, and write permissions to the specific project to create tickets and subsequently query ticket status from the ITSM ticket. When creating a ticket, the connector allows user to create a ticket on a single vulnerability, multiple vulnerabilities for applications, hosts, application findings, or host findings.
User Prerequisites / Ivanti Neurons ITSM Connector Setup
Prerequisites:
-
have API access.
-
be able to Create Incident/Update Incident (this includes updating the status, notes, and other fields in the Create Incident form) in Ivanti Neurons ITSM.
Ivanti Neurons ITSM Connector API Calls
The following API calls are performed during a connector run to create incident from the RBVM platform to ITSM.
|
API Type |
Endpoint |
|---|---|
|
Authorization |
POST https://{URL}/api/rest/FormMetaData/GetFormDefinition/{{tickettype}} |
|
Validate Form fields |
POST https://{URL}/api/rest/FormMetaData/ValidateBusinessObject/{{tickettype}}/Insert |
|
Get Dynamic Form fields |
POST https://{URL}/api/rest/FormMetaData/GetValidatedFieldValues/{{tickettype}} |
|
Fetch Customer details |
GET https://{URL}/api/odata/businessobject/{refObj}?$skip={skipCount}&$top=100 |
|
Upload Attachment |
POST https://{URL}/api/rest/Attachment |
|
Fetch Attachment |
GET https://{URL}/api/odata/businessobject/attachments?$filter=ParentLink_RecID%20eq%20'{business_rec_id}' |
|
Delete Attachment |
POST https://{URL}/api/rest/Attachment?ID={attachment_id} |
|
Create Ticket |
POST https://{URL}/api/odata/businessobject/{{incidentTicketType}} |
|
Fetch Ticket Status |
GET https://{URL}/api/odata/businessobject/{{incidentTicketType}}('bussiness_rec_id') |
|
Add Journal Section |
PATCH https://{URL}/api/odata/businessobject/incidents('bussiness_rec_id')/IncidentContainsJournal('journal_rec_id')/$Ref |
Configuring ITSM Connector in Ivanti Neurons for RBVM and ASOC
To create tickets from Ivanti Neurons for RBVM and ASOC, you need to leverage the ITSM Connector.
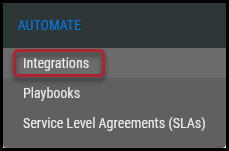
Navigate to the Automation > Integrations page.
Using the search bar in the upper-right corner of the Integrations page, type BMC to find the connector.
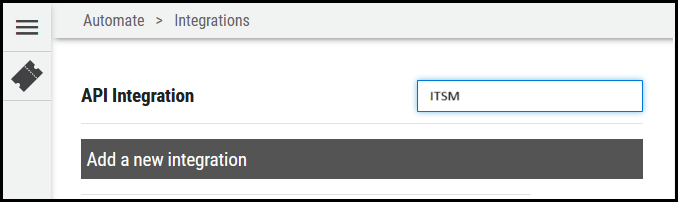
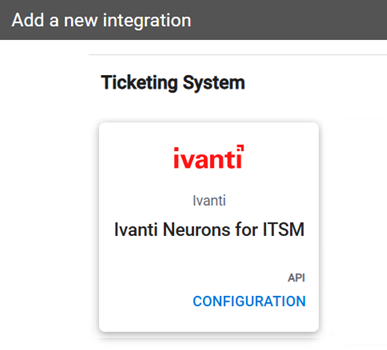
Locate the ITSM Integration card on the page and click Configuration.
In the new window, under Connection, complete the required fields, as described below.
-
Connector Name: The connector’s name.
-
Location (URL): URL of the Ivanti ITSM instance.
-
API Key: The user’s username that has access to the Ivanti ITSM instance.
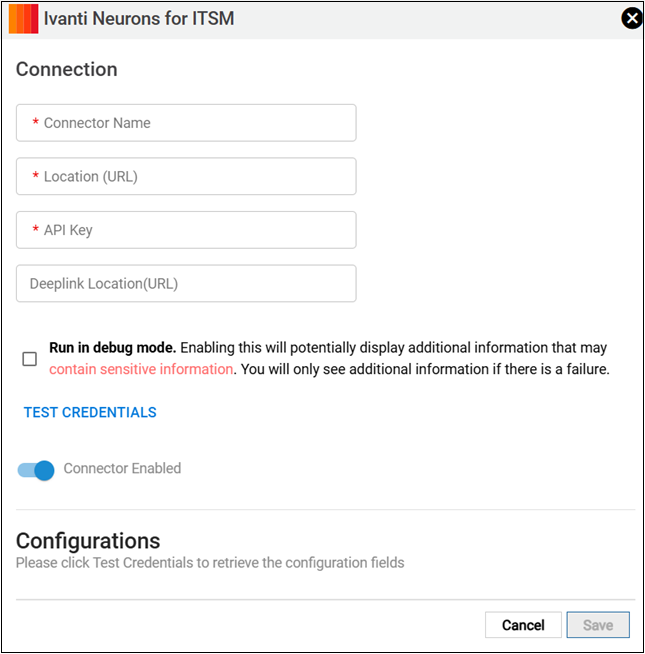
Click Test Credentials to verify the credentials are correct and have access to make API calls to the Ivanti ITSM system. Once connected, the Configurations section will be populated.
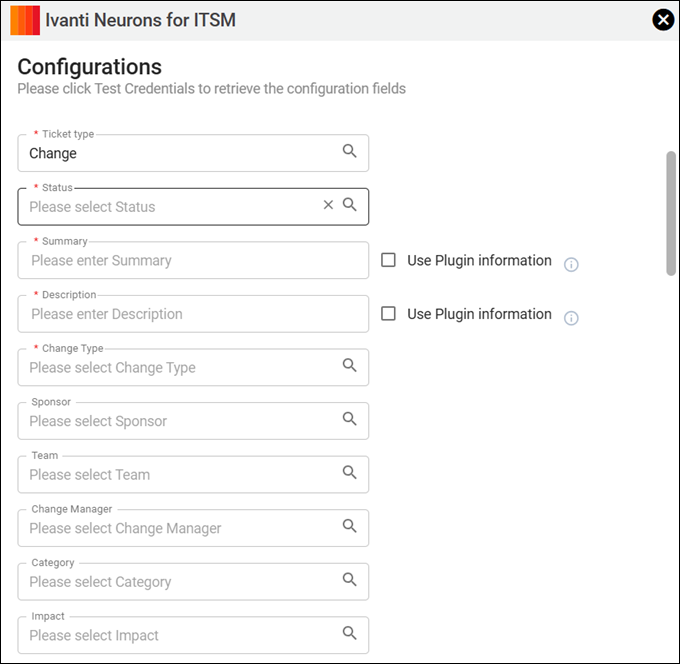
From the Ticket type search box, select one of the following three options:
-
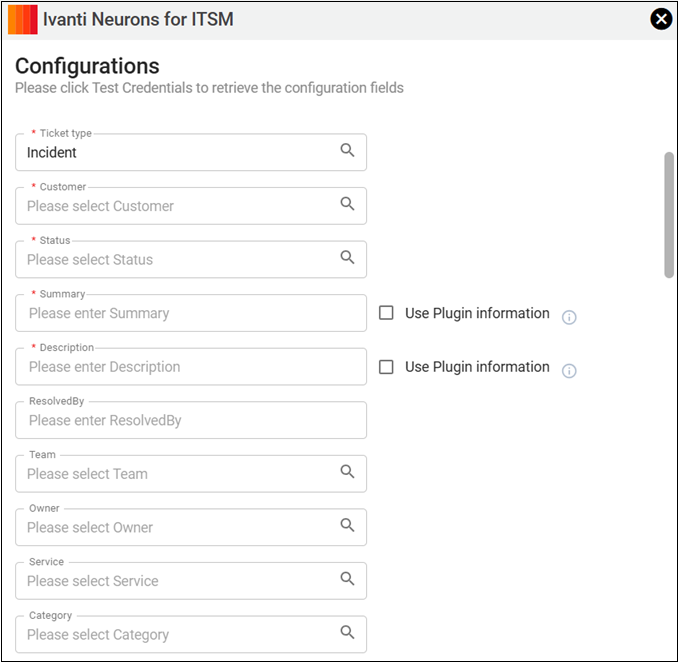
Incident - Following fields are mandatory for this ticket type:

-
Customer - Select from the list
-
Status - Current status of the ticket
-
Summary - Enter some details about the incident
-
Description - Describe the incident in detail
-
Owner - The user to which the incident has to be assigned
-
-
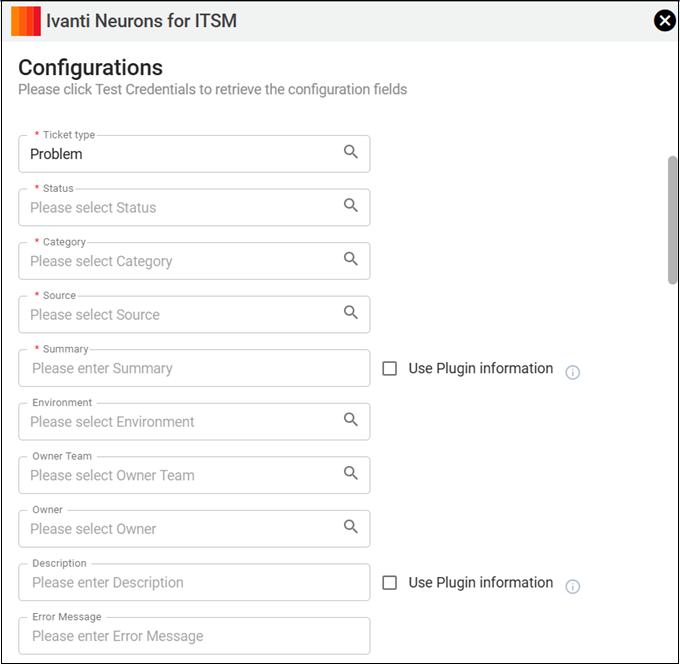
Problem - Following fields are mandatory for this ticket type:
-
Status - Current status of the problem
-
Category - Select the category of the problem
-
Source - Select the source from which the problem was identified
-
Summary - Enter some details about the problem
-
-
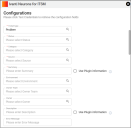
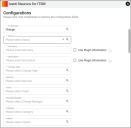
Change - Following fields are mandatory for this ticket type:
-
Status - Current status of the change
-
Summary - Enter some details about the change
-
Description - Describe the change in detail
-
Change Type - Select the type of change
-
Tickets Attachments
Attach asset and finding details to tickets- This option is selected by default. It indicates that whenever you create a ticket, some default values are sent as an attachment to the ticket. You can continue with the "Default details" selection or you can select the "Select a shared detail template for findings" to use an existing template.
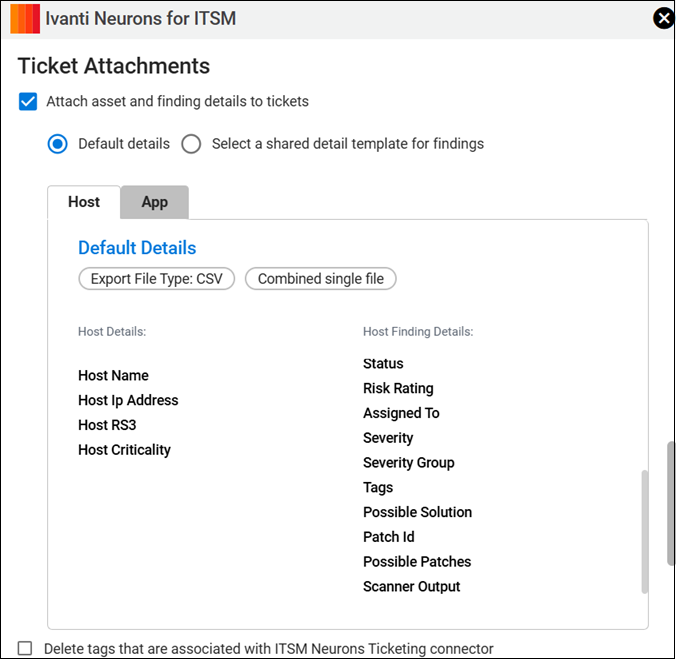
As part of the ticket creation process, you would have to create tag with each incident. If you wish to delete those tags and associated ticket information this can be achieved by checking this box. You can also choose to sync the status of Remedy with Neurons RBVM/ASPM/VULN KB findings using the following option.

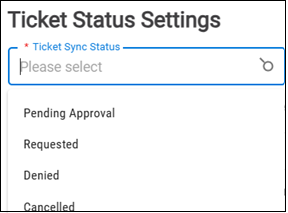
Ticket Status Settings
The Ticket Status Settings section allows you to set the ticket sync status and close status on which you want to sync the ticket data from ITSM to RBVM.
Ticket sync statuses:
-
Pending approval - Select to sync the ticket when the status is in Pending approval state
-
Requested - Select to sync the ticket when the status is in Requested state
-
Denied - Select to sync the ticket when the status is in Denied state
-
Cancelled - Select to sync the ticket when the status is in Cancelled state
Ticket close statuses

-
Pending approval - Select to sync the ticket when the status is in Pending approval state
-
Requested - Select to sync the ticket when the status is in Requested state
-
Denied - Select to sync the ticket when the status is in Denied state
-
Cancelled - Select to sync the ticket when the status is in Cancelled state
Click Save to save the connector’s configuration and create the connector. Once saved, the connector is now visible on the Integrations page under Currently Configured Integrations.