v2 List View Column and Row Settings
Summary: How to configure columns and rows on v2 list views
Add or Remove Columns
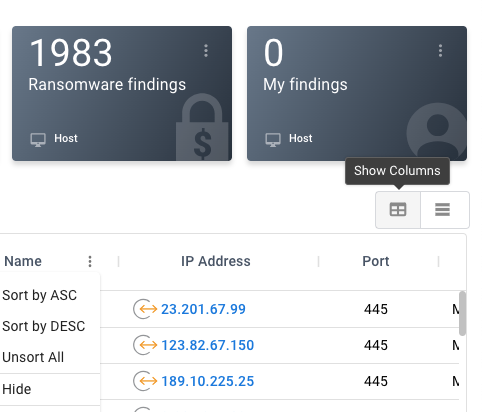
To add or remove columns in a v2 list view, click the Show Columns menu on the upper right of the list view.
This menu allows you to search for columns. To add or remove a column, check the box next to its name.
Click Apply to see your new column settings.
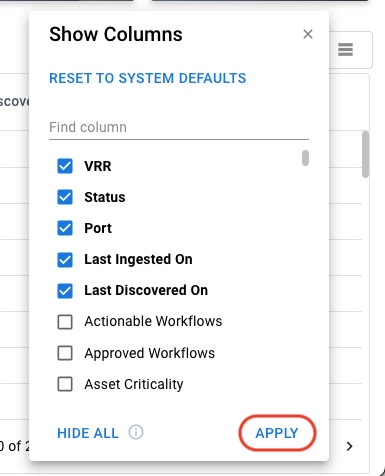
To remove all columns (except for the first one), you can click Hide All.
To restore the default list of columns for the list view, click Reset to System Defaults.
Change Row Density
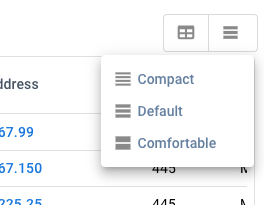
Next to the Show Columns menu, you will find the row density settings. These settings allow you to change how much space each row takes up on the screen.
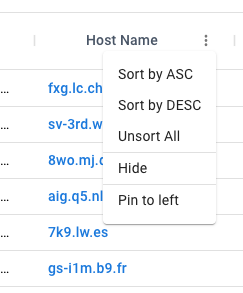
Column Options
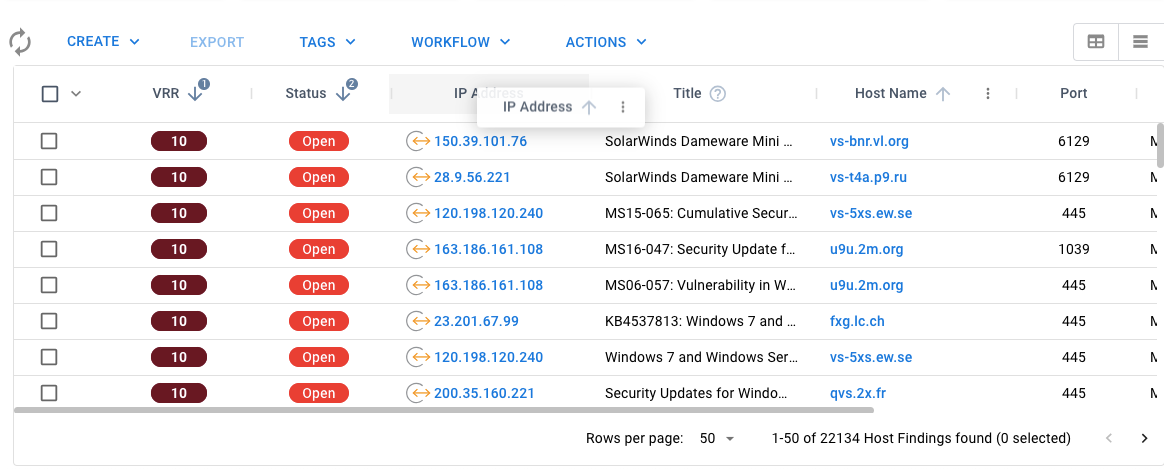
Each individual column has its own options menu. From this menu, you can change the sorting, hide the column, or pin it to the left of the list view.
To move a column, click the header and drag it to its new position.