Managing Client Defaults
Summary: This article discusses how to update the Client Defaults.
Users with the IAM privilege Client Settings Control can update the Client Defaults for a specific page. Until someone modifies the Client Defaults, the Client Defaults match the System Defaults for page.
This feature assists organizations with on-boarding new users and helping existing users with understanding organizational processes. All new users start with the Client Defaults as their default view.
Examples of changes to client settings:
- Add additional asset identifiers such as scanner-specific fields as default columns for the Hosts page.
- Filter the Application Findings page on open Critical findings with an SLA in the next 30 days.
- Sort findings by Severity instead of VRR.
Updating Client Defaults
To change the Client Defaults, go to the page that you want to update and make any desired adjustments.
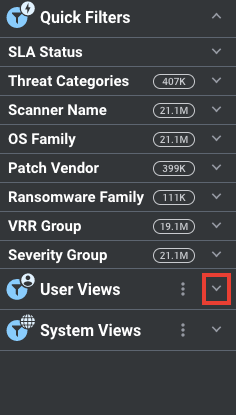
Open up User Views on the left filter pane.
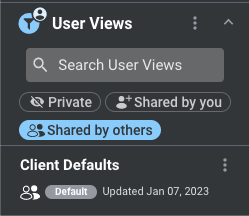
Find Client Defaults under the Shared by others category.
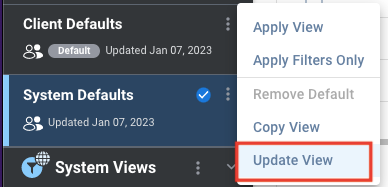
Click the options menu and select Update View. (This option will be disabled if you have applied a Group By).
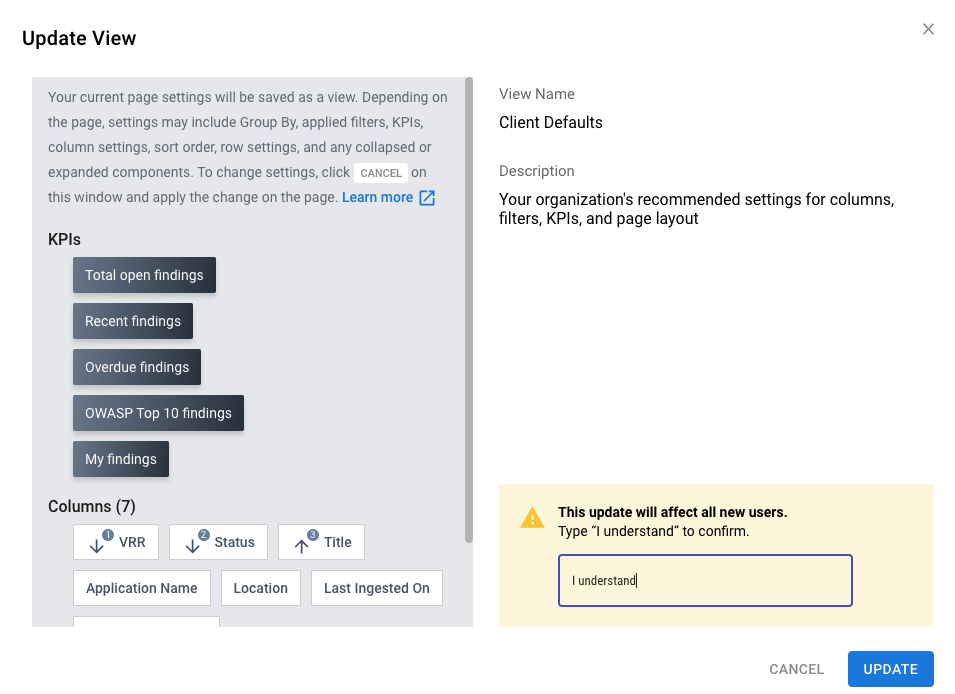
Review your chosen settings on the left. If you feel satisfied, type “I understand” into the box on the right before saving your changes. Note that you cannot edit the title and description of Client Defaults.
Reviewing Client Defaults
You can review the Client Defaults for each page under Client Settings.
To access Client Settings, access configuration options from the Navigation bar.
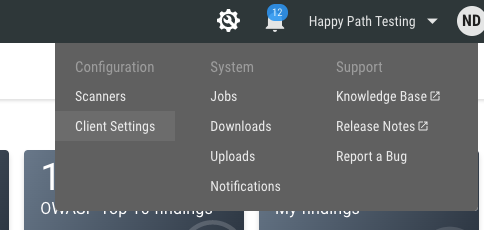
Choose List View Configurations from the list of settings.
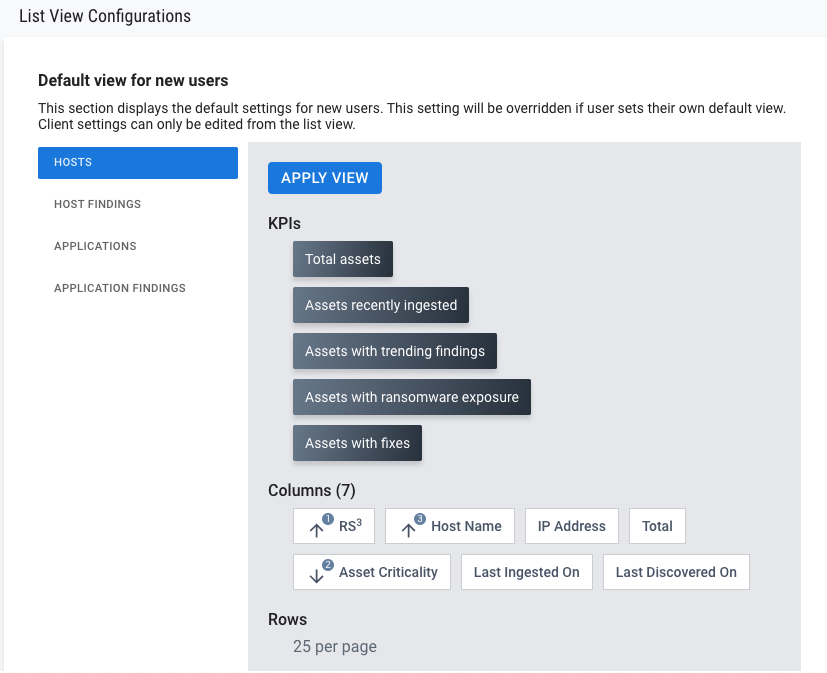
You can click Apply View to apply the Client Defaults. Clicking Apply View will redirect you to the page.
