Qualys Web Application Scanning (WAS) Connector Guide
Summary: How to set up and use the Qualys Web Application Scanning (WAS) connector in Ivanti Neurons.
Qualys Web Application Scanning (WAS) Connector Overview
Qualys Web Application Scanning (WAS) is a cloud-based web application security scanner that identifies vulnerabilities through automated crawling and testing of custom web applications. Ivanti Neurons offers an API-based connector that integrates Qualys WAS vulnerability information into the Ivanti Neurons platform for further prioritization and accessibility.
Qualys WAS Configuration
-
This process requires an account with Qualys and access to the WAS module.
-
Add one or more Application(s) to Qualys WAS. Create and save a Web Application Report.
-
View the Qualys WAS Data Export Guide for more information on how to create and save a report.
The Qualys WAS Connector only pulls WAS_WEBAPP_REPORT scan files. Users must manually upload WEB_APPLICATION_SCAN and WAS_SCAN_REPORT files, if desired.
Qualys WAS User Permissions
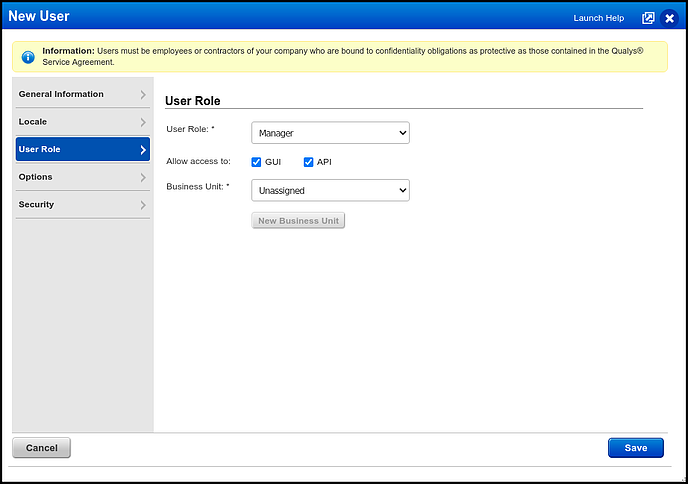
A Qualys user can be assigned to one or more roles, which consolidate permissions that represent the rights to access features and functions. API Access can be given to a user when assigning or editing their role.
Locate Users in the navigation bar and either create or edit an existing user. In the pop-up window, select a User Role. Then, select or deselect the API checkbox. Click Save.
For more information, please visit Qualys.Community.
Connector Configuration in Ivanti Neurons
Setting Up the Qualys WAS Connector
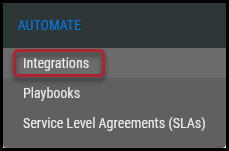
Navigate to the Automate > Integrations page.
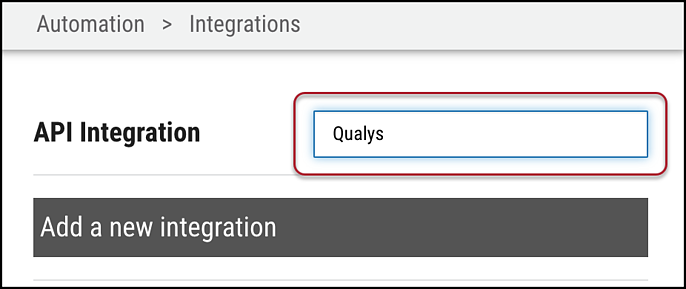
Using the search bar in the upper-right corner of the Integrations page, type Qualys to find the connector.
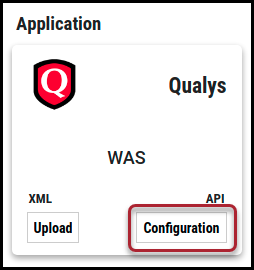
Locate the Qualys WAS card under Applications and click Configuration.
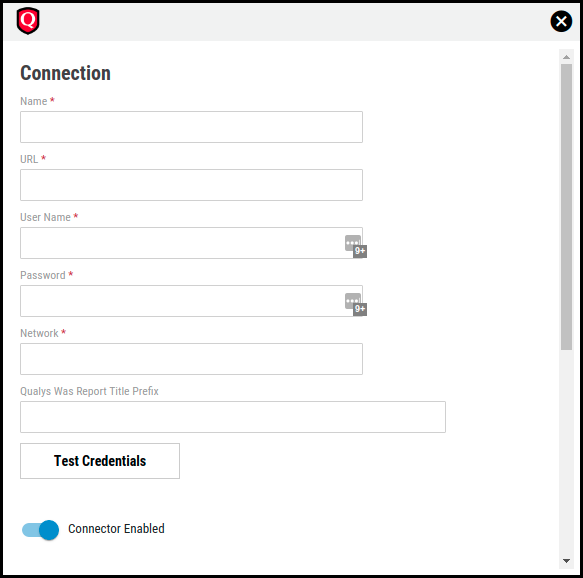
In the new window under Connection, complete the required fields, as described below.
-
Name: The connector’s name.
-
URL: Qualys WAS URL (i.e., https://qualysapi.qg2.apps.qualys.com/)
-
User Name: The user name that has access to Qualys WAS.
-
Password: The password associated with the username. The Qualys WAS API has a unique constraint for their password policy. If the password contains ‘:', it will throw an error during API calls. In other words, do not use the special character ':' in the password string.
-
Network: Ivanti Neurons network name (ingested applications associated with this network).
-
Qualys Was Report Title Prefix: (Optional) The prefix of the specified reports the user wishes to pull. If no prefix is provided, the API connector will pull all available reports.
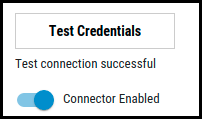
Click Test Credentials to verify the credentials are correct and have access to make API calls to the Qualys WAS instance.
If your Qualys WAS instance uses whitelisting, contact Ivanti Neurons Support to get the whitelisting IPs.
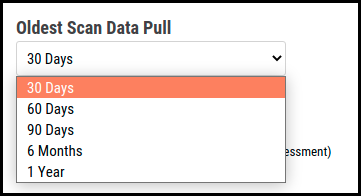
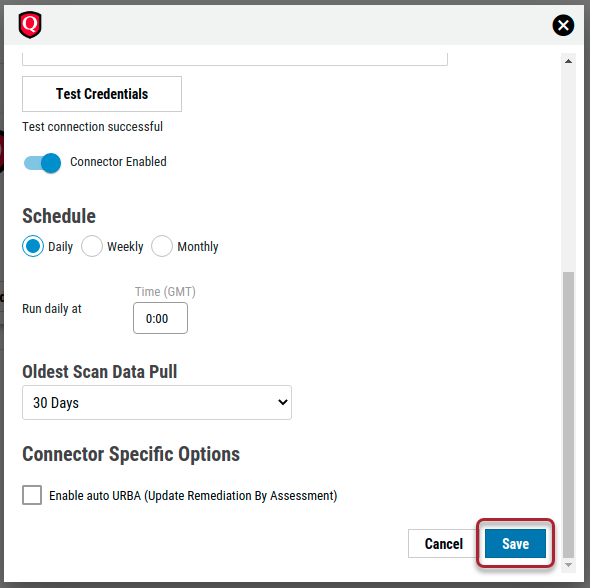
Configure the desired schedule for the connector to retrieve results from the Qualys WAS instance and optionally turn on Enable auto URBA (Update Remediation by Assessment). Users may specify the oldest scan data pull from the following options: 30 days, 60 days, 90 days, 6 months, or 1 year.
Click Save to create the connector.
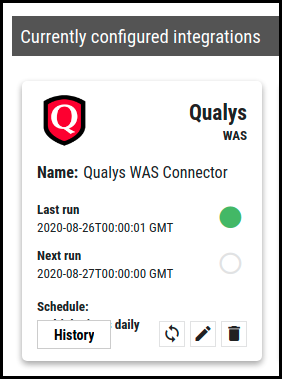
Once saved, the connector is now visible on the Integrations page under Currently Configured Integrations.
On the Settings > Uploads page, Qualys WAS data is parsed from the scan file and displayed on the Applications and Application Findings pages.
Qualys WAS Data Mapping in Ivanti Neurons
The Scanner Name associated with these scans is QUALYS, which can be used as a filter on both the Applications and Application Findings pages in Ivanti Neurons.
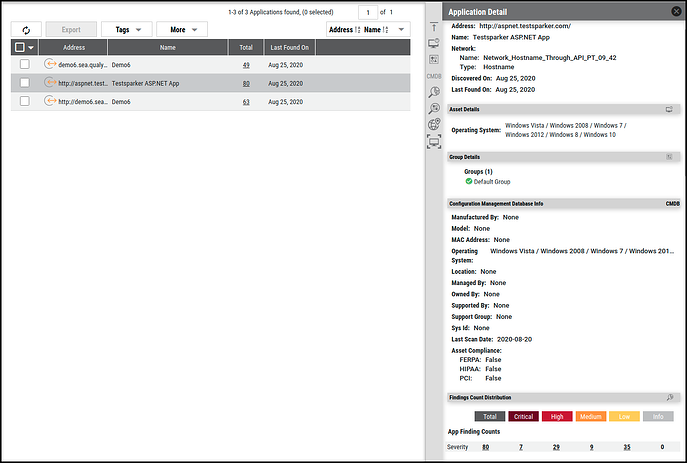
Applications Page
Application data extracted from the Qualys WAS scan file is shown on the Applications page as an asset.
-
Address
-
URLs
-
Vulnerability Counts by Severity
-
Last Scan Date
-
Operating System
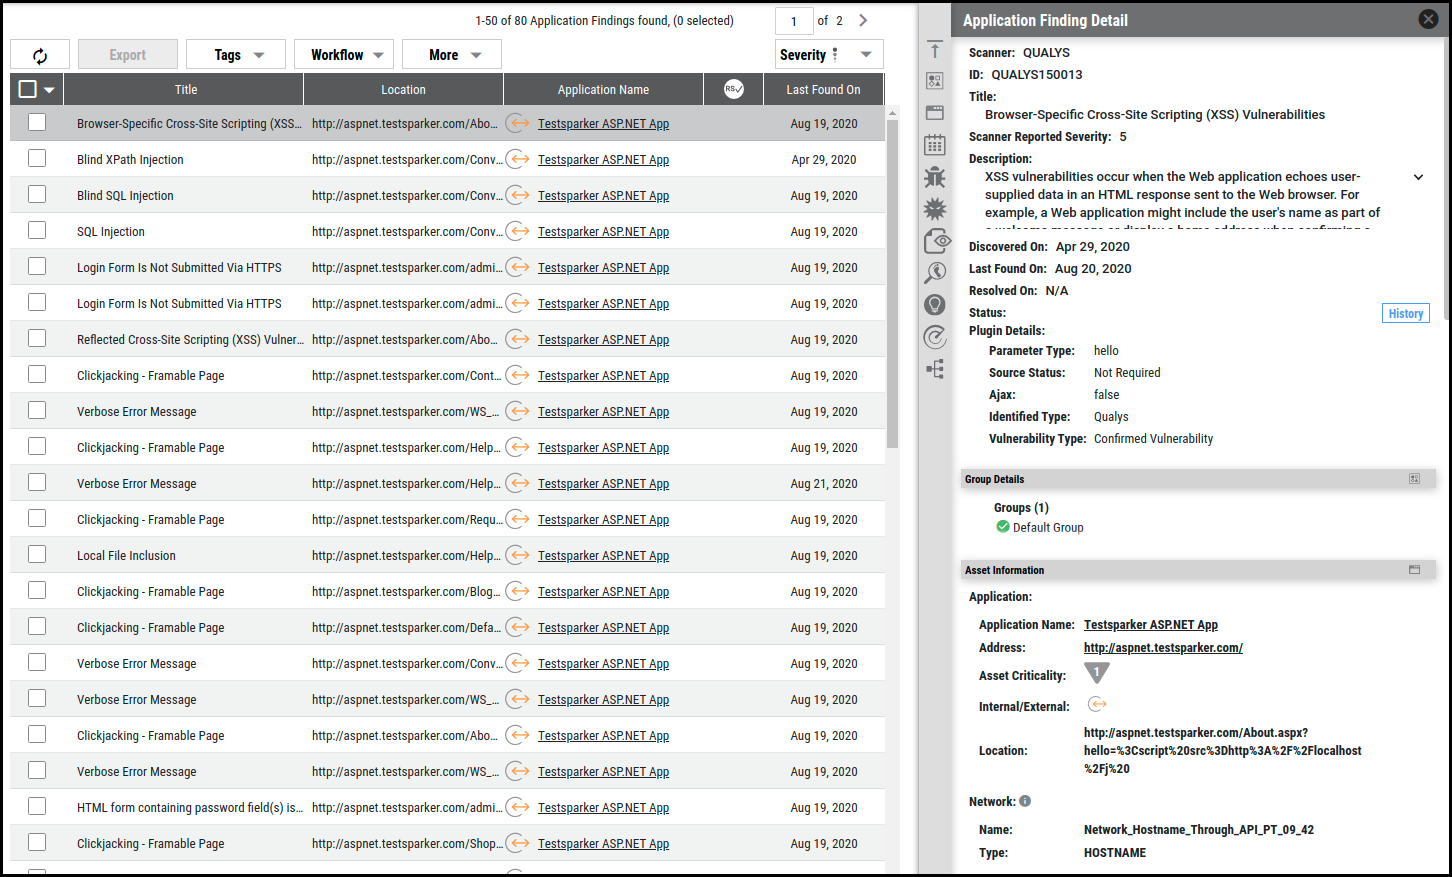
Application Findings Page
All finding data extracted from the Qualys WAS scan file is shown on the Application Findings page in Ivanti Neurons.
-
Findings that are “Ignored” will not be displayed in the Application Findings view
-
Request/Response is listed under Detailed Information
-
Additional Metadata Fields:
-
Source Status (Authentication Required, Authentication Not Required)
-
Vulnerability Type (Confirmed Vulnerability, Potential Vulnerability, Information Gathered)
-
Parameter Type
-
OWASP 2017, WASC, CWE
-
Severity Mapping
The Qualys WAS scan file contains severity levels ranging from 1 to 5. Based on the type of plugin, Ivanti Neurons mapped these levels to Severity using the CHMLI scale as follows:
|
Qualys WAS Plugin Severity |
Mapping to Ivanti Neurons Severity using CHMLI Scale |
|---|---|
|
Plugin Type: Confirmed Vulnerability or Vulnerability |
|
|
1 |
Low |
|
2 |
Medium |
|
3 |
High |
|
4 |
Critical |
|
5 |
Critical |
|
Plugin Type: Potential Vulnerability |
|
|
1 |
Low |
|
2 |
Medium |
|
3 |
High |
|
4 |
Critical |
|
5 |
Critical |
|
Plugin Type: Information Gathered |
|
|
1 |
Low |
|
2 |
Low |
|
3 |
Low |