Rapid7 Nexpose Connector Guide
Summary: How to set up and use the Rapid7 Nexpose connector in Ivanti Neurons RBVM/ASPM/VULN KB.
For information on how to set up vulnerability reports in Nexpose, check out the Rapid7 Nexpose Vulnerability Report Setup Guide.
Overview
Nexpose provides asset discovery and vulnerability assessment for on-premises environments. The Ivanti Neurons RBVM/ASPM/VULN KB platform supports client connector configurations to provide a scheduled upload of Nexpose network scan information. When viewing the Neurons RBVM/ASPM/VULN KB Integrations page, it records and displays the last time data from the Nexpose connector was uploaded.
When data is pulled from a specific scanner connector, it uploads the last 30 days of scan data into the Neurons RBVM/ASPM/VULN KB platform. This is a default setting that cannot be adjusted. Once the data has been pulled, it is automatically added to the default group. As a reminder, if the data already exists in the platform, it will automatically be moved to the specific group.
Nexpose User Permissions
A Nexpose user can be assigned to one or more Sites or Asset Group Access, which consolidate permissions that represent the rights to access features and functions.
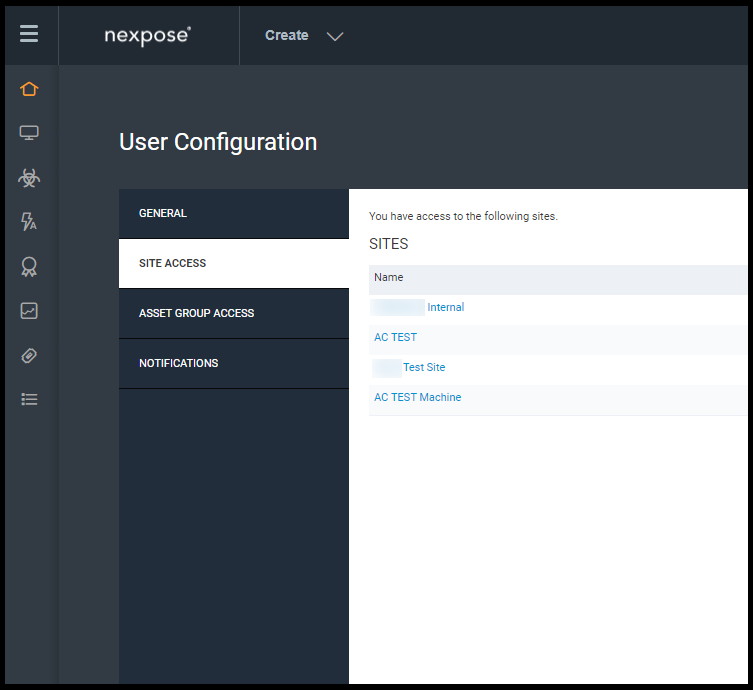
Locate the username in the right-hand corner on the navigation bar and select User preferences for the existing user. In the User Configuration screen, select Sites and ensure the user has access to those necessary sites. Next, select Asset Group Access and ensure the user has access to the necessary assets and groups. Click Save.
Connector Setup
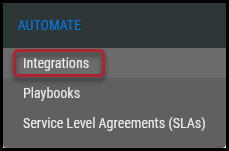
To set up the Rapid7 Nexpose connector, navigate to the Automate > Integrations page.
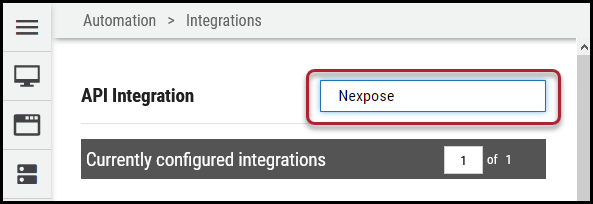
Using the search bar in the upper-right corner of the Integrations page, type Nexpose to find the connector.
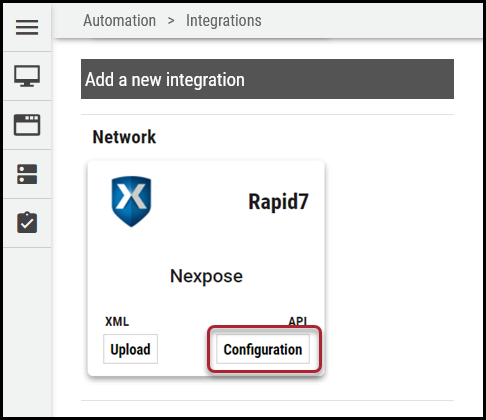
Locate the Nexpose card on the page and click Configuration.
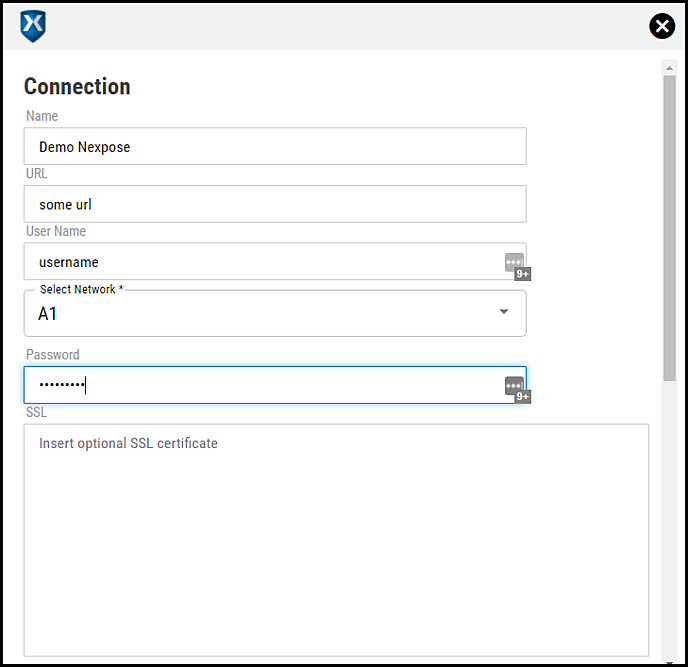
Enter a connector name, the specific Nexpose instance URL, credentials for the Nexpose user, and choose an existing network to associate the Nexpose data within the Neurons RBVM/ASPM/VULN KB platform. You can also add an optional SSL certificate.
Click Test Credentials to verify the credentials are correct and have access to make API calls to the Nexpose instance.
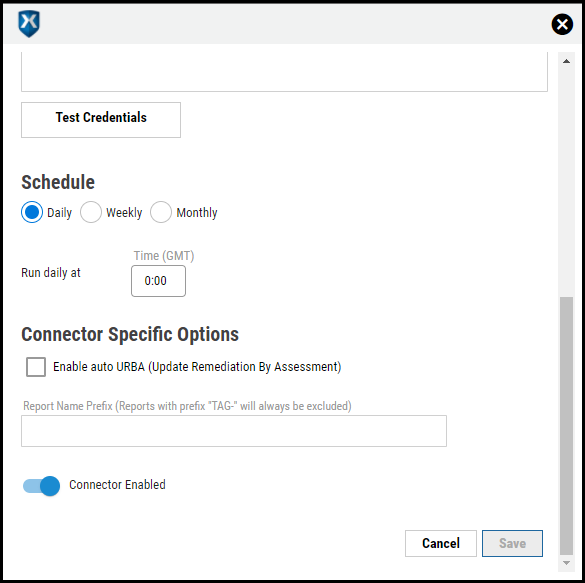
Configure the desired schedule for the connector to retrieve results from the Nexpose instance, optionally turn on Enable auto URBA (Update Remediation by Assessment), include the report name prefix to pull, and click Save to create the connector.
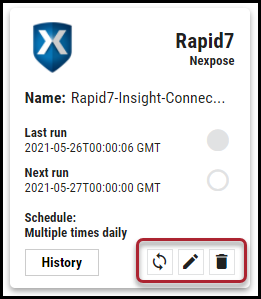
A new card for the Nexpose connector appears at the top of the Integrations page.
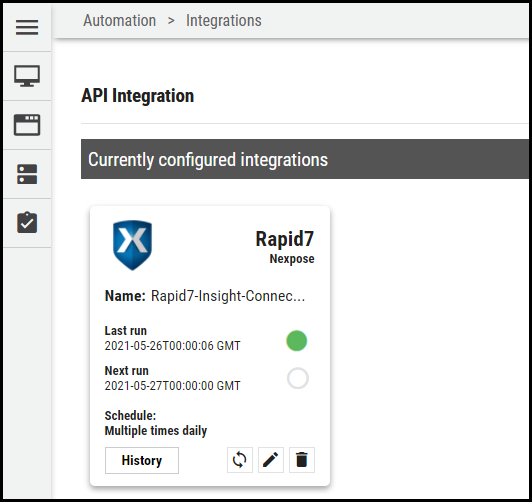
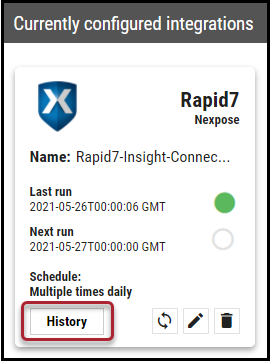
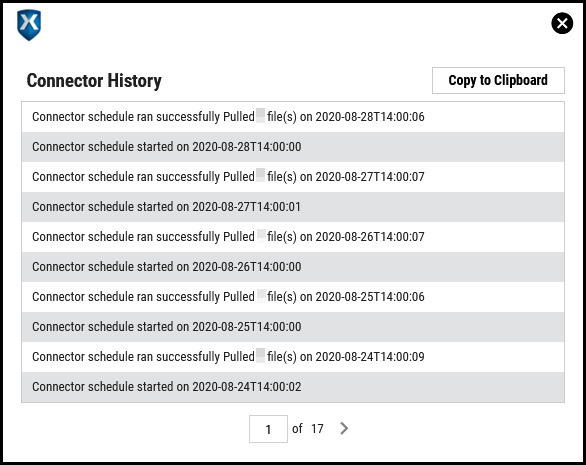
This connector runs once the initial setup is complete. Click the History button to check the connector’s status.
Clicking the Sync button pulls connector files from Nexpose on demand. Clicking the Edit button allows you to modify the connector. Clicking the Delete button deletes the connector.