Rapid7 Nexpose Data Export Guide
Summary: How to export data from Rapid7 Nexpose for ingestion by RiskSense.
Rapid7 Nexpose Overview
Rapid7 Nexpose provides vulnerability management software to discover and prioritize vulnerabilities found in your environment. RiskSense supports Nexpose scan results exported as an .XML 2.0 file.
Rapid7 Nexpose Setup
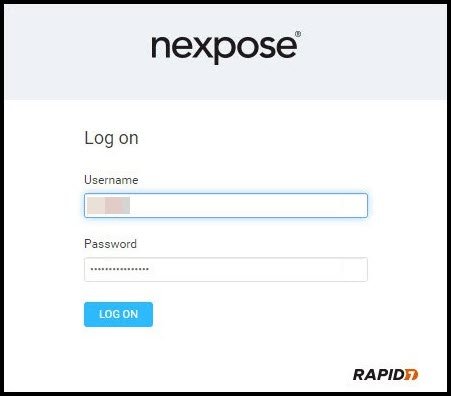
To save Nexpose scan data to a file that can later be uploaded to the RiskSense platform, log into the Nexpose web application.
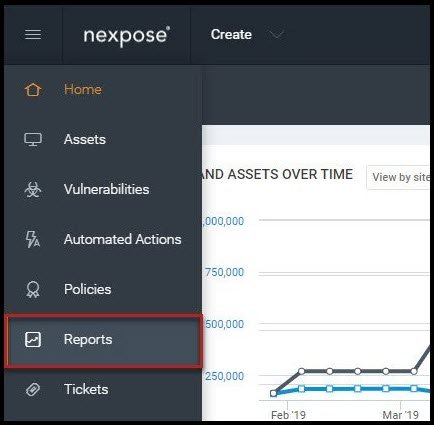
Click the Reports tab.
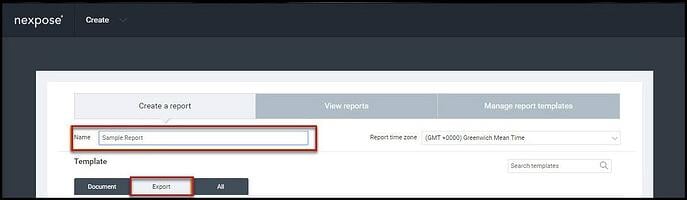
Under Create a report, enter a report name and click the Export button.
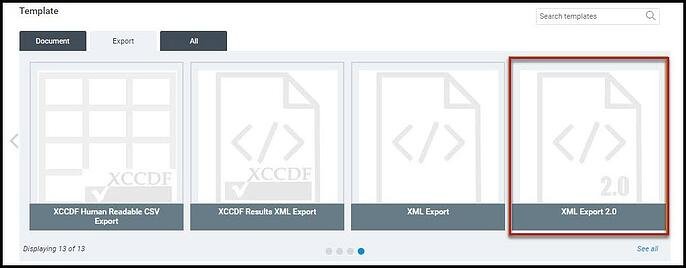
In the Template section, navigate to the XML 2.0 Export template.
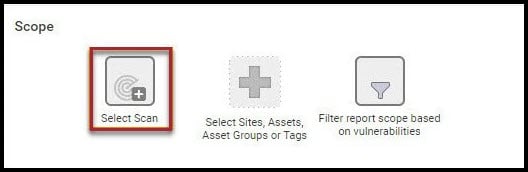
In the Scope section, click Select Scan.
Click on the radio button next to the site that contains the scan to export and click Select a Scan.
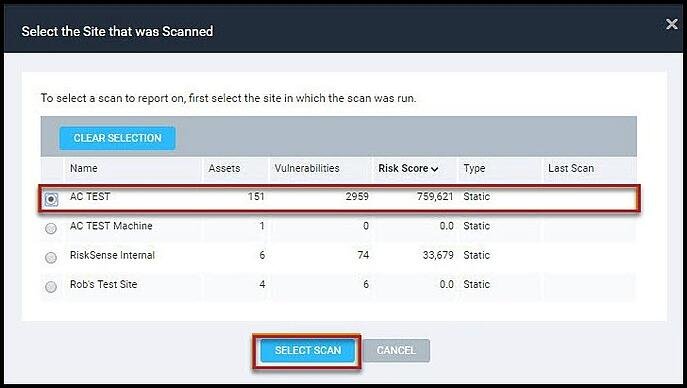
Select the scan to export and click OK.

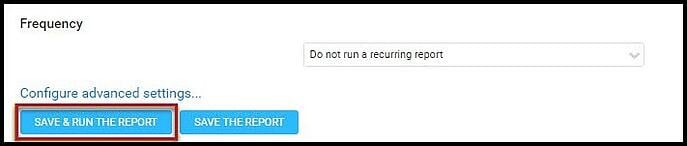
At the bottom of the Create a Report screen, click the blue Save & run the report button.
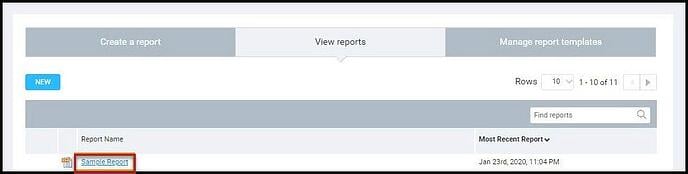
Clicking the button displays the View Reports page. Once the report is finished, right-click the report name, select Save link as…, and designate a convenient and safe place to store the .XML file.