Tenable Security Center Connector Guide
Summary: How to set up and use the Tenable Security Center (Tenable.sc) connector in Ivanti Neurons.
Overview
Tenable® Nessus® is a widely deployed vulnerability scanner that can help detect malware and identify vulnerabilities of assets and asset configurations. Tenable Security Center (Tenable.sc) is built on Nessus technology.
The Ivanti Neurons platform supports client connector configurations to provide scheduled Tenable.sc vulnerability scan output uploads. When looking at the Ivanti Neurons Integrations page, it records and displays the last time data from the Tenable.sc connector was uploaded.
Connector Configuration
Tenable Security Center Setup
When data pulls from a scanner connector, it uploads the last 30 days of scan data into the Ivanti Neurons platform. This is a default setting that cannot be adjusted. Once the data has been pulled, new data is automatically added to the default group and if the data already exists in the platform, it will automatically be moved to the specific group.
Ivanti Neurons Connector Setup
To create the connector, log into Ivanti Neurons and navigate to the Automate > Integrations page.
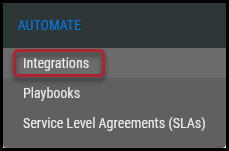
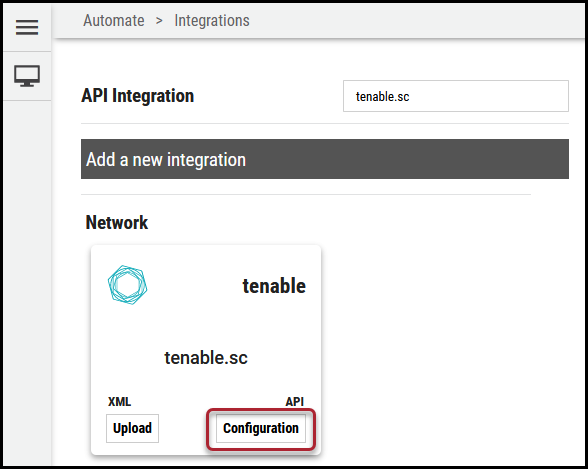
Using the search bar in the upper-right corner of the Integrations page, type tenable.sc to find the connector.

Click the Configuration button in the tenable.sc connector card.
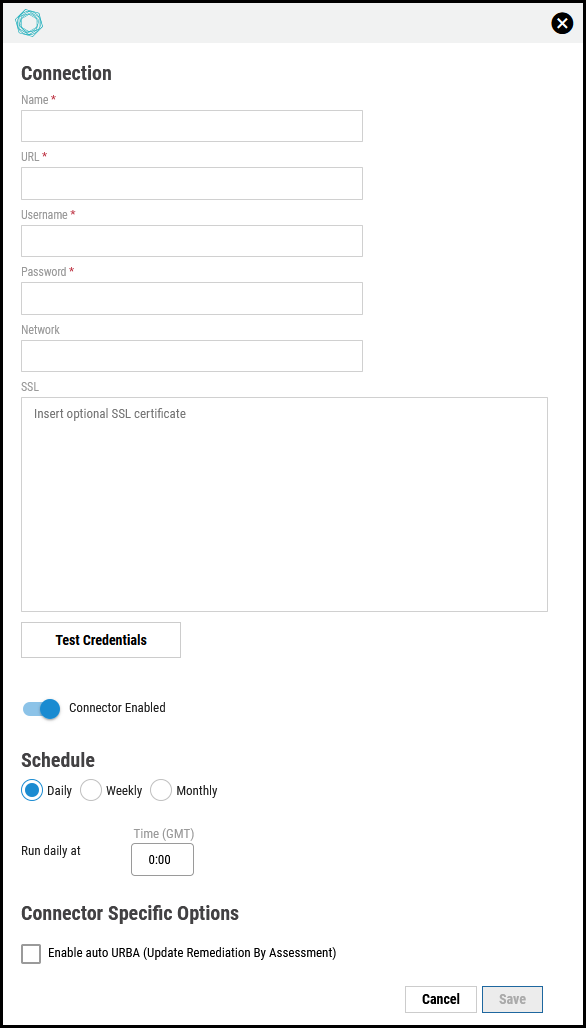
In the new window under Connection, complete the required fields, as described below.
-
Connector Name: Name of the connector.
-
Location (URL): The URL to access the specific instance of Tenable.
-
Username: Username used to access the connected system.
-
Password: Password used to access the connected system.
-
Network: The network configured to ingest the connector data.
-
SSL: Export a Base 64 SSL certificate from the scanner.
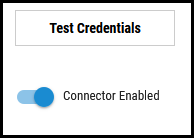
Click Test Credentials to verify if the credentials are correct and have access to make API calls to Tenable.
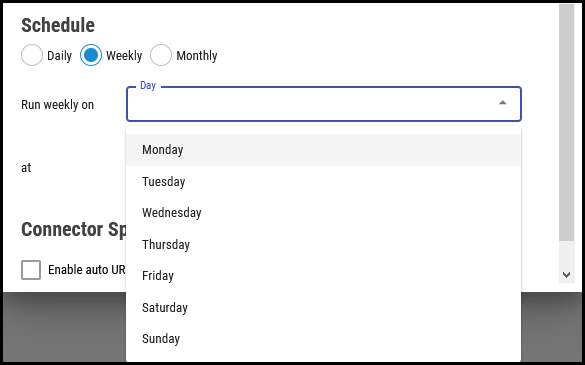
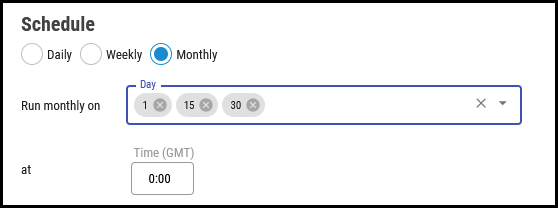
In the Schedule section, configure the desired schedule for the connector to retrieve results from the Tenable instance. All time selections are based on 24-hour GMT time. The following schedules are available.
Daily: Configures the connector to run at a set daily interval.

Weekly: Configures the connector to run on a specific day or multiple days of the week at a specific time.
Monthly: Configures the connector to run on a specific day or days of the month at a specific time on those days.
Optionally turn on Enable auto URBA (Update Remediation by Assessment) to automatically close findings when they have been resolved and no longer detected. Click Save to create the connector.
Editing a Connector Configuration
Connector configurations can be updated at any time after their creation. Navigate to the Automate > Integrations page and click the Edit ( ) button on the tenable.sc connector card.