Performing an IAVA Patch Scan
Another common use of the reporting tool is to create a patch group that contains one or more patches that are of particular interest. You then specify the patch group within a Security Controls patch scan template and use the template to scan your machines on a regular basis.
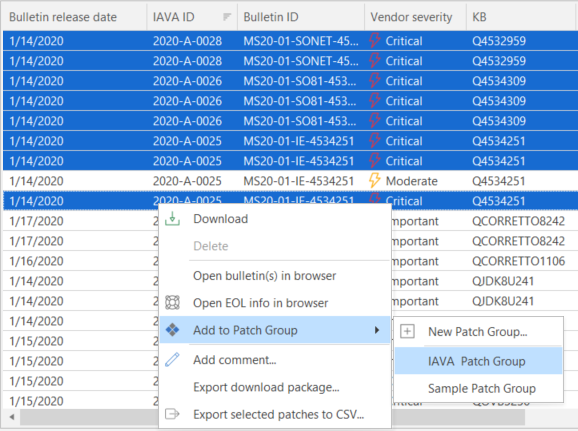
- Create a patch group that contains the patch or patches you would like to scan for (or deploy).
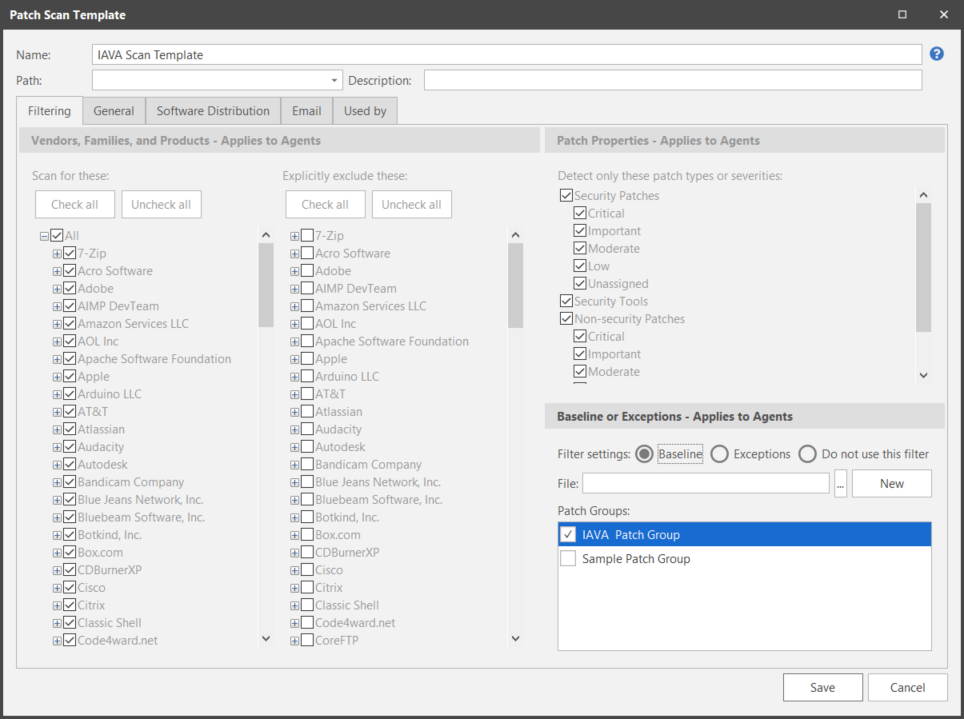
- From the main menu select New > Windows Patch > Patch Scan Template.
- On the Patch Scan Template dialog, type a name for the new template.
- On the Filtering tab, in the Baseline or Exceptions area, choose Baseline.
- Select the patch group you created earlier.
- Save the scan template.
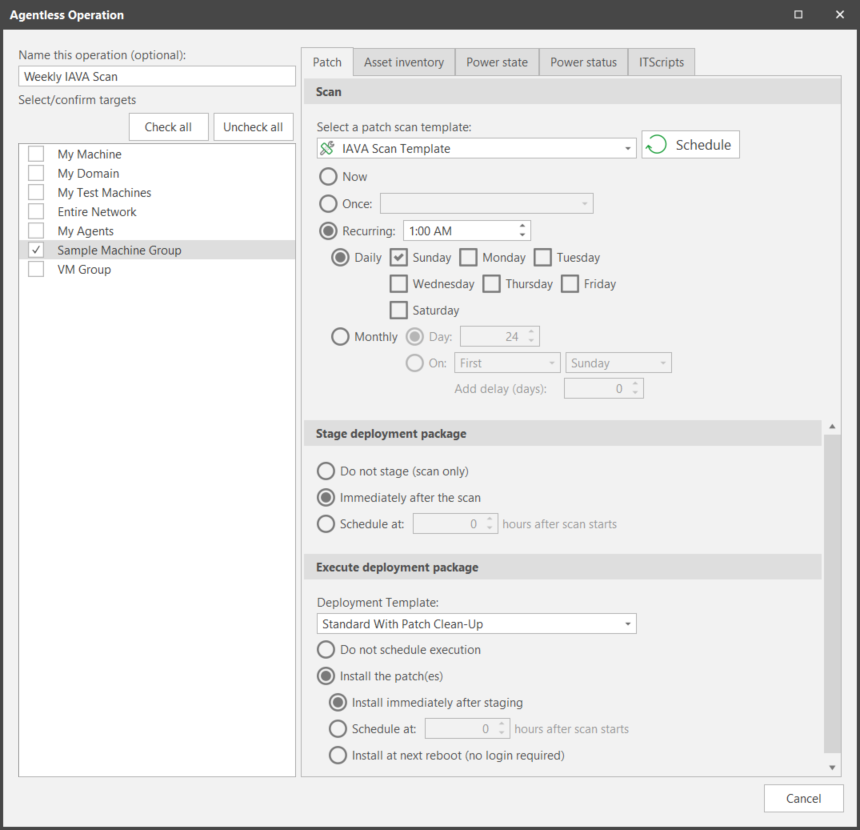
- On the Agentless Operation page, in the Select/confirm targets area, select the machine group you want to scan.
- On the Patch tab, select the patch scan template you just created.
- Schedule the scan to occur at the desired date and time.
- (Optional) If you want to automatically deploy the patches in the patch group, select the desired deployment options in the Stage deployment package and Execute deployment package areas.
- Click Schedule.
To do this, select either View > Windows Patches or New > Windows Patch > Patch Group and then use a Smart Filter to narrow the focus to only those patches of interest. You can then click the IAVA ID column header to sort the remaining patches by their IAVA ID. After selecting the desired patches, use the right-click menu to add the patches to a new or existing patch group.