Atlassian Jira Connector Guide
Summary: How to set up the Atlassian Jira connector in Ivanti Neurons RBVM/ASPM/VULN KB.
Atlassian Jira Connector Overview
Use the Atlassian Jira connector to create an integration with the Atlassian JIRA platform for ticket creation from the Neurons platform. When the connector is configured, Neurons users can create tickets to a specific project. The Jira user credentials used in the connector configuration should have create, read, and write permissions to the specific project in order to create tickets and subsequently query ticket status from the Jira ticket. When creating a ticket, the connector allows a user to create a ticket on a single vulnerability, multiple vulnerabilities, application, or host.
User Prerequisites / Atlassian Jira Setup
Refer to the following KB link for the user permissions required for configuring the Atlassian JIRA Incident Connector.
Jira Connector Configuration
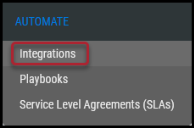
Navigate to the Automate > Integrations page.
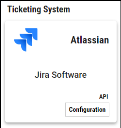
Under Ticketing System, find the Atlassian Jira Software tile and click Configuration.
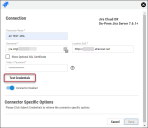
In the Connection window, complete the required fields:
-
Name: The connector instance’s name.
-
URL: The Jira Software instance’s URL.
-
Username: The username of the account that has access the Jira instance.
-
API Token/Password: The token or password of the account that has access to the Jira instance.
-
Network: Network name in Neurons (ingested applications associated with this network).
Once the fields are complete, click Test Credentials to ensure the credentials entered are valid.
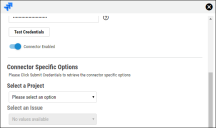
When Test Credentials is successful, the project selection and Issue type drop-down menus appear.
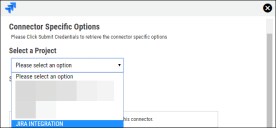
Select your Project.
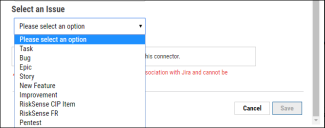
Select your issue type.
Selecting Jira Defaults
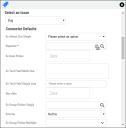
Depending on the project configuration and issue, available fields will appear in this section. An example is shown below.
Form Options
When a magnifying glass appears, you can search for data to fill the field.
Required fields are denoted with “*”.
Date fields will open a date picker.
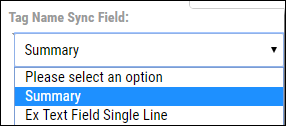
Select the fields that will be used to sync the tag name when a ticket is created.
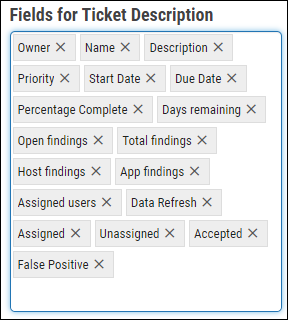
Select the fields to appear in the ticket description. These fields appear in Neurons’ Tags page.
Optionally, you can select a set of fields that lock when a ticket is created. This is action is completed by selecting the Locked Fields dialog. When the field is clicked, the available fields appear.
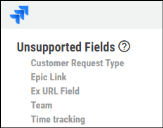
If the Jira form contains any fields that Neurons RBVM/ASPM/VULN KB currently does not support, those unsupported fields appear in the Unsupported Fields section.
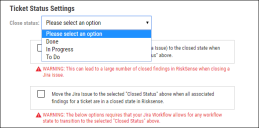
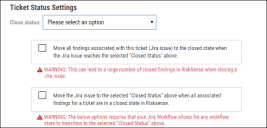
In the next section, the ability to allow the deletion of tags associated with the connector option is available.
These checkboxes are optional and should only be chosen after carefully reviewing the warnings.
Click Save to enable the connector.
Creating a Jira Ticket
After configuring the Jira ticketing connector, it can be accessed from the following pages.
-
Hosts
-
Host Findings
-
Application
-
Application Findings
-
Tags
In order to create a ticket, at least one finding must be selected. The user also can create a ticket on any selected vulnerabilities, applications, or hosts once the vulnerability has been selected.
Click the More button and select Create Ticket.
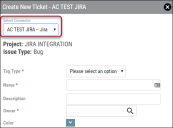
In the Create Ticket window, select the Jira ticketing connector.
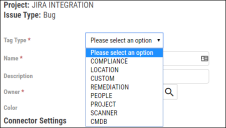
The user must select the tag type required for the ticket.
After entering the tag information, the user can modify the default ticket options or click Save.
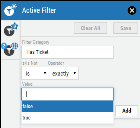
The user can filter any list view using the Has Ticket filter to see all vulnerabilities with a ticket currently assigned.
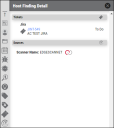
After filtering for all vulnerabilities that currently have a ticket assigned, click a vulnerability and the Host Detail appears. Click the ticket icon to view the ticket in the detail pane. The user can see the ticketing system with the ticket number, which is a link to the ticket in the Jira system, and the ticket’s current state in the ticketing system.
