Qualys Web Application Scanning (WAS) Data Export and Report Setup Guide
Summary: How to export data from Qualys Web Application Scanning (WAS) for ingestion into RiskSense.
Qualys WAS Overview
Qualys Web Application Scanning (WAS) is a cloud-based service that provides automated testing of web applications to identify software vulnerabilities.
Qualys WAS Setup
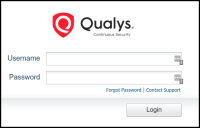
Log into Qualys WAS with your username and password.
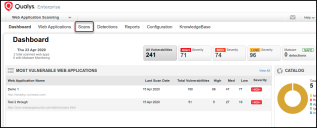
Navigate to the Web Application Scanning option under Modules.
Exporting a WEB_APPLICATION_SCAN
Once on the Web Application Scanning home page, click the Scans tab in the navigation bar.
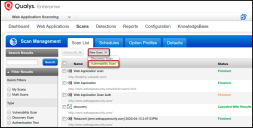
On the Scans page, click the New Scan drop down and select Vulnerability Scan.
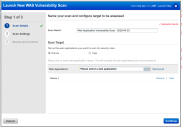
In the Launch New WAS Vulnerability Scan window, fill in the Scan Name and Web Applications to scan.
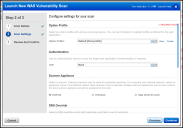
For Step 2, complete the fields for Test Profile, Authentication, and Scanner Appliance.
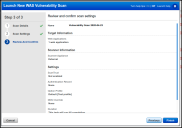
After reviewing your scanning preferences, select Finish.
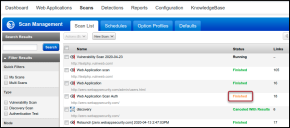
The scan status displays Finished when completed.
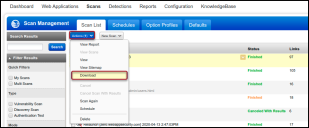
Select the checkbox of the scan that finished and under the Actions drop down, select Download.
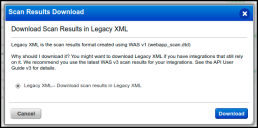
A Scan Results Download pop up will appear and select Download. This downloads a WEB_APPLICATION_SCAN XML type.
Exporting a WAS_WEBAPP_REPORT
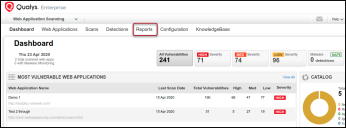
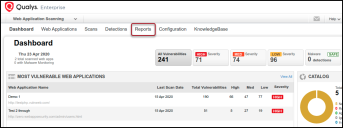
Once on the Web Application Scanning home page, click the Reports tab in the navigation bar.
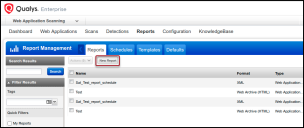
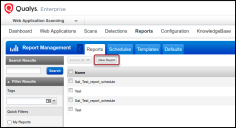
On the Reports page, click the New Report button.
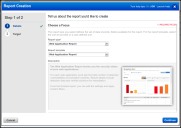
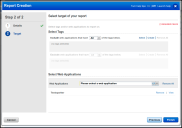
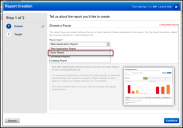
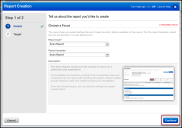
In the Report Creation window, choose Web Application Report as both the Report Type and Report Template. Then, select Continue.
Step 2 requires selecting the target of your report through including or excluding specific tags or selecting the name of the web application directly. Once the desired web application(s) are chosen, select Finish.
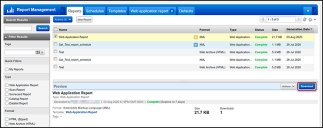
This action takes you to the Web Application Report tab within Report Management. Select Download from the top-right corner of the page.
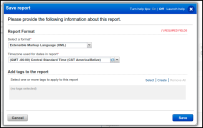
To save the report, select Extensible Markup Language (XML) as the desired format and select the appropriate Timezone. Tags are optional but can be applied to the report. Then, select Save.
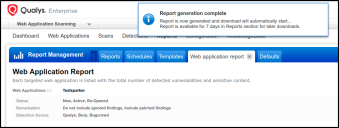
After the report is generated, a confirmation snackbar appears at the top of the page and the WAS_WEBAPP_REPORT XML type is downloaded automatically.
To download an existing report, select the Reports tab within Report Management to view all generated reports.
Exporting a WAS_SCAN_REPORT
Once on the Web Application Scanning home page, click the Reports tab in the navigation bar.
On the Reports page, click the New Report button.
In the Report Creation pop up, choose Scan Report as both the Report Type and Report Template.
Then, select Continue.
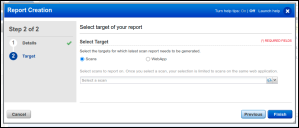
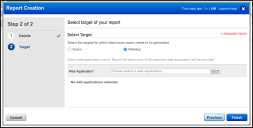
Step 2 requires selecting a target of the report. Users can select a Scan or a WebApp. Once a target is selected, click Finish.
Scan:
WebApp:
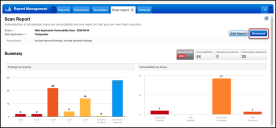
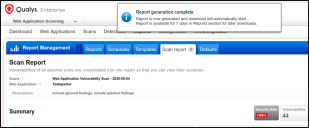
This action takes you to the Scan Report tab within Report Management. Select Download from the top-right corner of the page.
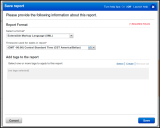
To save the report, select Extensible Markup Language (XML) as the desired format and select the appropriate Timezone. Tags are optional but can be applied to the report.
Then, select Save. After the report generates, a confirmation snackbar appears at the top of the page and the WAS_SCAN_REPORT XML type is downloaded automatically.
