Example: Configuring an alert ruleset for disk space problems
The following procedure demonstrates a simple example of the first step in cofiguring a custom alert ruleset. In this example, a single alert rule is added to a ruleset.
A video covering this procedure is also available:
- In the core server console, click Tools > Configuration > Agent Settings > Alerting.
- Create a new alerting setting by clicking New
 on the toolbar. Edit an existing setting by selecting it and clicking Edit.
 - Type a Name for the ruleset and a Description (such as "Disk space 90% full").
- In the Rules summary list, click New on the toolbar.
- In the Alert rules window, click Alerts in the tree on the left side.
A tree view of alerts is displayed, with a grid containing alerts and their descriptions. You can click the root Alerts item to view all available alerts, or click a category in the tree to view a specific group of alerts. - In the tree view, under the Alerts > Monitor group, click the Drive space alert.
- In the grid, select Default disk usage, then click the Edit
 toolbar button.
 -
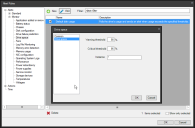
In the Drive space dialog box, you can set the Polling interval frequency to change how often the drive space usage will be monitored. To change the thresholds at which alerts are triggered, click Drive space and set percentages for warning and critical alerts. (These are percentages of total available drive space that are full.) Click OK in the Drive space dialog box to save the settings.
- In the Alert rules dialog box, click Actions on the left-hand side. You will see a list of available actions. Select the ones you want to use for this alert.
- In the Alert rules dialog box, click Time on the left-hand side. You will see the time options. Select the ones you want, and click Edit to customize a selected time.
- When you're done configuring the alert, actions, and time, click OK to save your changes.
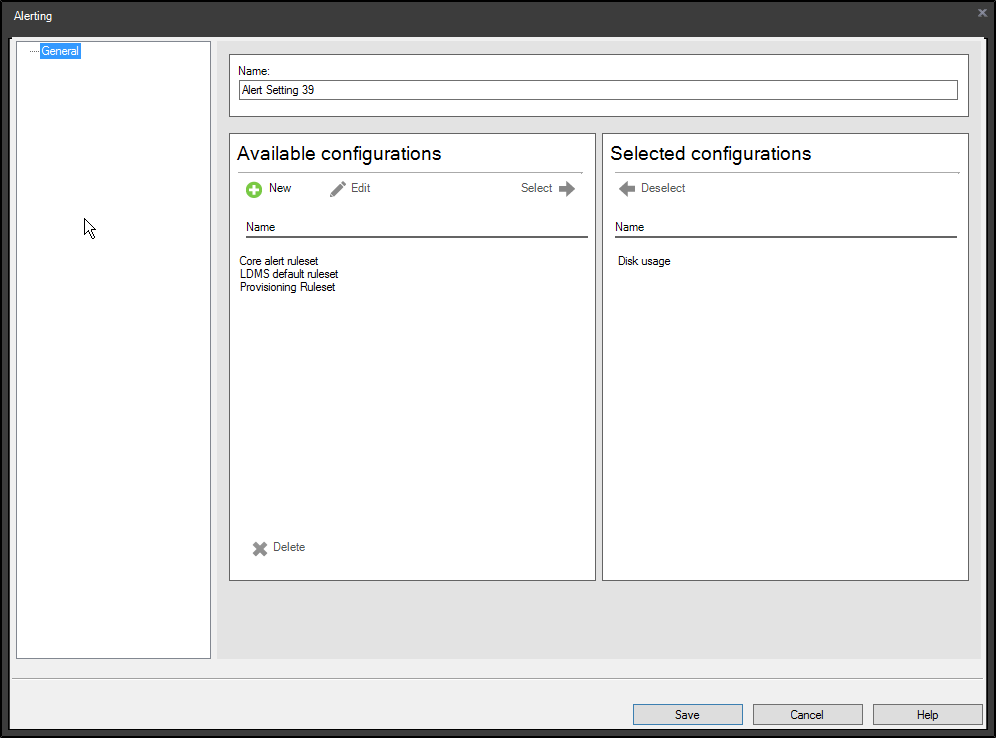
- In the Available configurations list, double-click the ruleset you created and it will move to the Selected configurations list.
-
Select your ruleset and click Edit.
To change the severity levels for alert notifications, click the State icons. A dimmed icon will not be used, so to receive alerts only for critical status alerts, click the Warning (State 2) icon, a yellow triangle, to turn it off.
Select the Health check box to include disk space usage as an alert that contributes to the device's health status.
-
Click Save to exit the Alerting dialog box.
- Now let's deploy the alerting agent setting you created. In the Agent settings window toolbar, click the Create a task button
 and then click Change settings.
 - In the type column, click Alerting, and beside it select your new alerting agent setting.
- Click Save, and the Scheduled tasks window will open with your new change settings task selected.
- Add targets to the task, then right-click the task and click Start now > All.
- Monitor the task progress. When the task finishes your new alert ruleset will be active on the devices you targeted.