Create a custom data form
Custom data forms provide a way for you to collect information from users and add it to the core database. Follow these steps to create a custom data form.
To create a custom data form
- Click Tools > Configuration > Custom data forms.
- In the Custom Data Forms window, double-click Add new form.
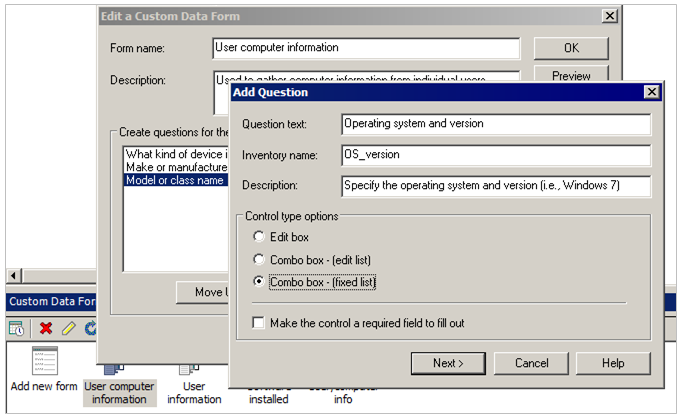
- Enter a name for the form.
- Enter a description for the form. (The description you enter will appear as a help tip when the user clicks F1 on the field while filling out the form.)
- Click Add to open the Add question dialog box.
- In the Add Question dialog box, type in the Question text, Inventory name, and Description.
- Select the Control type.
- Select whether you want the field to be required.
- If you selected the Edit control type, click Finish to close the Add question dialog. The Edit control type lets users type in their own answers to questions in an editable text box. You can add more questions or proceed to step 12.
- If you selected either of the Combo box control types, click Next to open the Add items dialog. The Combo box control type lets users select their answers from a drop-down list of pre-defined items.
- In the Add Items dialog, enter an item name and click Insert to place the item in the Items list. These items appear in a drop-down list for that question on the form. You can add as many items as you like, then click Finish.
- When you're done adding questions, click Close to save the form.
You can right-click on a form to schedule it for distribution to devices.