About the Portal Manager
Ivanti Portal Manager delivers apps, documents, and links to end users so they can install items that are approved for use in your organization or required for that user's hardware.
When the end user launches Portal Manager, it synchronizes with the policy server. If there are any required policy-based tasks that haven't yet run on the user's device, these tasks are initialized without any further action from the end user.
The end user can also choose from recommended and optional policy-based tasks that have been added to Launchpad.
Installing and starting the Portal Manager
The Portal Manager is installed as part of an agent configuration that you define and then deploy to managed devices. You also need to configure agent settings for Portal Manager before deploying the agent. How to do this is described in the next section.
Managed devices can launch the Portal Manager from the Start menu by clicking Ivanti Management > Portal Manager.
Configuring the Portal Manager
Ivanti Portal Manager is configured and deployed as part of the standard Ivanti agent.
The Portal Manager lists the available applications, documents, and links. You can change how these are displayed on managed devices by changing the Portal Manager agent configuration.
To configure how the Portal Manager displays applications
- In the Ivanti Management Console, click Tools > Configuration > Agent configuration.
- Create a new Windows configuration, or double-click a configuration to edit it.
- Expand Distribution and Patch in the configuration's tree structure and click the Portal Manager page.
- Click the Configure button. Either select an existing agent configuration and click Edit, or click New to create a new one.
- On the General page, select options that determine how end users can interact with the Portal Manager.
- On the Applications page, select the applications you want to appear in the Portal Manager. Click New to define applications. Choose from items in the Available applications list and click >> to show them in the Portal Manager.
- On the Branding page, you can customize the title color, taskbar icon, the corporate logo, and the background image that are displayed in the Portal Manager.
- When you've finished, click Save. Select the settings and click Use selected. You are returned to the agent configuration dialog.
- Under Shortcut configuration, select where on the end user's device you want to display a shortcut to the Portal Manager.
- Select Run Portal Manager when the user logs on if you want the Portal Manager to always open when the end user logs on to the device. This can be useful if you want to make sure that required policies are downloaded in a timely way.
- When you've finished the configuration, click Save. You can then schedule the agent to be deployed to selected devices.
Adding items to Portal Manager
The default Portal Manager deployment doesn't include any launchpad items. Use software distribution to add items to Portal Manager.
Items you can add to Portal Manager include:
- Mobile Android and Apple iOS packages
- Universal links, streamed documents, and OS provisioning templates
- Windows actions, batch files, executables, MSI packages, PowerShell scripts, Windows Script Host scripts, and virtualized applications
To add items to Portal Manager
- Click Tools > Distribution > Distribution packages.
- On the distribution packages toolbar, click New and select the item and create or edit the package you want to appear in Portal Manager.
- In that package's properties under Metadata, specify categories, a logo, screenshots, and tags for the package. These will appear in Portal Manager once you distribute the package.
- Right-click the package you created or modified, and click Create scheduled task.
- The Scheduled tasks tool opens. In the properties for the task you created, click Task settings > Portal settings. Select either Recommended (display in portal) or Optional (Display in portal).
- Add targets for the task and adjust other options as necessary.
- Run the task.
Adding applications and distribution packages to Portal Manager
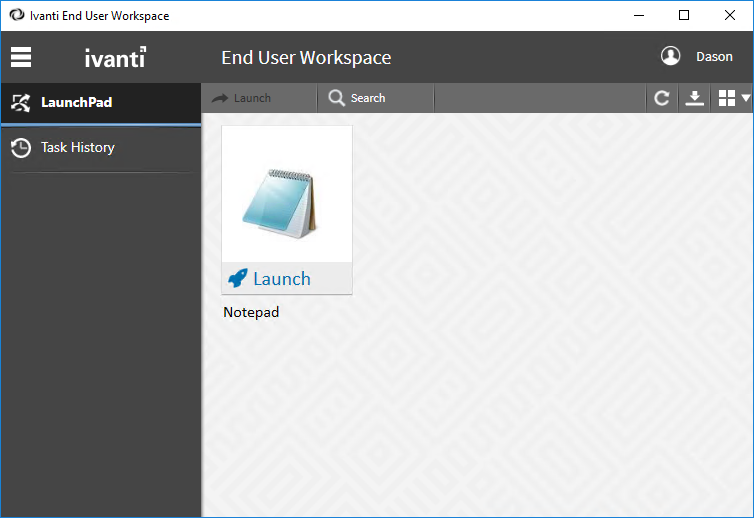
Portal Manager displays two applications by default: LaunchPad and Task History. You can also add other applications and distribution packages that display on the Portal Manager (rather than in the list of LaunchPad apps).
To add applications for use in Portal Manager
- Click Tools > Configuration > Agent settings.
- In the Agent settings tree, click Portal Manager. Create a new configuration, or double-click a configuration to edit it.
- Click the Applications page, and then click the New button.
- Type the application name and a tooltip that displays when the end user points to the application.
- Select the application type.
- Specify the path to the application. This path needs to be valid on devices where Portal Manager is installed. If you specify a path that only works on the core server, users won't be able to launch that application from their devices.
- For executable apps, specify any parameters.
- For WPF DLLs, specify any class names.
- Click Browse to select an image
- When you've finished, click Save to add the application to the Available applications list.