Configuring a provisioning template
A template is a series of actions or building blocks to be applied to the device in a particular order. Prior to configuring a provisioning template, you must first create the template framework. Once a template is in place, you can leverage either predefined templates or construct your own using configuration settings.
If the settings are in place, you can then configure the template itself with actions. Depending on the configuration settings selected for a template, this may pre-populate this dialog with actions associated with that configuration.
For example, you want to create a Windows deploy template, so you selected Windows for the Target OS. When you double-click the newly-created template, it will display the configuration alongside a list of predefined actions for each stage of the provisioning process. All you then need to do is provide values for each action, such as specifying a partition to erase, identifying the path and filename of a desired image, and configuring software to install upon OS installation completion.
We recommend leveraging the default templates currently available before you start adding your own actions. When configuring your own template, we recommend including all actions associated with a process, even if it means having multiple tasks associated with all five stages of the provisioning process. If you split actions between multiple templates, this may contribute to action conflicts that could render damage to an OS installation.
Follow these steps to configure a template.
To configure a provisioning template
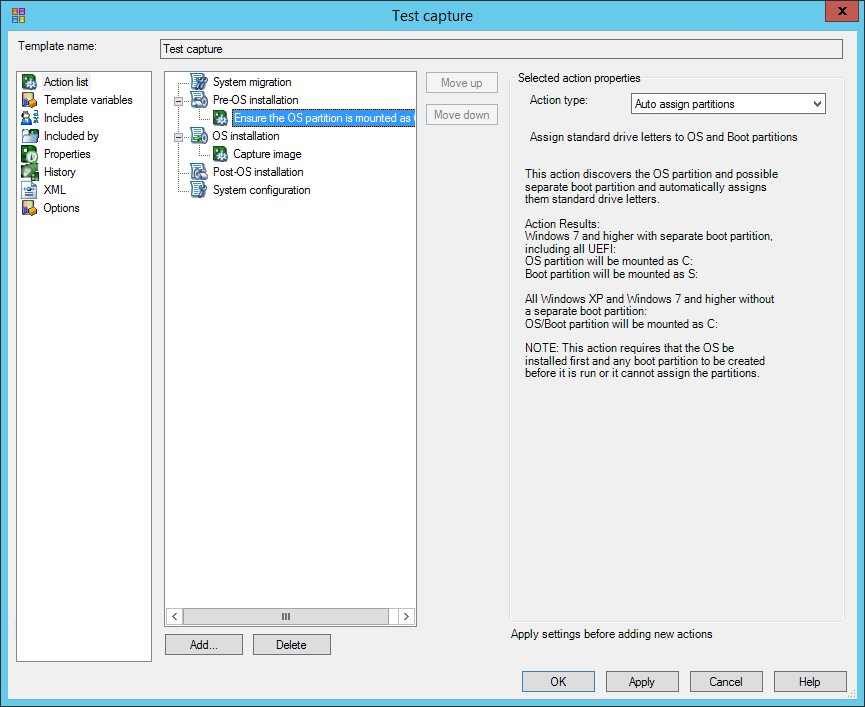
- In the OS provisioning tree, double-click a provisioning template.
- In the left navigation pane, click Action list.
- In the middle pane, select the section in which you want the action to occur.
- System migration: Features and components that need to be saved before modifying the system or when migrating a device to other hardware or a virtual machine. For example, you can capture profile information when migrating to Windows 10/11, delete folders or files when reassigning a device from an old to a new user, and mount a drive when accessing migration or image files on a corporate server.
- Pre-OS installation: Actions that are performed when the device boots into a pre-installation environment. For example, you can create or format partitions on Windows devices as well as create Fusion Drives on Mac devices.
- OS Install: Actions that are performed in the pre-installation environment (Windows PE) when the OS is installed. For example, you can deploy an image to begin installing the desired operating system.
- Post-OS Installation: Actions that are performed in the target operating system after it has been installed. For example, you can download and execute specific corporate applications and then force a reboot to complete the installation process.
- System configuration: Actions that include additional application installation/execution and system configuration changes in the installed OS. For example, you can add driver installation tasks, install mapped software assigned to the parent device group, and join a corporate domain.
- Click Add.
- In the Name field, type a specific name for the action.
- In the Description field, type a detailed description of the action.
- In the Type list, select an action type.
- Under Action variables, click Add to add a variable that applies to this action only. Specify the values in the text boxes, select the variable type, and click OK.
- Under Selected action properties, complete the data required for the action type. This data varies depending on the action type you selected.
- When the action is defined, click Apply to save it and continue editing the template. When you have finished defining the template, click OK.