Distribute a package
A distribution package consists of the package file you want to distribute, any additional files needed by the package, and settings that describe the package components and behavior. You must create the package before you can create the distribution package definition for it.
These instructions explain how to create a software distribution package. For the package to execute correctly, the software distribution package must exist on either a network or web server, and devices must have the software distribution agent installed.
The package file and additional files are stored on each client here: C:\Program Files (x86)\Ivanti\EPM Agent\sdmcache.
For more information on the types of packages you can distribute, see Understanding distribution package types.
There are two main steps required to distribute a package to devices.
Step 1: Create the package you want to distribute.

Step 2: Schedule the package for distribution and customize the delivery task type if necessary.
To create a distribution package
- Click Tools > Distribution > Distribution Packages.
- From the New drop-down menu, click the package type you want to create. If the New option isn't clickable, make sure either My packages or Public packages is selected in the tree.
- In the configuration dialog box, enter the package information and configure the options as needed. Note that you must enter the package name, description, and primary file. For more information about each page, click Help.
- Click OK when you're done. Your script appears under the tree item for the package type and owner you selected.
To schedule a distribution task
- Click Tools > Distribution > Scheduled tasks.
- In the tree, click the Scheduled tasks category you want.
- Click the New toolbar button and click Scheduled task.
- On the Distribution package page, select the distribution package you created.
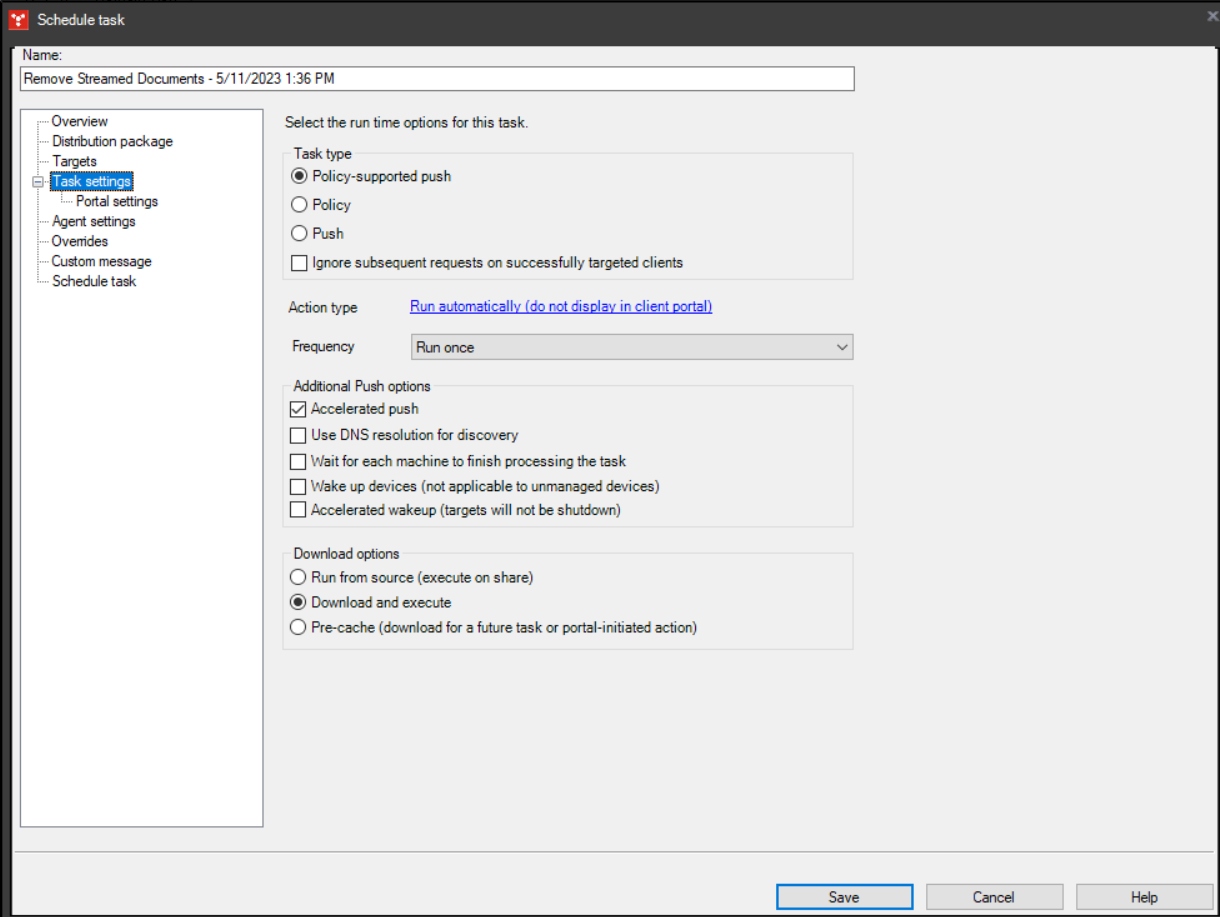
- On the Task settings page, select the distribution task type you want to use.
- Click Save to save your changes.
- From the network view, drag targets onto the task in the Scheduled tasks window. Targets can include individual devices, computer groups, LDAP objects (user, machine, and group), LDAP queries, and inventory queries.
- From the task's shortcut menu, click Properties.
- The Targets page shows the devices that will receive this task.
- On the Schedule task page, enter the task name and the task schedule.
- Return to the Overview page and confirm the task is properly configured.
- Click Save when you're done.
View the task progress in the Scheduled tasks window.