Software Library page: Suites tab
A Suite is a group of products that can be covered by one license. A suite does not have its own executable file – it is only a logical group of products. An example of a suite is Microsoft Office, which does not have its own executable file but comprises multiple individual executables (for example Word.exe, Excel.exe), which are all grouped together under the Microsoft Office Suite.
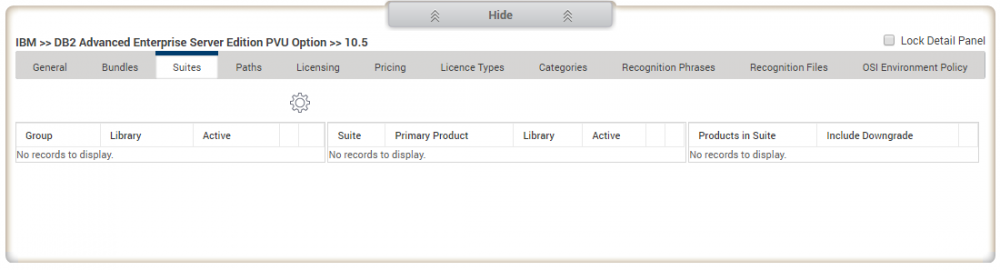
The Suites tab in the Detail panel on the Software Library page displays the suites associated with the selection made in the Selection panel at the top of the page.
Creating suites
In the Software Library, you usually create a suite by selecting the Primary Product (that is the Suite product, for example Microsoft Office. You use groups to organize suites logically.
To create a suite:
1.Select the Primary Product, then click New Group from the gears menu above the Groups list.
The New Group dialog appears.
2.Type a Group Name, then click OK.
The group appears in the Groups list.
3.Select the required group, then click New Suite from the gears menu above the Suites list.
The Add Suite dialog appears.
4.Type a Suite Name and select a Parent suite if you want to nest the suite under another.
5.In the Minimum Matches box, specify the minimum number of products from the suite that must be present on the OSI in order for the suite to be recognized, then click OK.
The suite is added to the Suites list.
You can edit a suite by selecting the group containing the suite it in the Groups list, then selecting the suite from the Suites list, and then adding or removing component products as required. To edit the group or suite name, select it then click Edit Group or Edit Suite from the appropriate list gears menu.
After a suite has been created, you can add component products to it.
To add component products to a suite:
1.Select the required suite, then click Add Product from the gears menu above the Products in Suite list on the right of the Suites tab.
The Select Product dialog appears.
2.Search for and select the product that you want to include in the suite as a component product.
The product appears in the Products in Suite list.
You can also add component products by selecting the Lock Detail Panel check box, then clicking and dragging product versions from the Items pane in the Selection panel using the  icon onto the Products in Suite list.
3.If you want to allow downgrading to cover previous versions of a component product through the suite, select the Include Downgrade check box.
Click ![]() alongside a component product to remove it from the suite.
alongside a component product to remove it from the suite.
IMPORTANT: When you have created or updated a suite, run recognition to update suits and then run a new reconciliation to see the effects of the new or edited suite in a reconciliation.