Exporting components to 3rd-party applications
To use this feature, you must have component scheduler rights and be assigned the ability to design exportables.
You can export single components from Xtraction to 3rd-party applications. Doing so enables you to store data from Xtraction in one location and provides an easy way for others to view the data in a single application. You can paste components supported by Exportable Designers here, directly from the Dashboard and Document Designer.
There are design restrictions when exporting components:
• You can only export one component at a time.
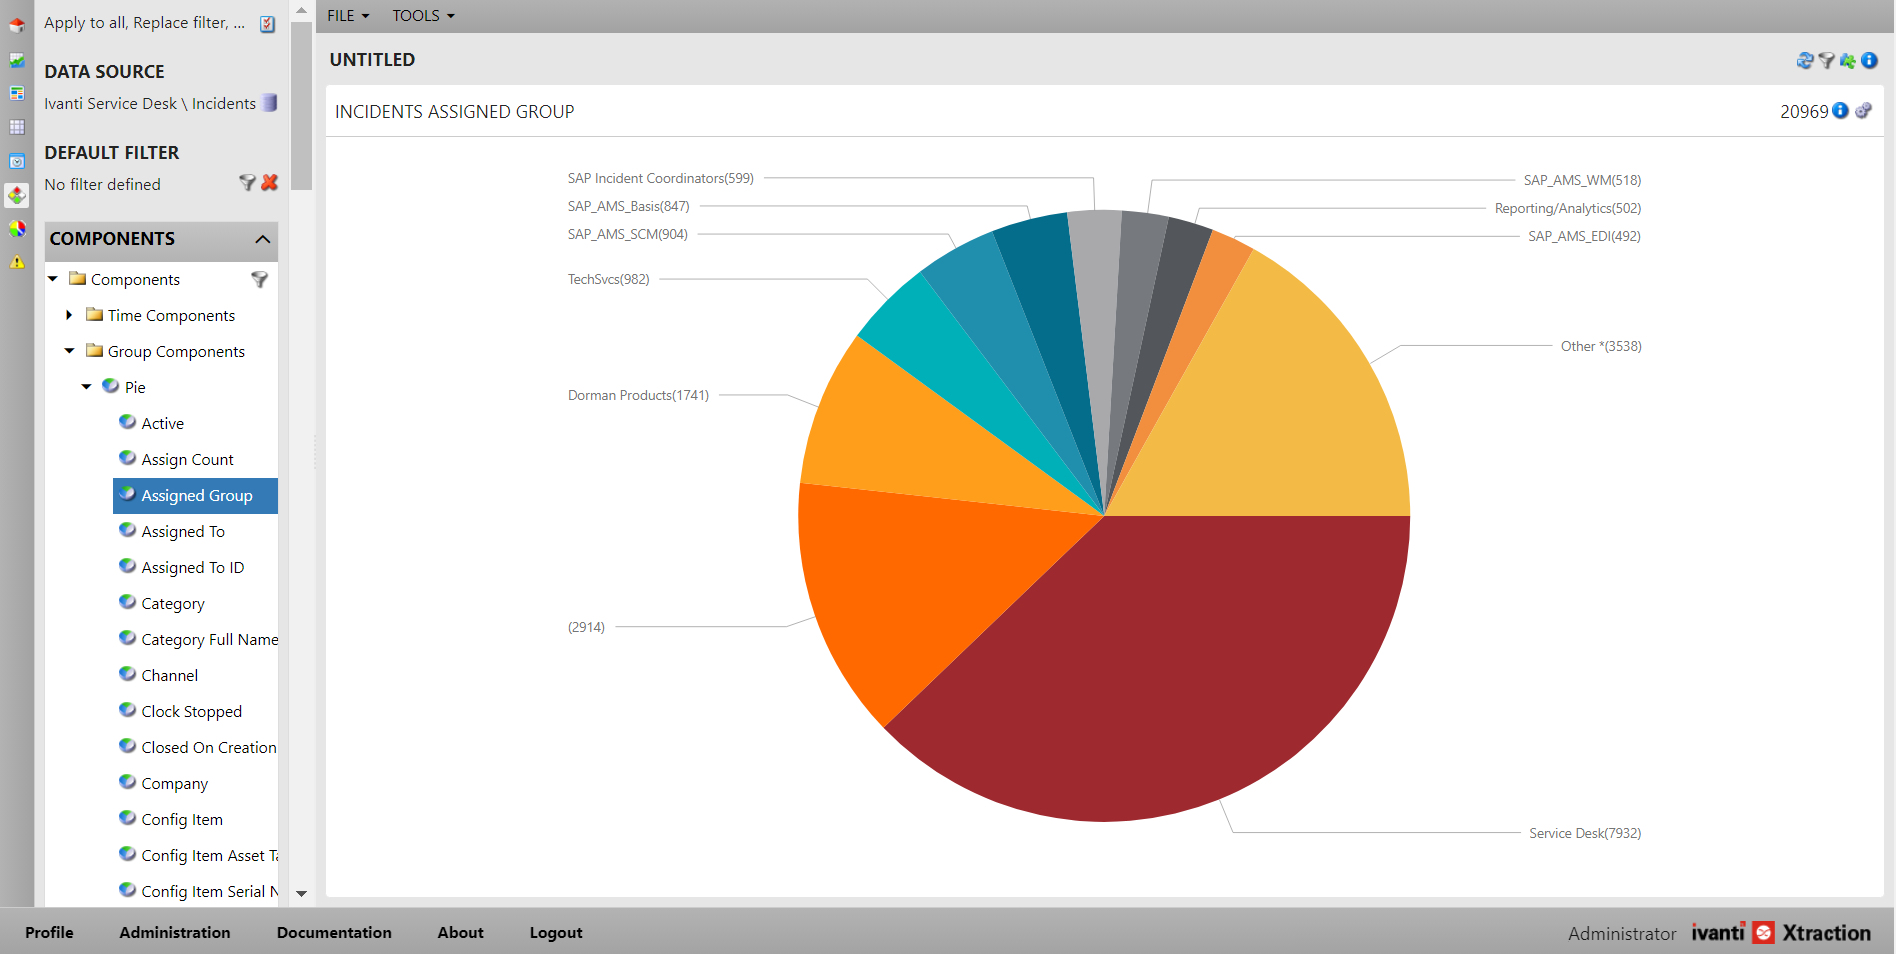
•You're limited to using the group, time, and pivot components. With each component, there are limitations to the format you can use for the export. For example, with group components, you're limited to the formats of pie, doughnut, column, bar, and bubble. With pivot components, you're limited to group and time group pivots. Grid formats aren't available for any of the components.
•You can't perform the following actions: set up alert rules, use temporary filters, copy the component to a document, or convert the component to a resizable one.
After creating the component, you’ll need to schedule the export as a task in the Scheduled components page before you can export the component to a 3rd-party application.
1.In the left navigation pane, click the ![]() icon to open the Exportable component page. A blank design canvas displays.
icon to open the Exportable component page. A blank design canvas displays.
2.Click File > New. Name the component and click Close.
3.Drag and drop a time, group, or pivot component onto the design canvas. If at any point you want to change the format, click the ![]() icon and then the
icon and then the ![]() icon (in the top right corner of the page) and select a new format.
icon (in the top right corner of the page) and select a new format.
4.Click File > Save to save the component.
5.Click the ![]() icon in the top-right corner of the page to schedule the export.
icon in the top-right corner of the page to schedule the export.
6.In the Scheduled export dialog, enter a scheduled task name.
7.Under the Options tab, select the display options for the exportable component:
•Format: Select PNG or JPG.
•Dimension: Select one of the available options. Use Custom to enter a custom resolution.
8.Under the Schedule tab, select the export schedule for the component:
•Daily: Run the task daily.
•Weekly: Run every week on the days selected.
•Monthly: Run every month on the days and months selected.
•Timer: Run the task at the specified interval. Set up both the interval number and type (minutes, hours, days). The task will run continuously for the interval specified.
•Monthly Offset: Run the task on a specific day of the week and month. The With Off-Set option allows you to execute the task a certain number of days before or after the day set under the Monthly Offset schedule. To make things simpler, you can select all months listed throughout the year simultaneously with the Check-All option.
9.Click OK.
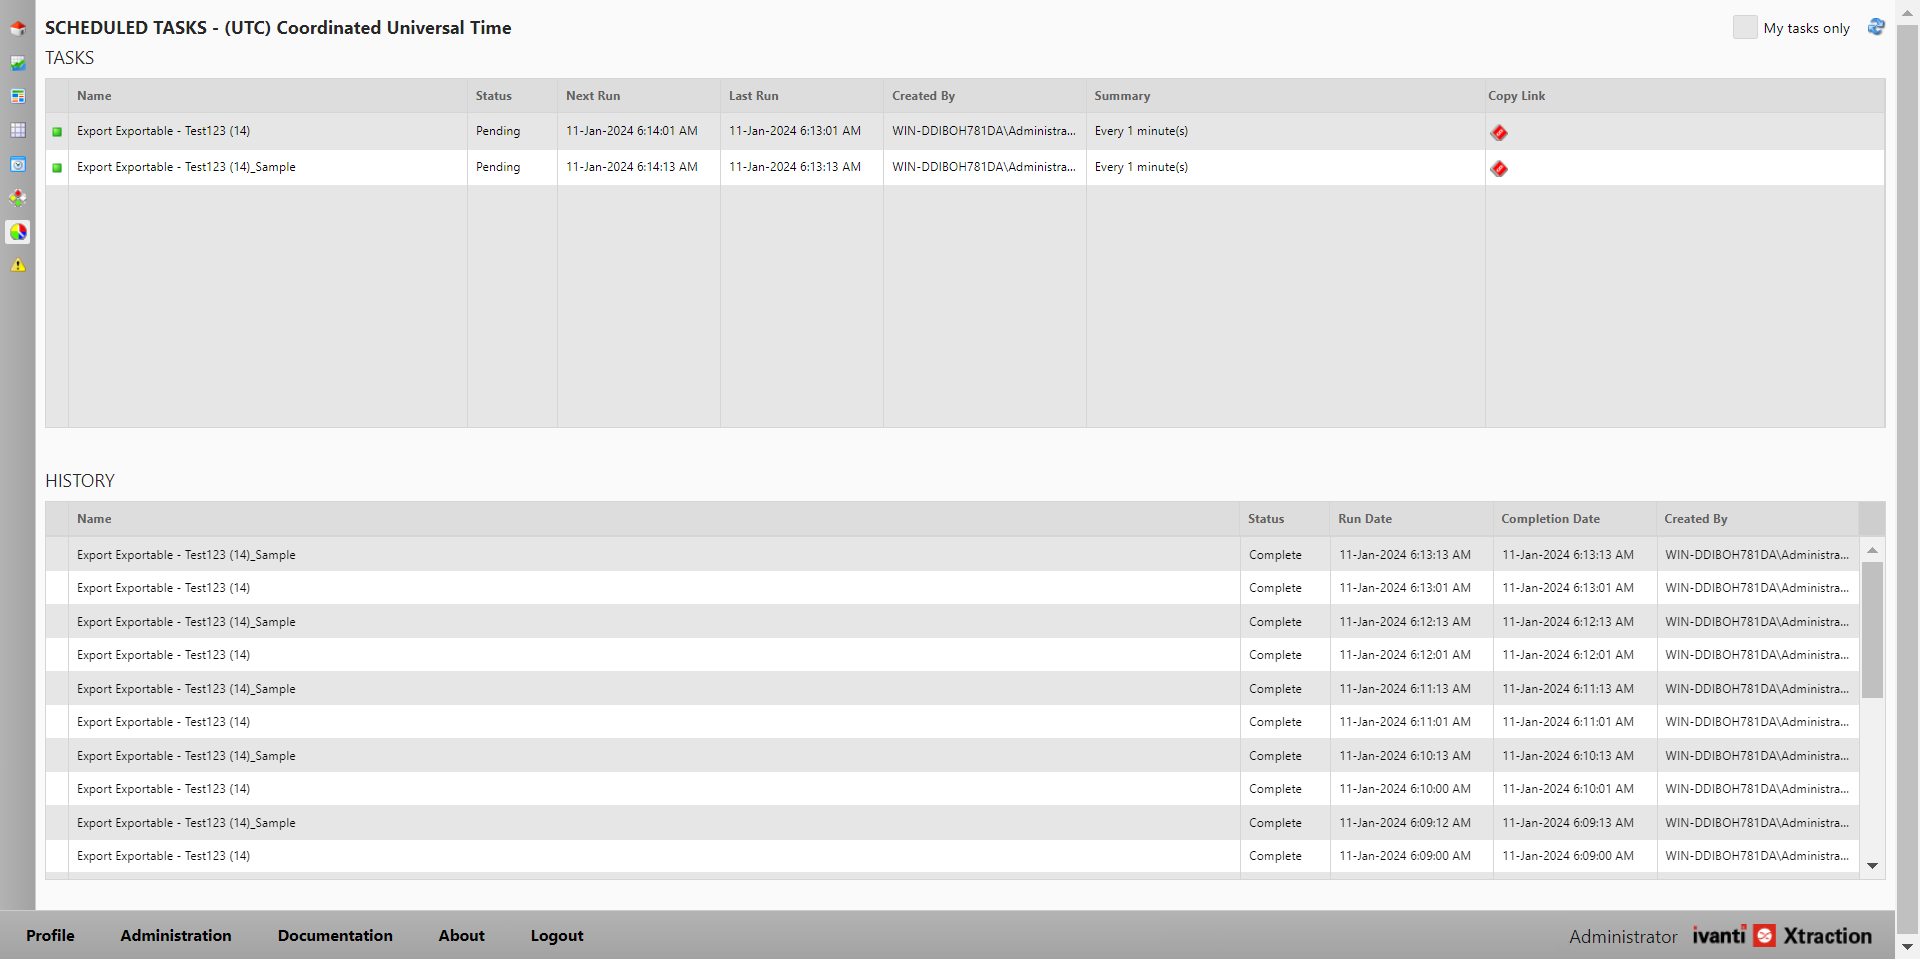
After the component is scheduled for export, you'll see it displayed as a task on the Scheduled components page. This page is similar to the Scheduled tasks page; you can open it by clicking the ![]() icon in the left navigation pane.
icon in the left navigation pane.
A red Copy Exportable Link icon will be visible in the right-side column of the Tasks list. Click this icon to copy a link to the component, which you can then paste into a 3rd-party application of your choosing.
The Xtraction administrator can find all exported components by default in the C:\Program Files\Xtraction Software\Xtraction\Data\Exportables folder.
Xtraction viewers do not have the rights to search for or view components exported to 3rd-party applications.