Adding shortcut groups to the Console shortcut bar
You can create new shortcut groups for your Console shortcut bar to contain different components and shortcuts for different types of user. For example, you could create a group for your IT Support Department, and one for your Facilities team. You can then publish these groups to the appropriate groups or roles.
To differentiate the different groups, you can specify a different icon for each shortcut group.
The shortcut bars for the Console and Web Access are maintained separately.
For more information about publishing shortcut groups, see the Administrator Guide.
To add a shortcut group:
- Right-click the Shortcut Bar, then click New Group.
The New Group dialog appears.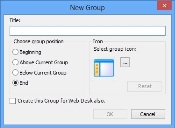
- Specify a Name for the group, for example Front-line.
The Name can be up to 64 characters long. - Select where you want the shortcut group to appear. In the Choose group position group box, select the required option button.
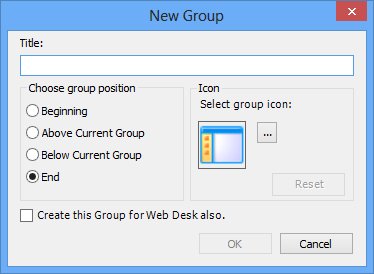
We recommend that you choose a different icon so that users can tell the difference between the different shortcut groups.
- If you also want the group to be available in Ivanti Web Desk, select the Create this Group for Web Desk also check box.
- In the Icon group box, alongside the icon, click
 .
.
The Open dialog appears. - Navigate to, and select the required icon, then click Open.
- Click OK.
The shortcut group is added to the Shortcut Bar, and opens automatically to enable you to add the required shortcuts.