Setting the partitioning attribute
There are several steps to configuring the analyst/office partitioning described in Data partitioning:
- Create a reference list called Office.
- Relate the new Office object to both the User object and to the object that contains the data that you want to partition (for example, Incident).
- Set the Partition Type for the Incident - Office relationship as Analyst in Object Designer.
- Set the Analyst Partitioning attribute for the Analyst user type to Office using the Administration component.
- Enable Analyst Partitioning for the required Support Groups.
Analysts whose current group is one of those support groups would then be able to see only data that has the same Office value set as that set on their user record.
To set the partitioning attribute in Object Designer:
- In Object Designer, create the object that will contain the values that you want to partition by (for example, an Office reference list), and relate it to System\User and to the object that you want to partition (for example, Incident).
Alternatively, you could use an existing related object.
- Display the object that you want to partition (for example, Incident Management\Incident), then select the object at the top of the Attributes tree.
You can set the Partition Type for Incident, Problem, Change, and other subclasses of Process only if you have already set the Partition Type for Process Management\Process.
IMPORTANT: Collections are not automatically partitioned with their parent object, so you need to specifically set the partitioning on collection objects to match that of their parent object.
Similarly, Tasks are not automatically partitioned with their parent process. You need to specifically set partitioning on Tasks to match their parent process.
- In the Properties grid, alongside Partition Type, select the type of partitioning you want to enable for this object. The options are:
None – no partitioning
Customer – customer partitioning
Analyst – analyst partitioning
Both – customer and analyst partitioning - In the Attributes tree, select the attribute that you are going to use as the attribute that defines the data partitioning. This must be a related attribute (
 ).
).
In our example, selectOffice. - In the Properties grid, alongside Partition Type, select the type of partitioning you want to enable for this object. The options are the same as for the object.
Only one attribute on an object can be set as the Partition Type for analyst partitioning, and one for customer partitioning. These could be the same attribute if you selected the Partition Type of Both.
When you have set up the attribute that you want to use to partition the data, you need to set the path to the attribute for each user type that is going to use partitioning.
If you want to use the default partitioning (where customers can see only data that is associated with themselves, and analysts can see only data that has a last assigned group that matches their current group), you can omit the following procedure.
To set the partitioning attributes:
- In the Administration component, expand the User Management tree.

- Expand the Users branch and select the user type that you want to set the partitioning attribute for. (For example, Analyst.)
- In the Actions list, click Set Partitioning Attributes.
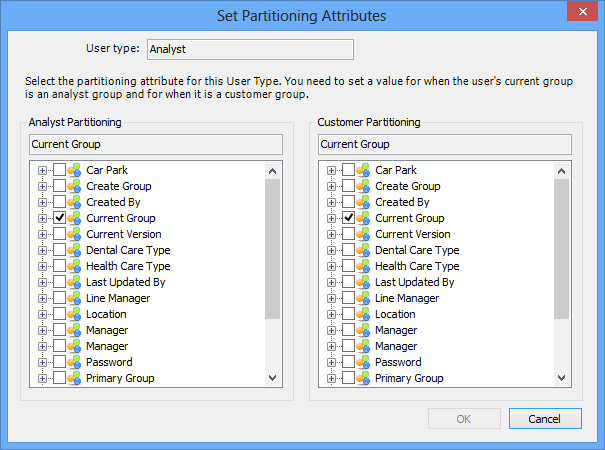
The Set Partitioning Attributes dialog appears.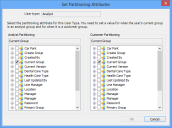
- In the Analyst Partitioning tree, select the attribute that you want to use as the partitioning attribute when users of the selected user type are in an analyst group. You can expand the tree to select a related attribute.
- In the Customer Partitioning tree, select the attribute that you want to use as the partitioning attribute when users of the selected user type are in a customer group. You can expand the tree to select a related attribute.
- Click OK.
- Repeat for the other user types.
When you have set up the partitioning attributes, you can enable partitioning as described in Enabling data partitioning.