Configuring Tunnel VPN for Windows 10 (Cloud)
Windows 10 devices use the Tunnel service for Windows configured on Standalone Sentry to access backend resources.
Before you begin
| • | If you are configuring per app VPN, ensure that you have created a Tunnel service for Windows in Standalone Sentry. For information on setting up Standalone Sentry with a Tunnel service, “Working with Standalone Sentry for AppTunnel” in the Standalone Sentry Guide for Cloud. |
•If you are configuring Tunnel for securing authentication traffic with Access see the Access Guide.
Procedure
| 1. | In Cloud, go to Configurations > +Add. |
| 2. | Search for Tunnel. |
Figure 1. Add Tunnel configuration
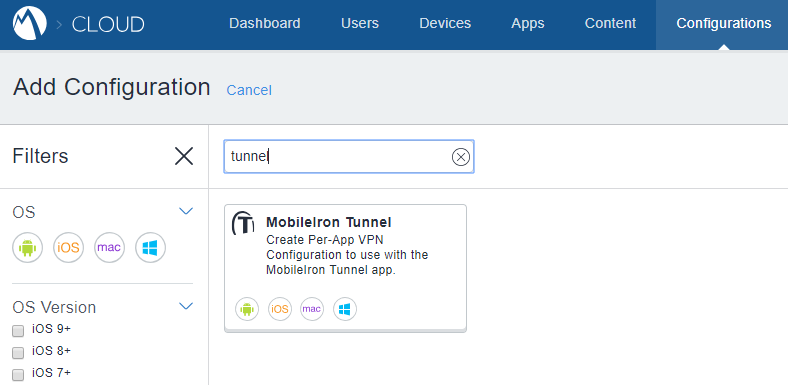
| 3. | Click the Tunnel configuration. |
The Create Tunnel Configuration page displays.
Figure 2. Create Tunnel cofniguration
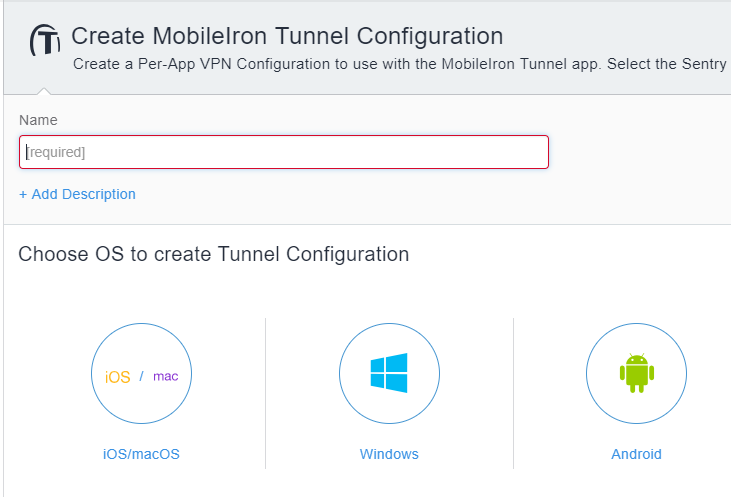
| 4. | Enter a name for the configuration and click Windows. |
The configuration fields for Tunnel VPN for Windows display.
Figure 3. Tunnel VPN for Windows 10 Cofiguration Fields
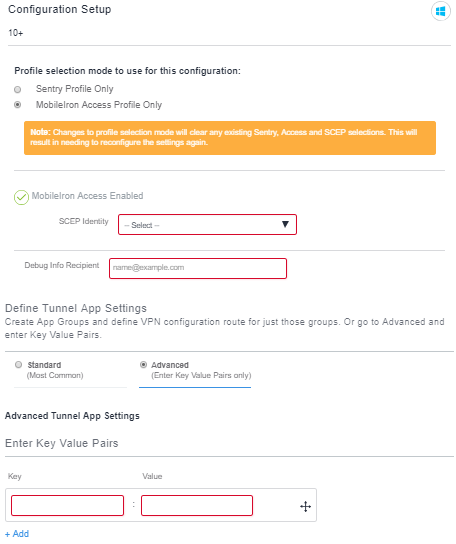
| 5. | Specify the following: |
| - | the profile mode: Sentry only or Access only |
| - | client certificates |
| - | how Tunnel is triggered |
| - | whether specified traffic or all traffic goes through Tunnel |
| - | Tunnel app behavior . |
| 6. | Click Next. |
| 7. | Choose a distribution option for the configuration and click Done. |
The configuration is distributed to the subset of the devices to which the app is distributed. Select the same distribution option that you selected for the Tunnel for Android app.
| • | For a description of the configuration fields for Tunnel (Windows) VPN, see Tunnel VPN for Windows 10 field description. |
•For a description of the key-value pairs, see Key-value pairs for custom data.
•For examples of custom data configuration, see Examples of custom data configurations.
•For an example of the custom data configuration for Access, seeKey-value pairs for Access (Cloud)