Ivanti incapptic Connect OS Upgrade to macOS 13.x
Ivanti incapptic Connect macOS 13.x (End of Life)
Ivanti incapptic Connect macOS 13.x has reached end-of-life in September 2025.
You must upgrade Ivanti incapptic Connect OS to macOS 15.x. For more information, see Ivanti incapptic Connect OS Upgrade to macOS 15.x.
Ivanti incapptic Connect instances (host and VM) macOS can now be upgraded to version 13.x (Ventura) from 12.x (Monterey) using the below procedure.
If there are any errors during the upgrade process, please revert to the previous snapshot and contact the support team.
Prerequisites
Before you begin upgrading, you must fulfill the following prerequisites:
-
Take a snapshot of both the host and the virtual machine.
-
For host machines, take time machine backup.
-
For VM, take a parallel snapshot.
-
-
You can continue the upgrading procedure only when https://apps.apple.com/us/app/macos-ventura/id1638787999?mt=12 (URL) is accessible.
-
brew -–version (both in host and VM)
-
node -–version (in VM)
-
npm -–version (in VM)
-
python -–version
Procedure
Proceed only if both a time machine backup and a parallels (VM) snapshot are taken.
Update Parallels version on host machine
You have to update the parallels version to 19.x, as Ventura is supported by this version.
Procedure
-
Right-click the Parallels desktop icon and click the Check for Update option.
-
If you can see the most recent 19.x version, then update the version.
-
After a 19.x version upgrade, the window redirects to automatically reinstall the parallel tool.
-
Accept the default settings and restart the host system.
-
Open the VM after the host system parallels version is updated.
-
Open the virtual machine to automatically reinstall parallel tools.
-
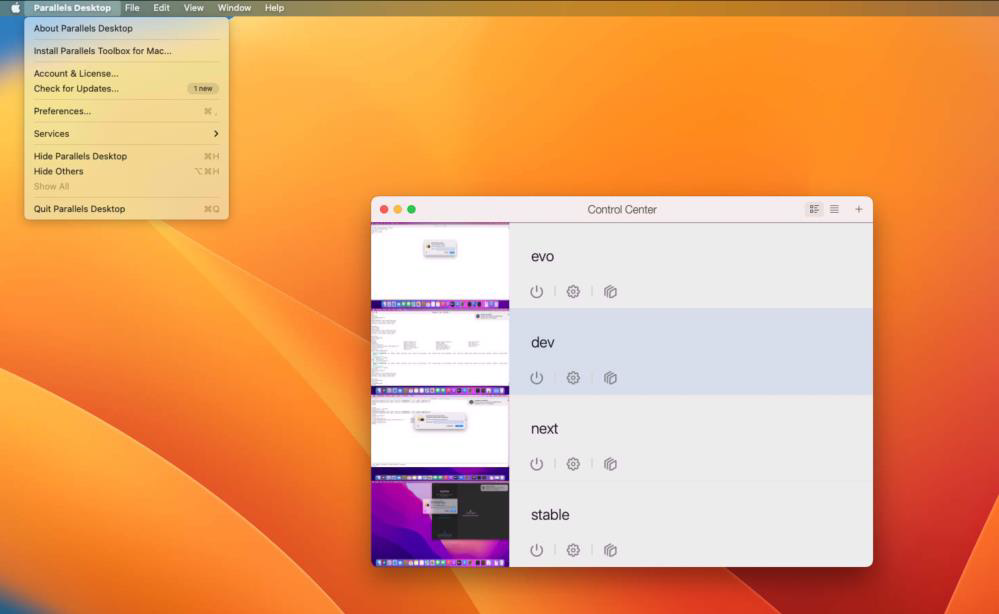
Accept the defaults and restart the VM. After restarting the VM, you can see the following icon on your desktop.

macOS Upgrade
Prerequisites
Ensure that the following conditions are met:
-
A time machine backup is taken.
-
A parallels (VM) snapshot is taken.
-
You must first upgrade the host operating system (OS), followed by the VM OS. The upgrade procedure can take up to 4-5 hours, depending on the internet connection and VPN connections.
Procedure
1. Open a Web browser and navigate to the following URL:
https://apps.apple.com/us/app/macos-ventura/id1638787999?mt=12.
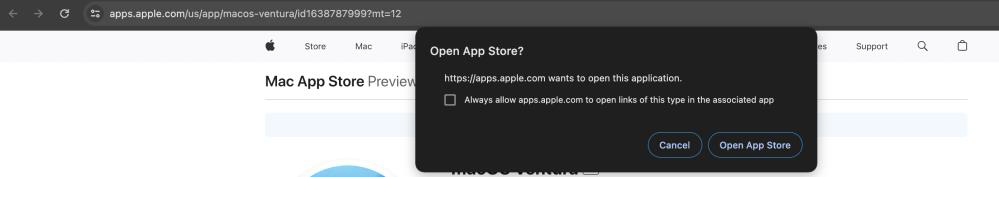
2. Click Open App Store.
3. Click Get. The macOS Venture window opens.
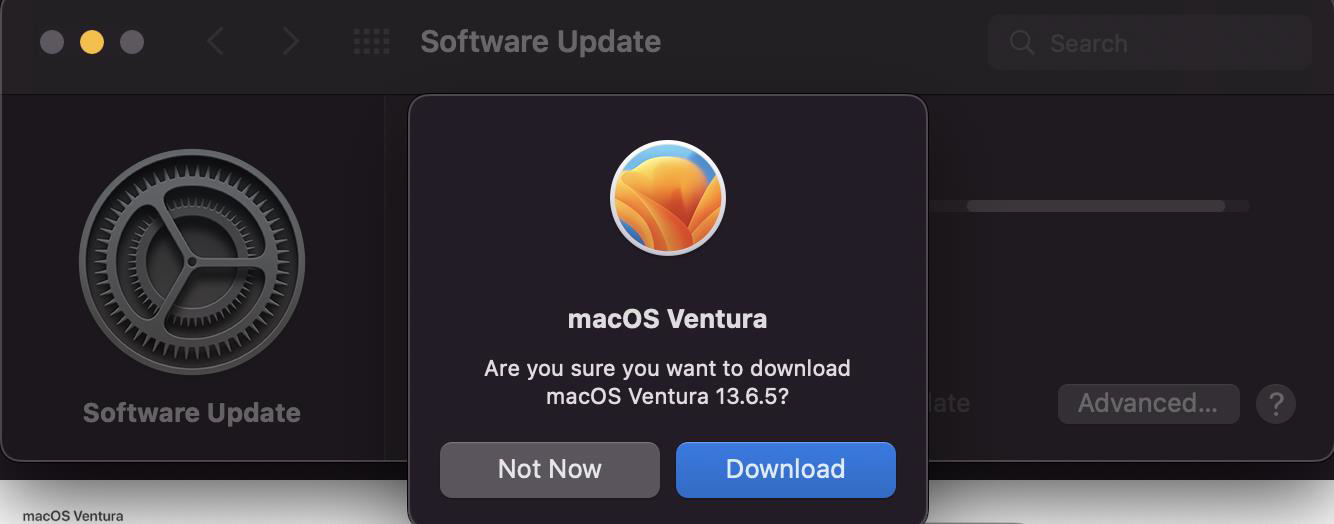
4. Click the Download to get Ventura OS.
5. Click Continue, and then click Agree.
6. Click Continue.
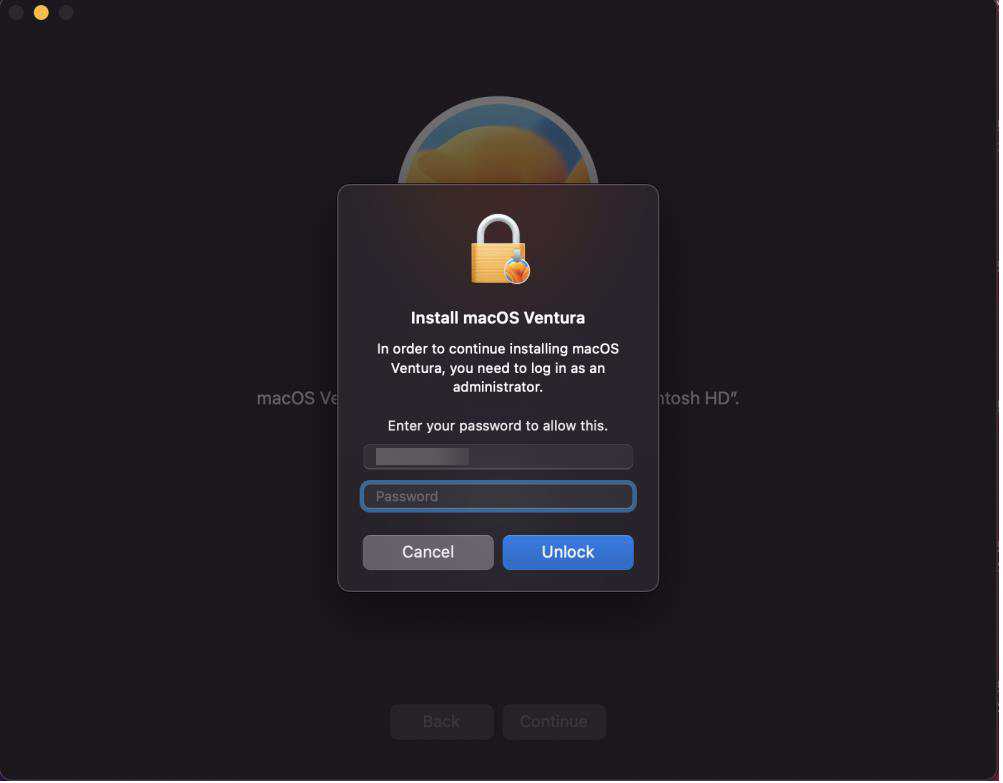
7. Enter the system password and click Unlock.
The Venture OS installs and then restarts the system. After restarting the machine, you can see that the system has been updated to Ventura OS.
If the system prompts you to update Xcode to version 14.x, perform the steps according to the prompts. Alternatively, perform the following steps:
Xcode Version Update
The Apple ID authentication endpoint is decommissioned by Apple and has resulted in the Renew Session and Modify session to not function. Apple introduced Secure Remote Password (SRP) authentication mechanism and we have integrated it into incapptic Connect in this release.
Prerequisites
Ensure that the following conditions are met:
-
Before you begin upgrading, you must ensure to update Xcode version to 14.x and Fastlane version to 2.225.0.
-
Take a snapshot before updating to incapptic Connect v1.48.2 and Xcode 14.2.
Procedure
-
Download the 14.2 version of Xcode from the following URL manually to the VM:
https://developer.apple.com/download/all/ -
Run the following commands in the terminal:
-
Move Xcode_14.2.xip file to /Applications.
-
Open the
Xcode_14.2.xip file. Wait for the list to expand. -
Delete the
Xcode_14.2.xip file after you complete step b. -
Execute the following commands:
-
sudo xcode-select -s /Applications/Xcode.app/Contents/Developer -
sudo xcodebuild -license accept
-
-
Verify the Xcode version using the following command:
/usr/bin/xcodebuild -version
-
Post-Installation Verification Checklist
After the macOS upgrade is completed, you must ensure that the upgrade was successful.
Procedure
To ensure that the upgrade was successful:
-
The host and VM macOS versions should point to Ventura. Verify the Xcode version should be pointing to 14.x.
-
Before upgrading the operating system, ensure that the versions of the following packages match.
-
brew -–version (both in host and VM)
-
node -–version (in VM)
-
npm -–version (in VM)
-
python -–version
-
-
Log in to the UI and check all tabs.
Known issue when upgrading macOS
After upgrading the VM, if the CPU is overloaded or the machine becomes unresponsive, do the following steps: